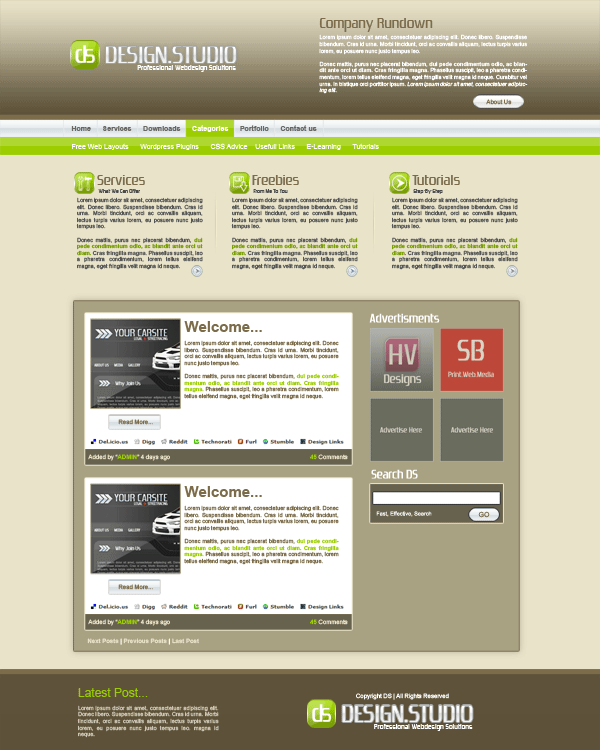
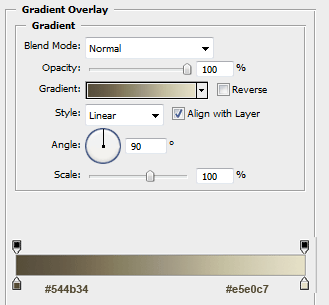
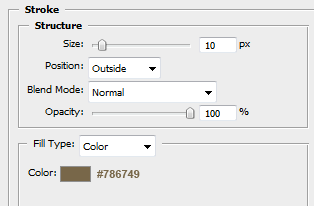
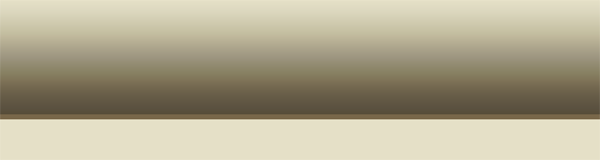
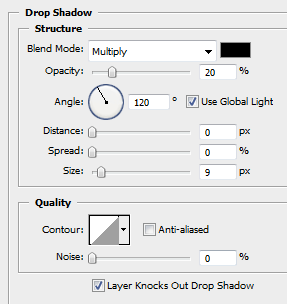
Create a new document 1200 x 1500, fill your background layer with the color #e9e3c9. Select the rectangular marquee tool and add a big rectangle the width of your canvas at the top. Fill with any color then add these layer styles.
You should have something like this.
Add your website title, slogan and logo to the top of your header, also to the right of your title etc… add a small brief summary about your company.

The layer styles for my title text are.

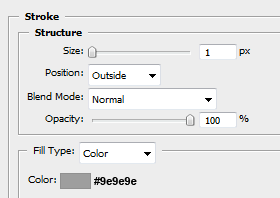
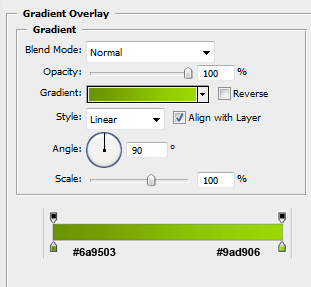
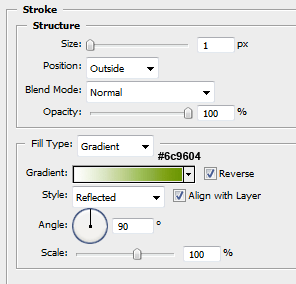
To make the logo, select the rounded rectangle tool, with a radius of 20pixels. Draw out your rectangle, fill with any color then add these layer styles.
Once you have add your layer styles add your logo in the middle.
Next select the rectangular marquee tool, draw out a smallish rectangle the width of your canvas, again fill with any color. Copy your header title text layer styles to your rectangle, disable the drop shadow. You should have something like this.

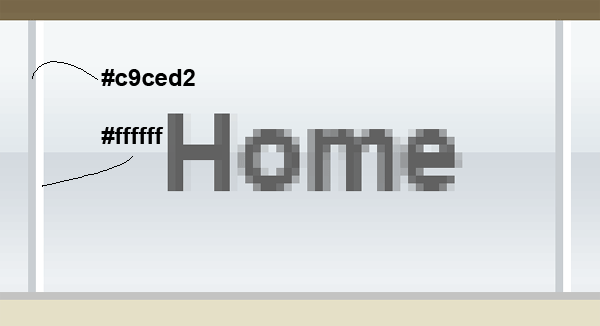
Add some navigation text. But color one of them white.

The reason why we left one of them white is because there will be 2nd navigation bar underneath. Create two 1pixel lines next to each other like this.
Your navigation should now look like this.

Select the rectangular marquee tool and make a selection over your white bit of text, make sure the layer is behind the text. Fill with the color #9bcd00. Next make a smaller rectangle across half of the button, fill with the color white, lower the opacity to about 20%. Your button should now have a matching shine.

Using the same method add another navigation underneath, use the same color.

Now add your 2nd naviagtion text. Thats the navigation done, underneath your navigation were going to add 3 featured important posts. Using the same method for creating our site logo add 3 logos for our featured posts.
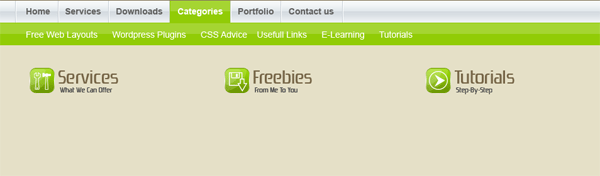
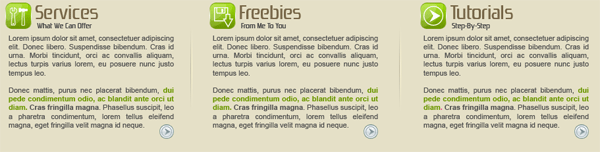
The icons were made using adobes custom shapes libary. Now add some text to represent each post, also add a divider seperating each one of the posts.
Now select the rectangular marquee tool once more and create a big box for our main content. Fill with the color #a9a282 and add a stroke using the color #7c6c4b.
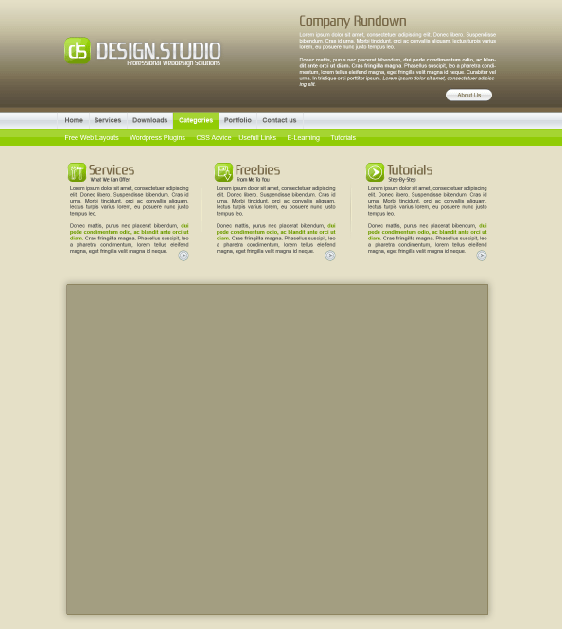
Inside the big box add a further 4 boxes, which should comprise of our main post content and post content footer.
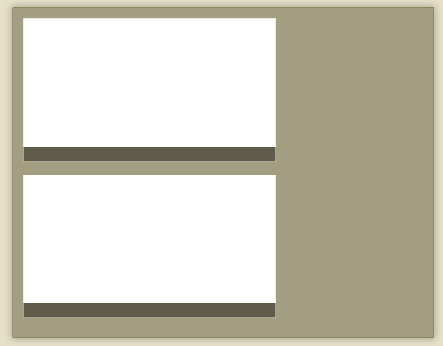
Format the boxes with text and our thumbnails to look like blog posts.
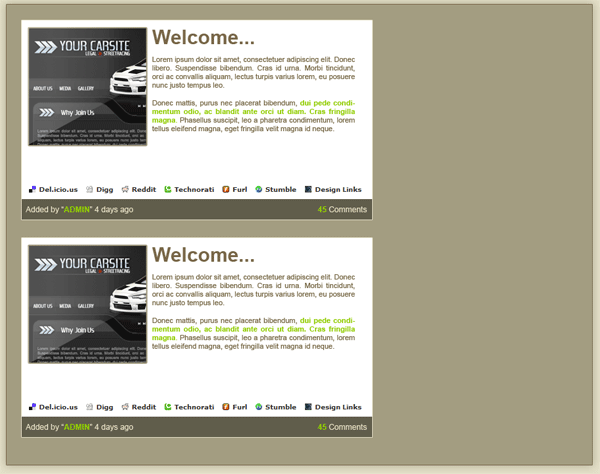
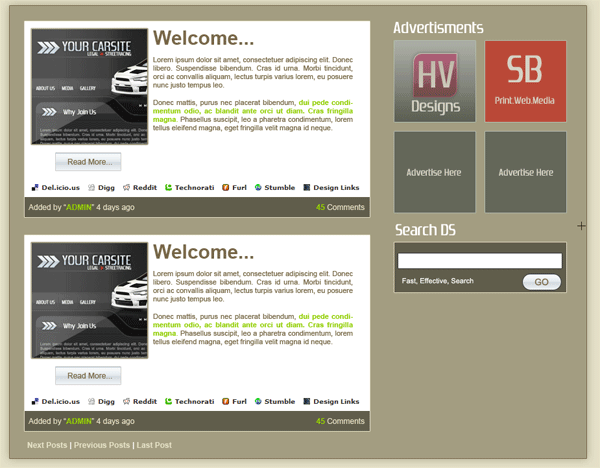
Continue to add your prefered wordpress items. I wont go into to much detail here as its mainly text and simple boxes.
Finally select the rectangular marquee tool once again and basically mirror the header, copy and paste the title, logo and slogan also add your copyright information.

Finished.