Your ads will be inserted here by
AdSense Now!.
Please go to the plugin admin page to paste your ad code.
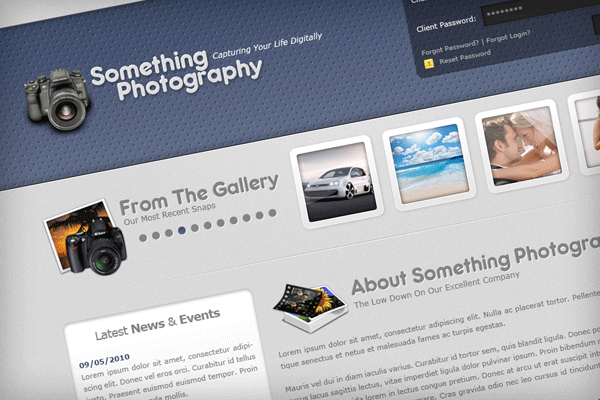
Hello everybody, welcome to another tutorial by HV-Designs. In this tutorial I’ll be walking your through the process of creating a photography/portfolio style web layout.
What We’ll Be Creating
Click image for bigger version.
Resources Used In This Tutorial
Lets Get Started
Create a new document 1200 x 1200 pixels then select the gradient tool with a radial gradient.
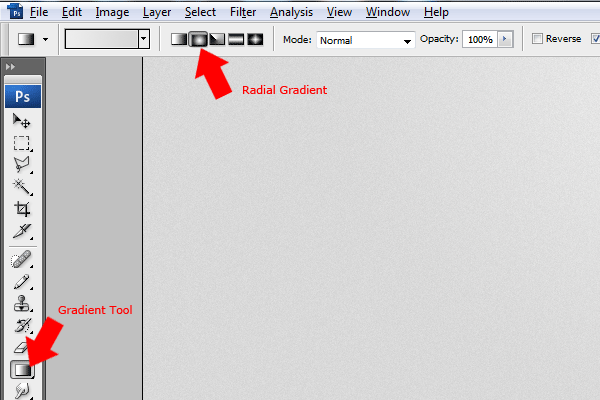
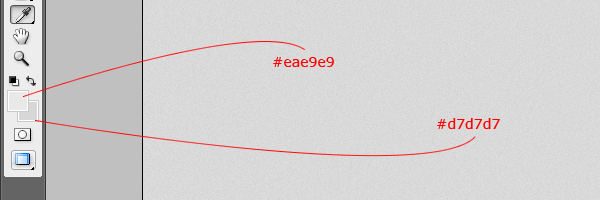
Once you’ve selected the gradient tool change your foreground and background colors. Change your foreground color to #eae9e9 and background color to #d7d7d7.
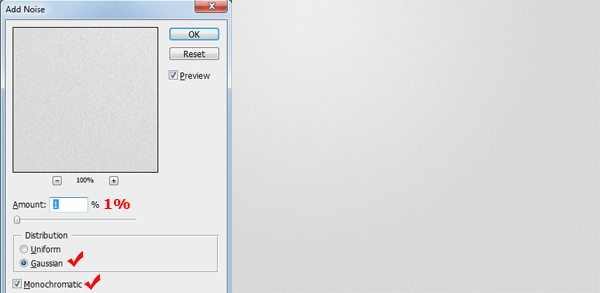
Now drag the radial gradient from the center of the top of your canvas, dragging down about a quarter of the way down your canvas. Once your happy with the gradient apply some noise to the background by going to “Filter > Noise > Add Noise”.
Creating The Header
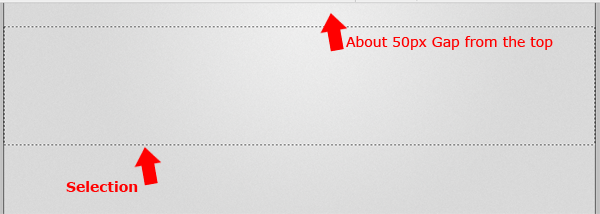
Select the rectangular marquee tool then make a selection about 240 pixels in height that spans the width of your canvas. Once you’ve made the selection shift it down about 50 pixels from the top of your canvas.
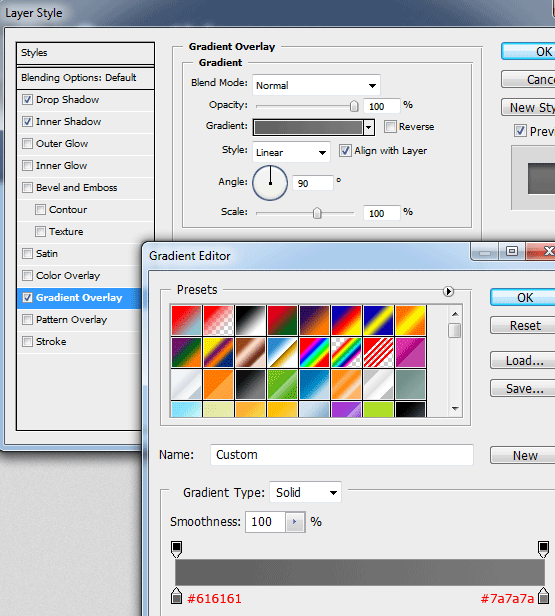
Fill your selection with any color then add the following layer styles using the following settings.
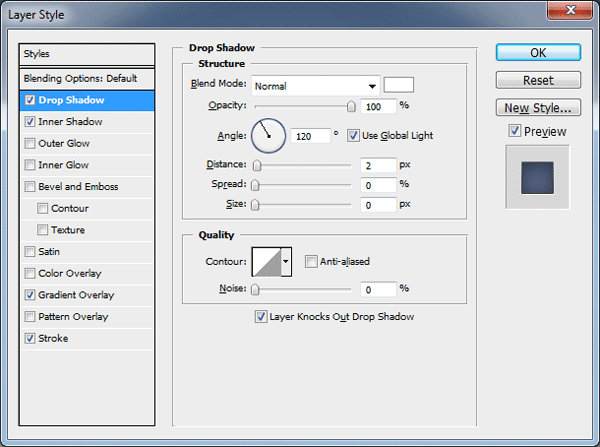
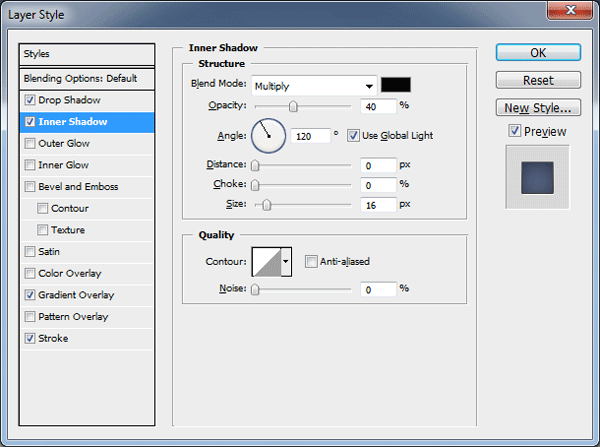

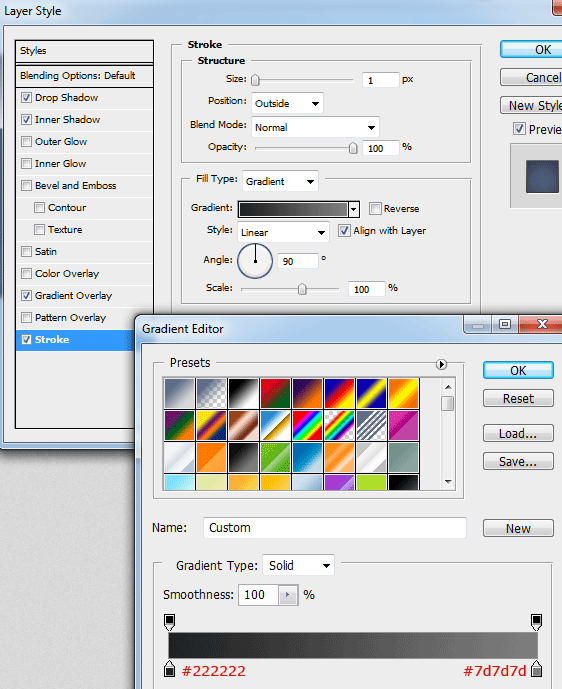
You should have something like this.

Creating The Header Custom Pattern
Create a new document 14 x 16 pixels with a transparent background. Select the magnifying glass and zoom in 3200%, select the elliptical marquee tool and create two circles as shown in the image below.
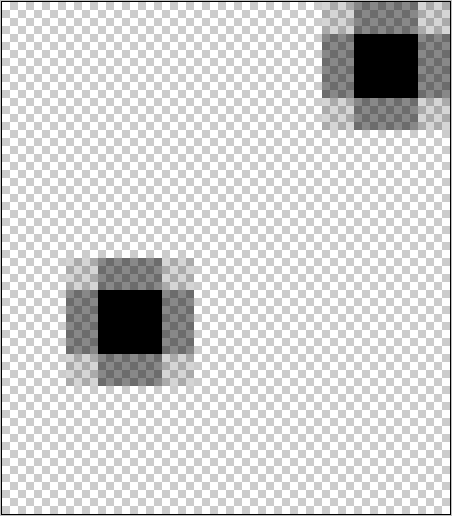
Once you’ve created the two circles go to “Edit > Define Pattern”, give your pattern a name then close the document.
Load a selection around your header rectangle by selecting the header layer and going to “Select > Load Selection”. Create a new layer above your header layer then fill the selection with your pattern.
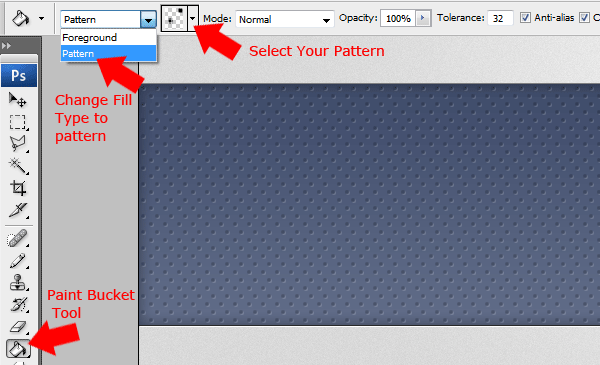
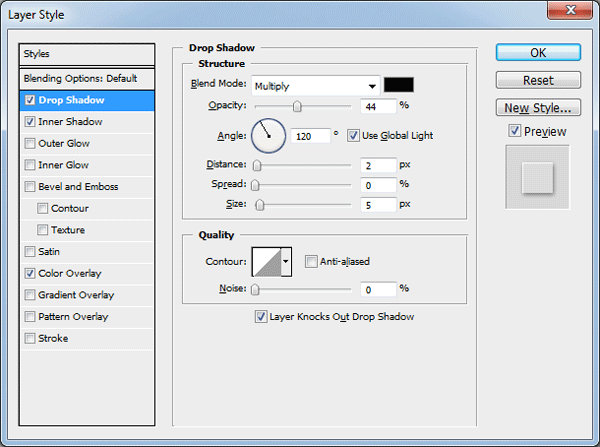
Select your pattern layer then add the following layer styles with the following settings.

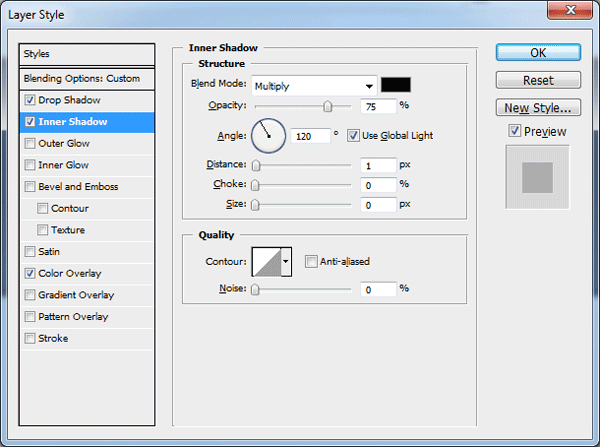
Finally set the pattern layers opacity to 20%, you should have something like this.

Creating The Title
Select the type tool then type out your website title on the left side of the header.

Once you’ve added your website title add the following layer styles to your text layer.
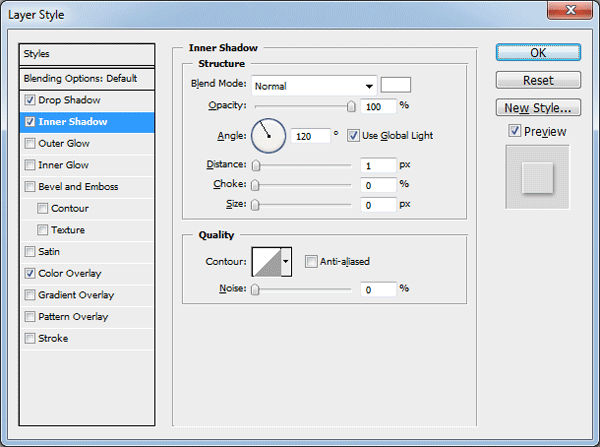
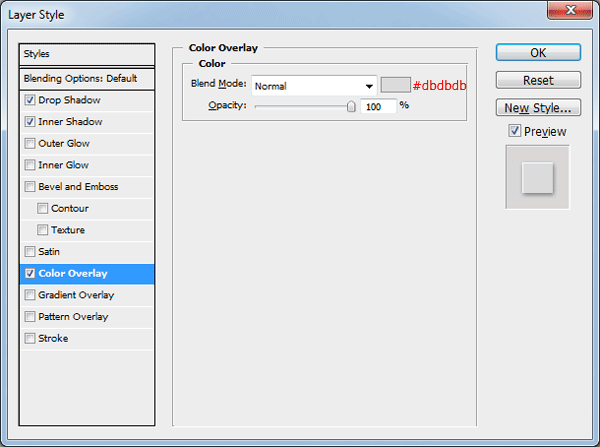
On the left side of the title text add the camera icon from the “Longhorn R2 Icon Pack“. You should have something like this.

Creating The Navigation
In the top right corner add your navigation using the type tool.
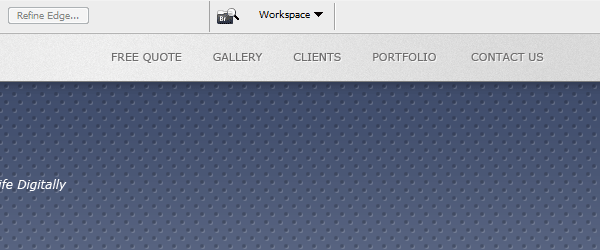
Once you’ve added your text add the following layer styles to your text navigation layer.

At the beginning of your navigation add a new text layer labeled “Homepage or Home”. Color the text white.
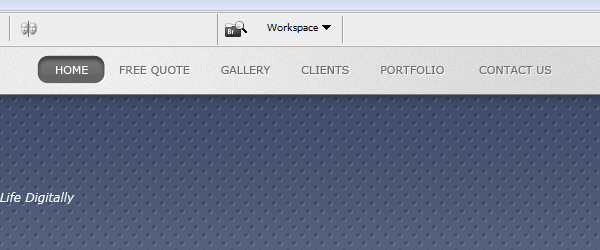
Underneath the text layer “Home” add a rounded rectangle using the rounded rectangle tool. Add the following layer styles to your rounded rectangle.
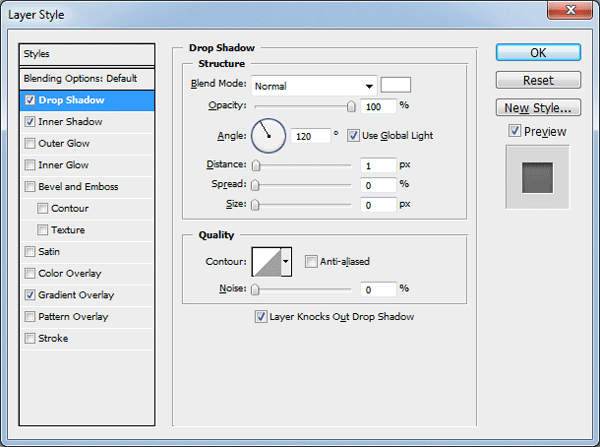

You should have something like this.
Creating The Login Panel
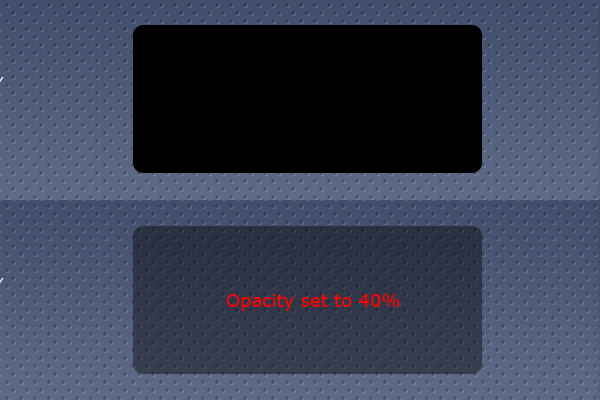
Select the rounded rectangle tool with a radius of 10px (Default Radius). Drag out a small rectangle on the right side of the header area. Once you’ve added the rectangle set layers opacity to 40%.
Your ads will be inserted here by
AdSense Now!.
Please go to the plugin admin page to paste your ad code.
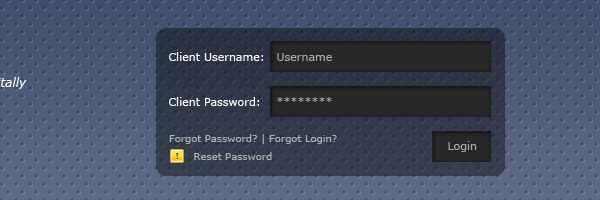
Select the rectangular marquee tool then create 3 boxes inside the login panel. Create the first two boxes the same size, these boxes will be our login and password fields. Finally create the third box alot smaller, this box will be our login button.
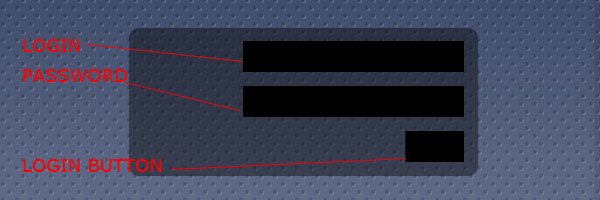
Add the following layer styles to your 3 rectangles.
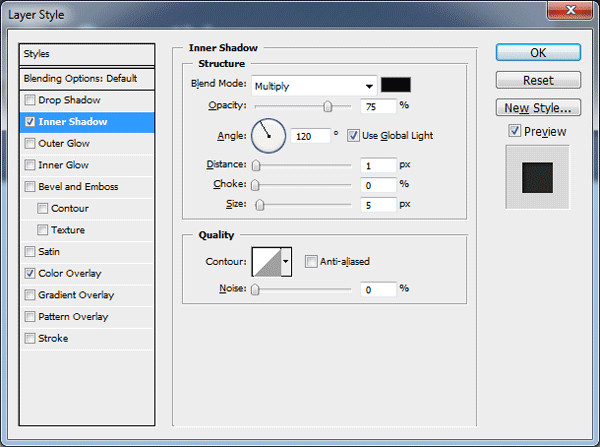
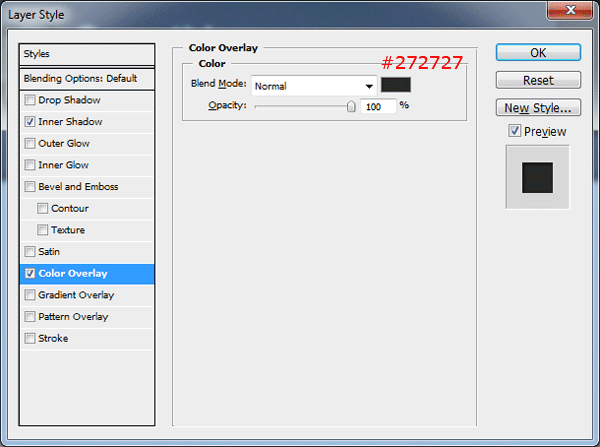
Finish off the login box by adding the labels for your rectangles and login button. You should have something like this.
Creating The Gallery
Download the “Nikon D40 Iphoto Icon” and place it underneath the header on the left. To the right of the icon add the words “From The Gallery” with a small slogan.
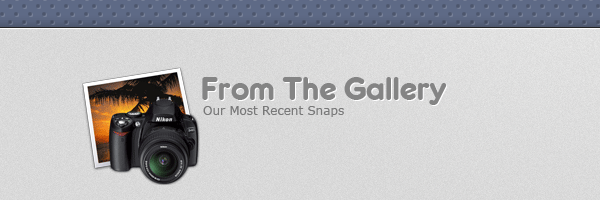
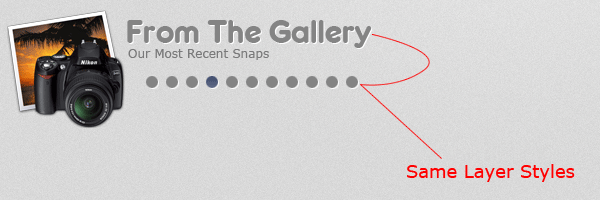
Now add the following layer styles to your text so it matches the image above.
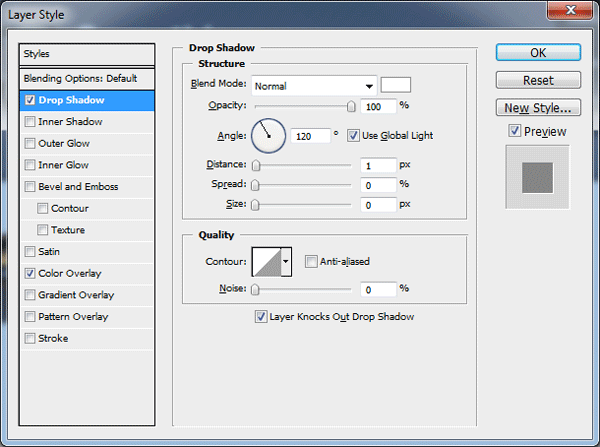

Underneath the text “From The Gallery” add a couple of circles to simulate a jQuery like slider, use the circle tool or the elliptical marquee tool for the circles.
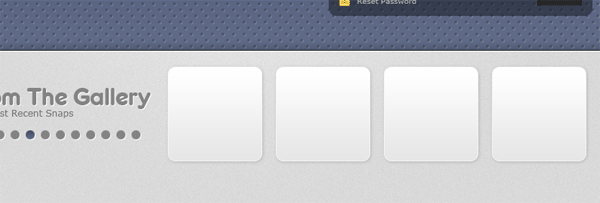
Using the rounded rectangle tool create 4 rectangles, place the 4 rectangles in a line next to the gallery text and icon.

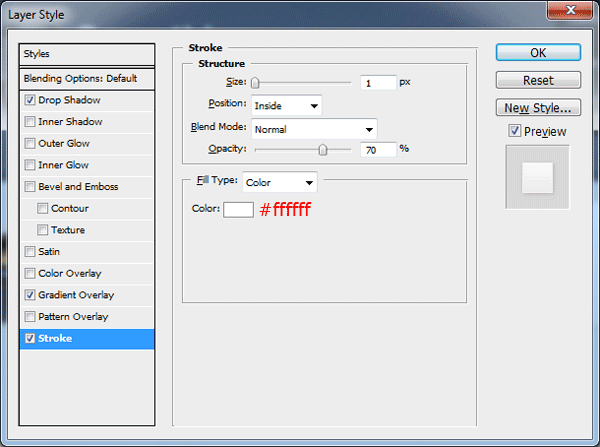
Add the following layer styles to each one of the rectangles.


Your rectangles should now be transformed into something like this.
Now load a selection around one of your rectangles, to load a selection go to “Select > Load Selection”. Once you’ve loaded the selection contract the selection by 10px “Select > Modify > Contract”.
Open up your desired image to put inside the gallery then copy it to the clipboard. Paste your image inside the selection by going to “Edit > Paste Into”. Resize and move your image into place inside the selection then add a stroke and inner shadow using the settings below.
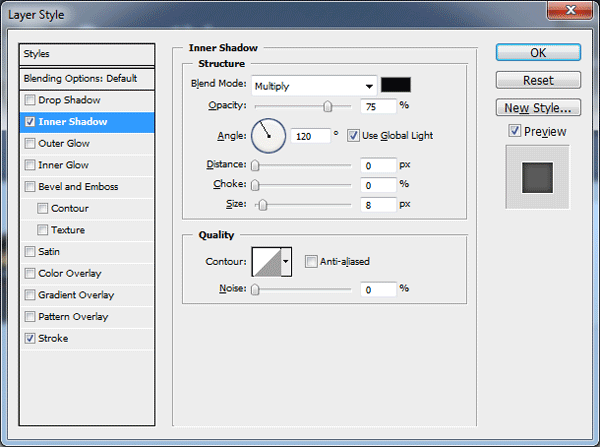
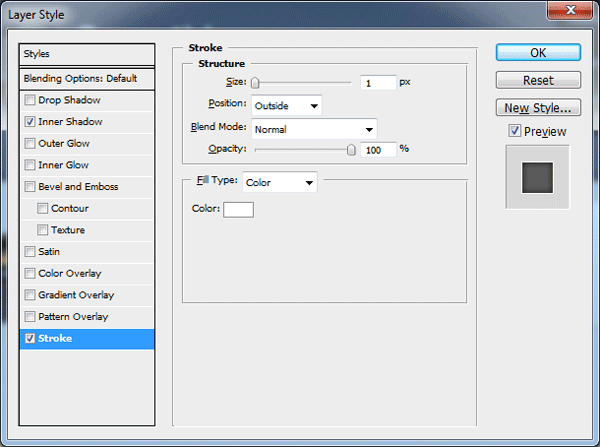
You should have something like this.
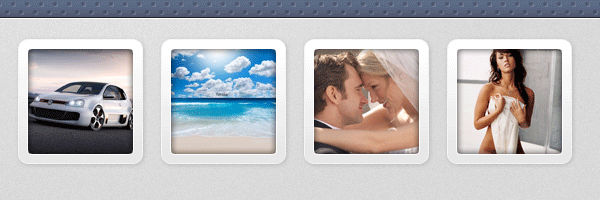
Finish off the gallery images by adding a simple shine for that glassy effect.
Creating The Divider
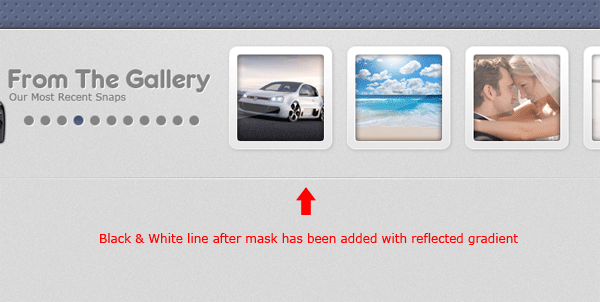
Using the rectangular marquee tool create two 1px lines on top of each other, color the top line in black #00000 and the bottom line in white #ffffff. The line should be the width of your layout.
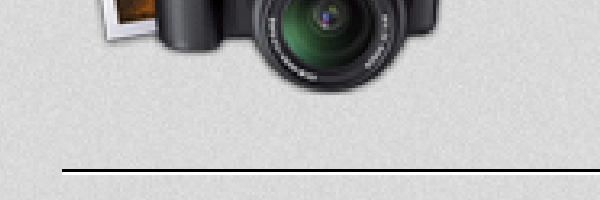
Now set the layers blend mode to “Overlay” then add a layer mask. Select the gradient tool with a reflected gradient, drag the gradient from the middle of the lines outwards to either the left or the right canvas.
Creating The Sidebar
Select the rounded rectangle tool then make a selection underneath the divider.

Fill the rectangle with any color then add the following layer styles.
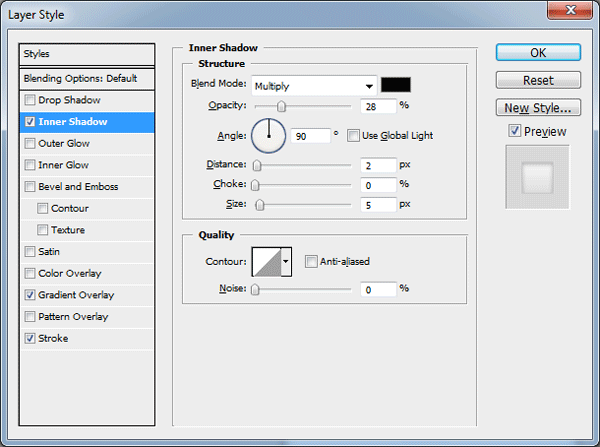

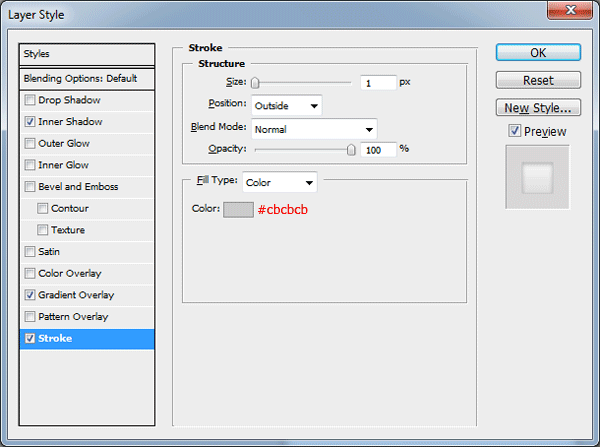
Right click your rectangle layer and go to “Convert To Smart Object”. Once you’ve converted your layer add a layer mask then drag a linear gradient from the bottom of the rectangle upwards.
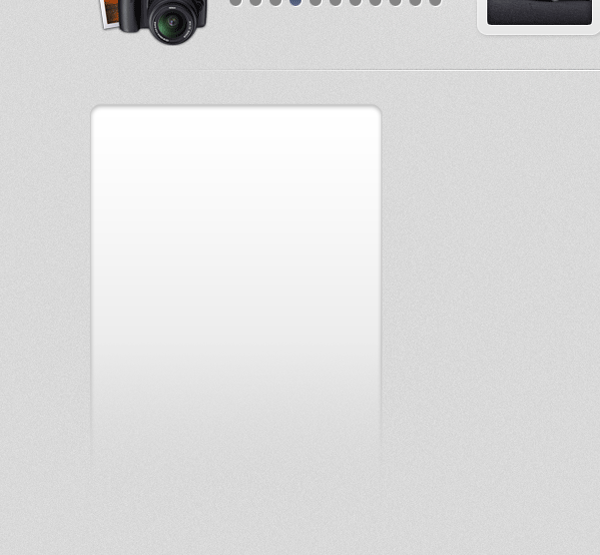
Using the type tool add some content into your sidebar rectangle.

Creating The Content
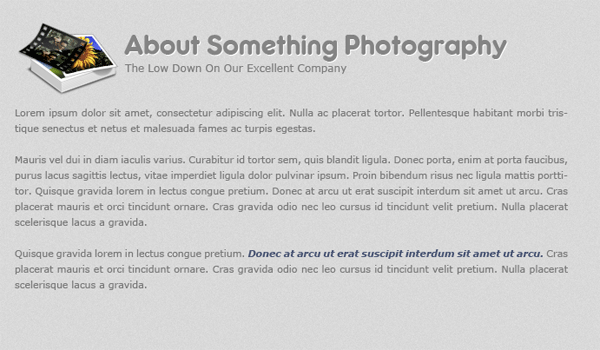
There’s not alot to the content area really only a fancy title styled in the same way as our gallery, then underneath i’ve added a couple of paragraphs of dummy text.
Creating The Footer
Duplicate your header and dots pattern then drag it down to the bottom of your canvas. Resize the duplicated header and dots pattern to suit your footer size.
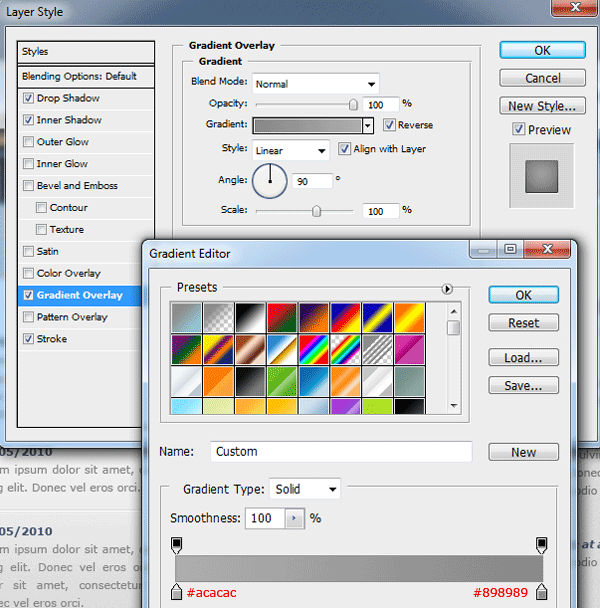
Change the color overlay of the dots pattern to #8d8d8d then change the gradient overlay of the duplicated header layer to the following.
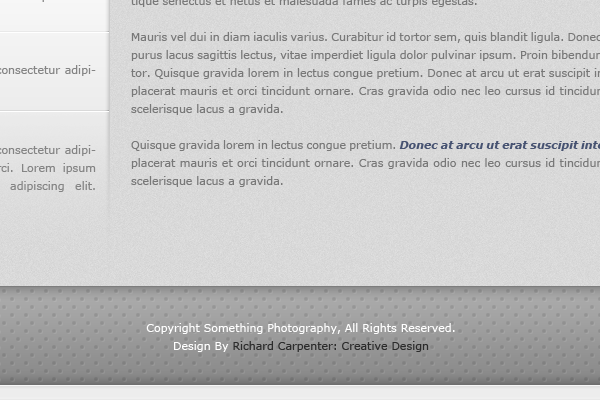
Finally add your footer information to your footer.
That’s it all done hope you enjoyed this tutorial. Look forward to all your comments.
Your ads will be inserted here by
AdSense Now!.
Please go to the plugin admin page to paste your ad code.
