Subscribe Via RSS

3588 Subscribers

Subscribe Via RSS
Subscribe Via Twitter

Followers

Subscribe Via Twitter
Pop-Up CSS Navigation Pt.1

April 23rd, 2010 in Coding Tutorials by Richard Carpenter

Pop-Up CSS Navigation Pt.1

1 Star2 Stars3 Stars4 Stars5 Stars8 Votes, Rating: 4.75
Loading ... Loading ...
About The Author

About The Author: Richard Carpenter

Hi im Richard Carpenter im a freelance web and graphics designer from England. I am also a regular Blogger, Tutorial Writer, and Contributor for HV-Designs. You can follow me on twitter HERE. You may also view my portfolio HERE.


Richard Carpenter has written 364 posts.

In this tutorial I’ll be walking you through the process of creating a pop-up style navigation. In the second part I’ll be walking you through the process of coding the navigation. Lets get going!

Resources Used In This Tutorial

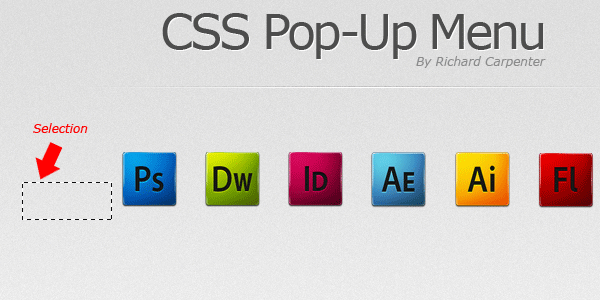
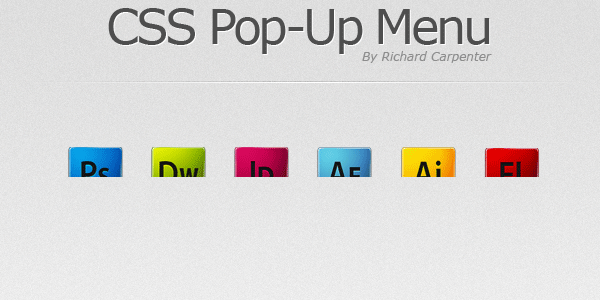
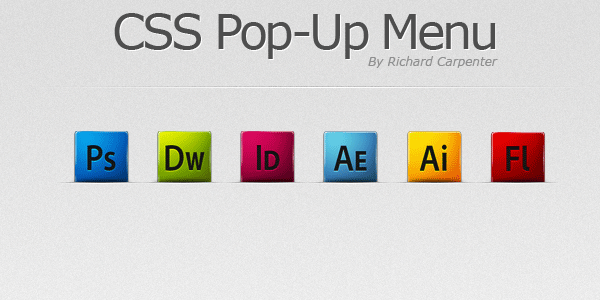
What We’ll Be Creating

Click the image to view both hover state and normal state of the navigation.

Pop-Up Style Navigation

You can also view the “Live Version” here.

Getting Started

Create a new document 800 x 300 pixels, select a new foreground color #e1e1e1 and a new background color #ffffff. Select the gradient tool with a linear gradient.

Pop-Up Navigation

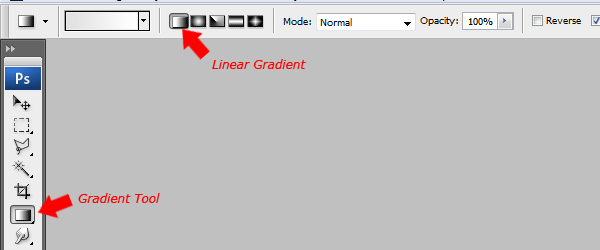
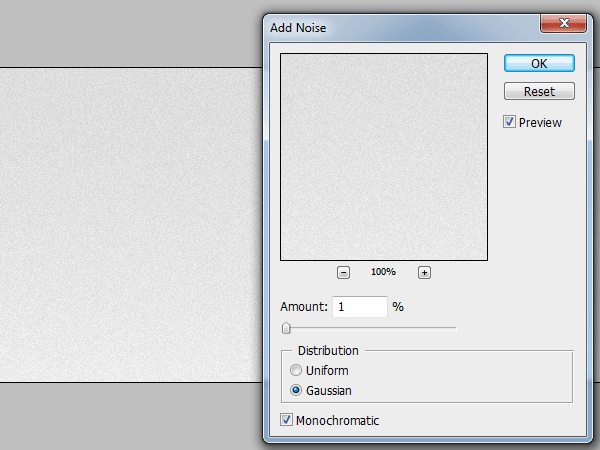
Drag the linear gradient over your canvas starting from the top then dragging down towards the bottom. Finally add some noise to your background by going to “Filter > Noise Add Noise”.

Pop-Up Navigation

Adding The Icons

Using your desired icons add them to your canvas, I’ll be using some photoshop icons by “Pkarwowski” you can grab them from here.

Pop-Up Navigation

Creating The Normal State

Select the rectangular marquee tool then make a small selection on the background, make sure the selection is on the same horizontal line as your icons due to the background being a gradient.

Pop-Up Navigation

Copy the selection then paste it to a new layer. Place the pasted bit of background over each icon.

Pop-Up Navigation

Once you’ve pasted your background snippet over the icon, create two new layers above your background snippet layer. Select the rectangular marquee tool or the single row marquee tool and make a 1 pixel line on the edge of where the icon starts to disappear.

Pop-Up Navigation

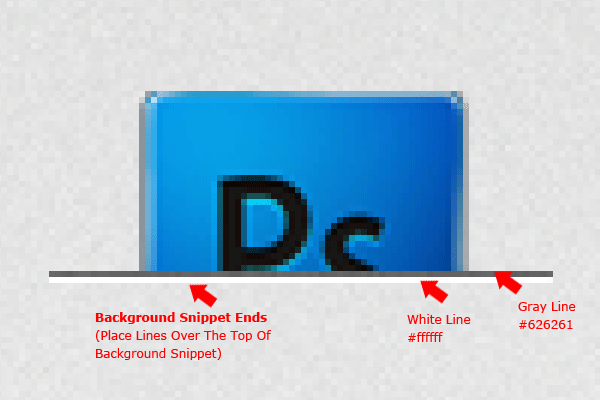
Now that you’ve added your two lines add a layer mask to each of the two layers. Select the gradient tool with a reflect gradient, make sure white is set as your foreground color then drag from the middle of one of the lines towards either the left or right edge.

Repeat the same step for the second line. The look your going for is to have the lines slowly blend into the background. You should have something like this.

Pop-Up Navigation

Creating The Shadows

Select the elliptical marquee tool then drag out a small ellipse the same width as the icon. You only need the top of the ellipse to be actually overlapping onto the icon.

Pop-Up Navigation

Fill the selection with black (#000000) then apply a guassin blur by going to “Filter > Blur > Guassian Blur”, blur the ellipse by about 2- 3 px.

Pop-Up Navigation

That’s it the “Normal State” of the buttons are finished, save you PSD as “popup normal” then go to “File > Save As” and save the same file but under a new name like “popup hover”.

Creating The Hover State

Make sure your PSD “popup hover” is the one that’s open in photoshop. Select all your icon layers by holding down the CTRL key and selecting the layers, once you’ve selected all your icon layers select the move tool (V).

Move all your icons up so that just the bottom of the icons are covered by the background snippet.

Pop-Up Navigation

That’s your hover state finished, were now ready to start coding. Look our for part #2 coming soon.

Learn To Code This Navigation

Continue to the second part of this tutorial where we’ll be transforming the navigation into a live working menu. Click Here for Part #2.

Be Part Of The Community!

Become part of the hv-designs community.

Subscribe Via RSS or Follow Us On Twitter.

Subscribe Via RSS Follow Us On Twitter

25 Responses to “Pop-Up CSS Navigation Pt.1”

  1. I was looking for something like this.
    Looking forward to see the next part!

  2. mo'amed says:

    I’ve been looking for the way i can code something like that for my social icons, so I’m waiting for part two, thanks Richard

  3. Janim says:

    nice work man,
    i like your designs too much
    keep up

  4. Great.. I was looking for this, i really need the 2nd part.. :)

  5. DxDesigns says:

    Awesome, looking forward to the coding part! Well done!

  6. nice tutorial. When you’ll come up with coding tutorial for this. I would like to learn it. Are you using jquery for pop up effect?

    Looking forward for more.

  7. N@Z!K says:

    hey man u’re absolutely doin wht i want haha. by the way i was looking for this tooo…thanxxx man.

  8. arisyi says:

    nice article bro..

  9. The navigation will be all CSS no jquery involved

  10. mhmd says:

    hi again, in fact you don’t have to accept this reply because i just wanted to ask you a question, ive learned alot from you both in ps and html/css, and im still learning, but there is a thing i wanted to know the way to do; you’re bg image for hvdesigns is 1200px wide, and my screen resolution is 1024px wide, so it doesn’t displays totally, but the weird thing is how it displays the middle of the image, i mean it doesn’t diplay from the first left beginning, the content is the same, its centralized in the middle of the page, and NO right/left scroller in the browser.

    finally, it’d be nice if you reply back to me to the same email, and keep teching us. thanks,

    thanks

  11. Stephan says:

    Hi richard,

    Nice artice, just to let you know if you click the thumbnail post you get a 404
    instead of this article.

    It redirects to http://hv-designs.co.uk/2010/04/22/learn-how-to-create-a-pop-up-style-css-navigation/ note the 22 instead of 23 :)

    cu

  12. abeedo21 says:

    COOL

    i liked it

    THANX

  13. Rajesh says:

    exactly i looking For This Effect, can u include more tutorial regarding awesome & beautiful photoshop effect Thanks For Share This Tutorial. keep it up..

  14. Cathy says:

    Great tutorial Richard and love the new look to your site!!

  15. @mhmd:

    the background image has its margins set to auto and has a width of 100%, feel free to check out my CSS

  16. Nice work! But how do you do this scanline under the text there is this line, how do u create tht, would be nice if u would just do a little screecast and put it on youtube probably takes only like 10 minutes. ty

    http://www.hv-designs.co.uk/tutorials/popup_nav/step3.gif

  17. Mitesh says:

    hi,
    m a beginner in adobe illustrator n photoshop.as you displayed the tutorial,i did the same way but i made some changes n discovered dat the hover state can be made without the use of CSS.i have done that with the use of rollover image in dreamweaver.

  18. great looking results, nice work Richard.

  19. airyland says:

    really nice work, thanks so much!

  20. alex says:

    please help, i dont know how to make those black and white lines with the layer mask and tha gradient. i can make only the left or the right side like that. i dont know what to do

Leave a Reply