Team Fortress 2 Wallpaper
Lets begin, firstly we need to create a new document what ever size you want your wallpaper to be, im using 1440×900 pixels. For your background layer add a simple linear gradient of your choice.

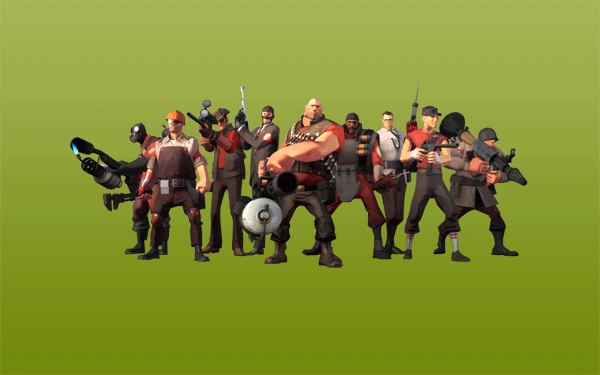
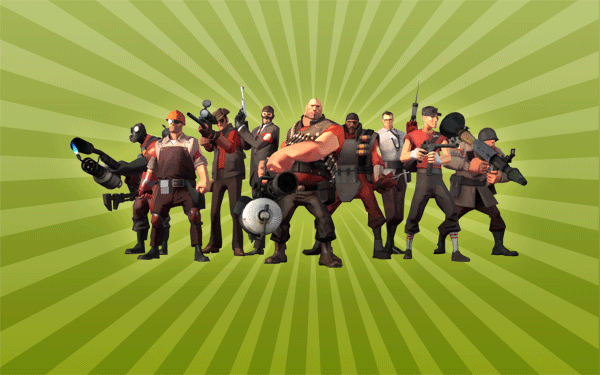
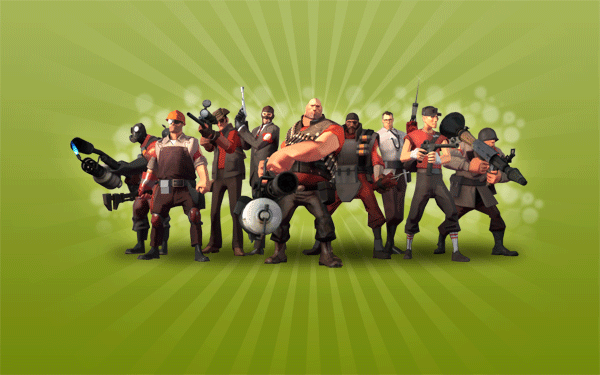
Find yourself some Team Fortress 2 fan art, im going to be using a team fortress 2 wallpaper ive found on google. Drag or Copy/Paste your fan art onto your canvas.
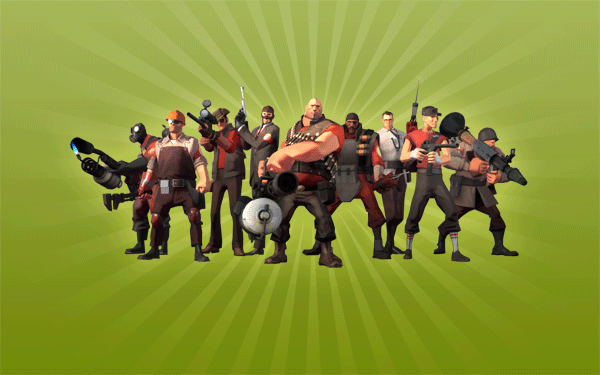
Select your desired cutting tool and remove the background from your fan art.
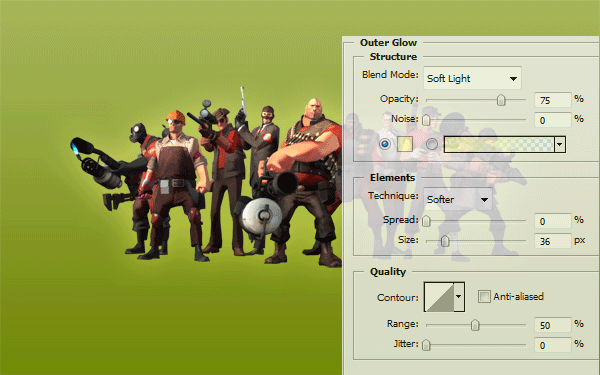
Now add a simple outer glow to your fan art, using the settings below.
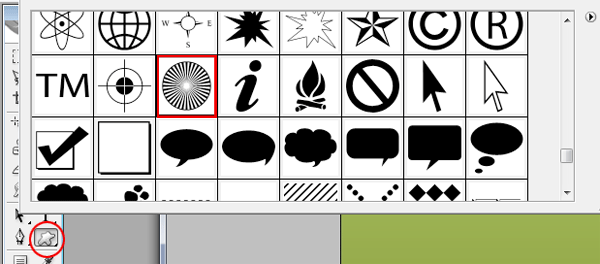
Now goto your custom shapes libary and select “registration target 2″ (see image below).
Drag this shape as big as you can get it, place it behind your fan art, fill with the color white then set layer blending mode to soft light and opacity to 50%.
Now add a layer mask and drag a radial gradient over the top so the edges of the shape blend in with the background.
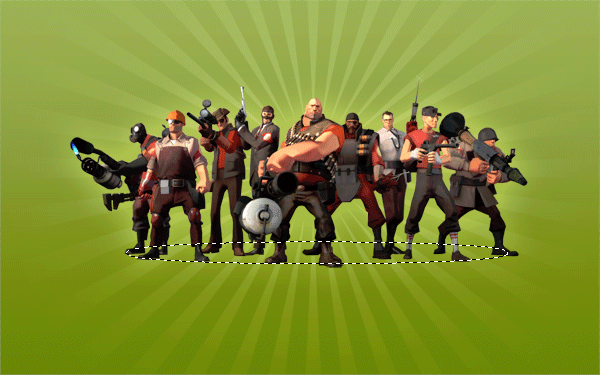
Now create a selection like the image below using the ecliptical marquee tool. Fill with the color black, then goto “filter > blur > guassian blur” and blur to suit. This will be out shadow for the fan art.
Now this step is optional, select some circle brushes and place a fair few behind the fan art, then “guassian blur” them by about 3-4 pixels.
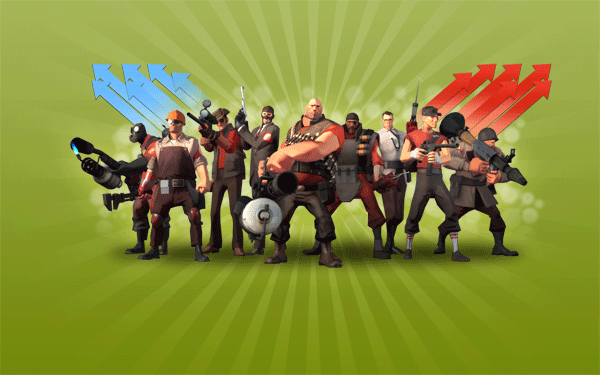
Now go back to your custom shapes libary and select an arrow, they are a fair few to choose from so pick which ever one suits you. Duplicate them a couple of times, and fill with the color blue.
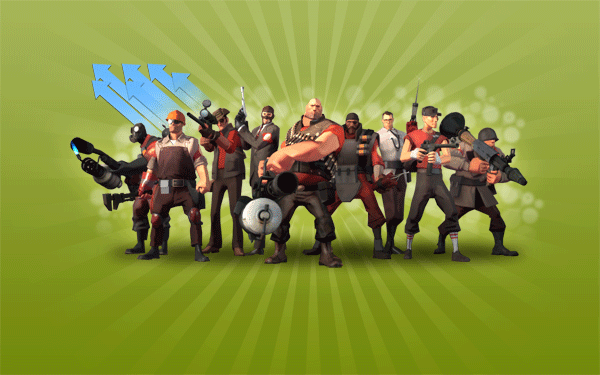
Place the arrows behind your fan art and add a layer mask, use a linear gradient in the same direction as the arrows are pointing. (Just to hide there tails). Duplicate all your arrows once more, flip them horizontally and move them across. Add a color or gradient overlay to change color to red.
Thats it all done, all elements needed for this tutorial are including in with the PSD download including the TF2 font. Thanks for reading.