Your ads will be inserted here by
AdSense Now!.
Please go to the plugin admin page to paste your ad code.
Good evening everybody, today I’ll be walking you through the process of coding your “Freelance CV / Resume” into a working HTML/CSS Template. Lets get started.
The Live Version
You can check out the Live Version of the template by clicking here. The template has been tested in the following browsers without any problems.
- Firefox 2.0, 3.0 and 3.5
- Internet Explorer 7 and 8
- Chrome 3.0
- Safari 3.0 and 4.0
Preparing Your Files
You will need to create a new folder on your desktop titled “Freelance CV”. Please create the following files: index.html, style.css, and a folder titled images. It should be set up like below:

Slicing the Document
Open your Freelance CV PSD file
Hit CTRL+ALT+I and resize to 1100*1187
Now its time to start slicing our document. Lets start out with the header. Slice it like the image below:
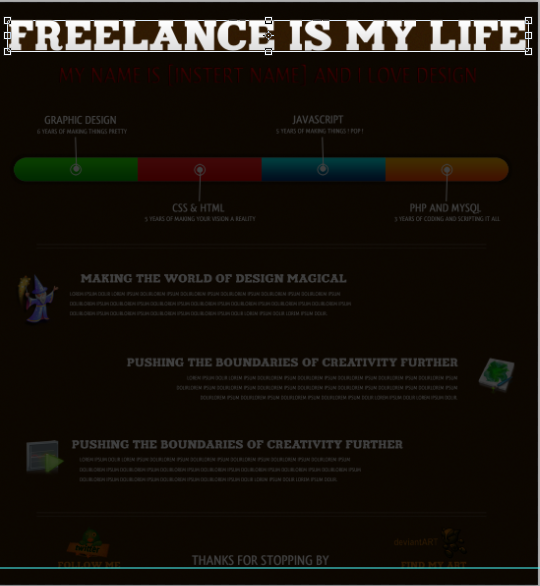
Once you have got your crop region down hide your bg layer and save the image as header.png
Slice your sub-header now using the below image:
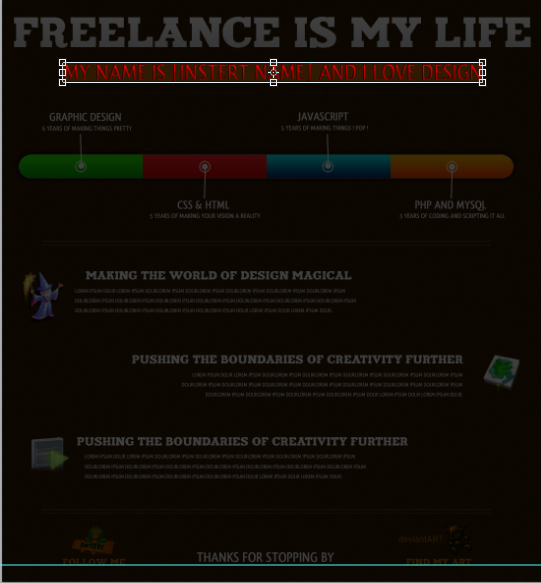
Once you have your crop region down hide your bg layer and save the image as sub_header.png
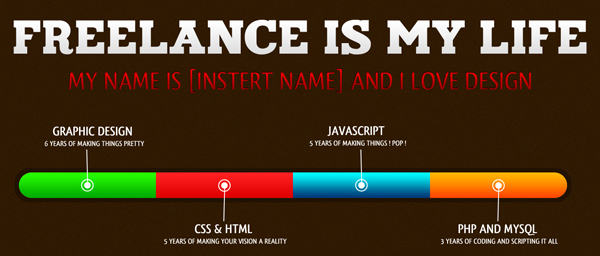
Slice your four colored squares like below:
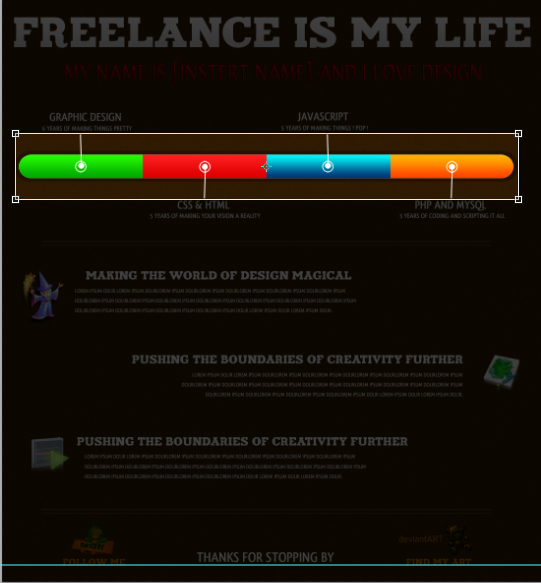
Once you have your cropped your document hide the background layer and save the image as four_colored_squares.png
Slice your spacer lines like the below image:
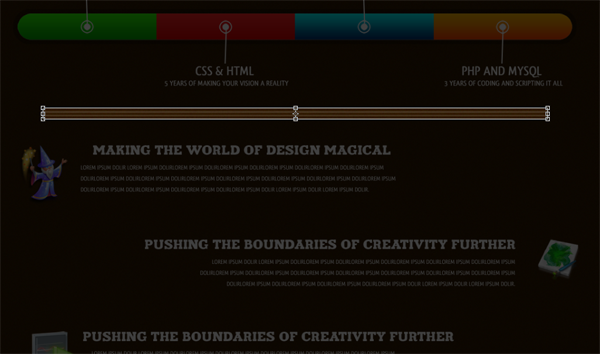
Once you have cropped your document hide the background layer and save the image as spacer_lines.png
Slice your wizard icon like below:
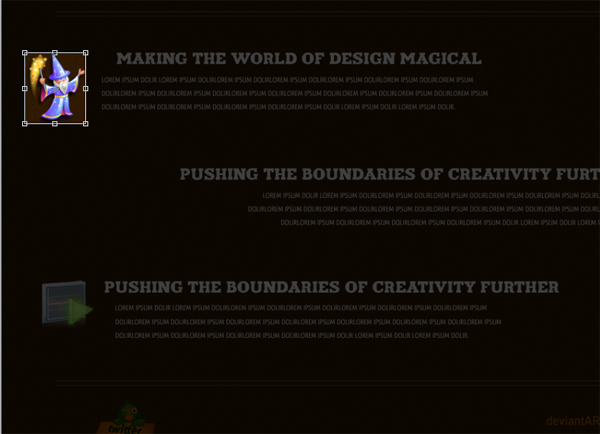
Once you have cropped your doc hide the bg layer and save the image as wizard.png
Slice your artwork icon like below:
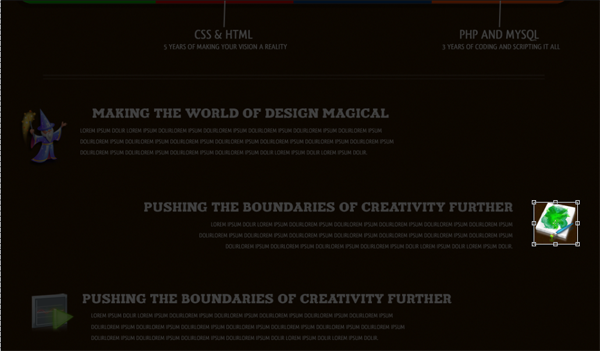
Once you have cropped your doc hide the bg layer and save the image as artwork.png
Slice your play button icon like below:

Once you have cropped your doc hide the bg layer and save the image as play_button.png
Slice your twitter icon like below:
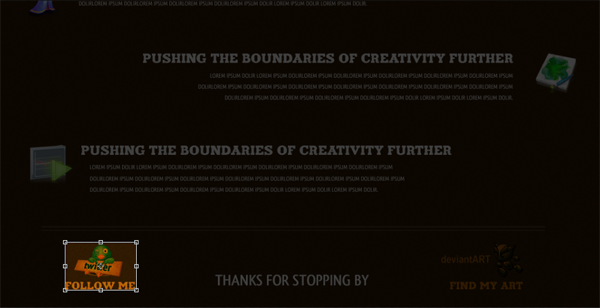
Once you have cropped your doc leave the bg layer and save the image as twitter_icon.png
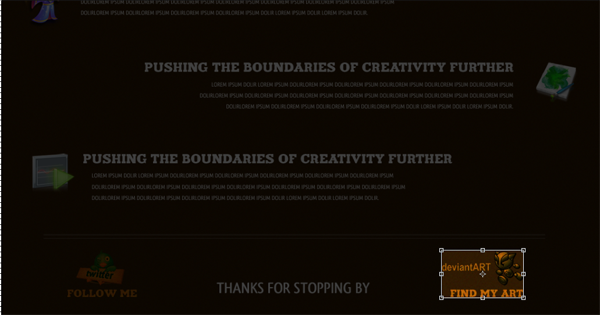
Slice your deviantart icon like below:
Your ads will be inserted here by
AdSense Now!.
Please go to the plugin admin page to paste your ad code.
Once you have cropped your doc leave the bg layer and save the image as deviantart_icon.png
Since @fontface does not work in the majority of browsers we will not be using @fontface right now, though we will be adding the way to do use the @fontface later.
So, because we are not using it we will need to slice our four what we are good ats and our headers. You will slice them all like the images below and all will have the backgrounds hidden on them once cropped. The name to save them as will be under the respected images.
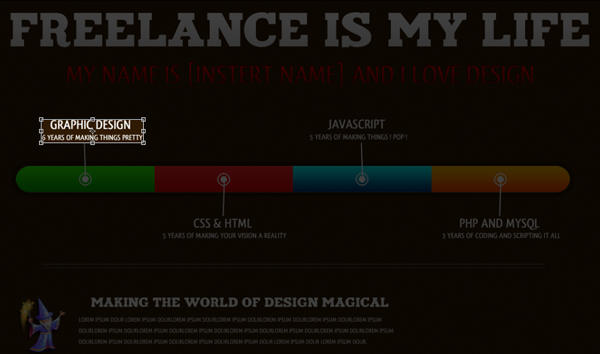
-graphic_design.PNG-
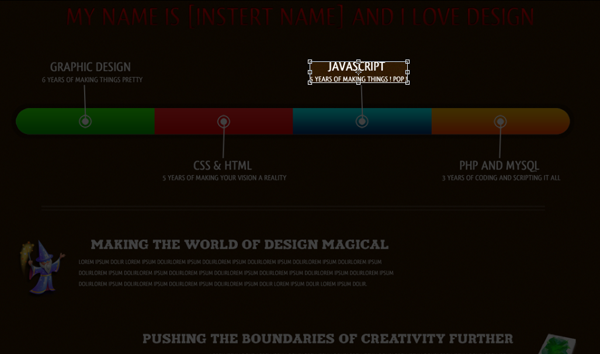
-javascript.PNG-
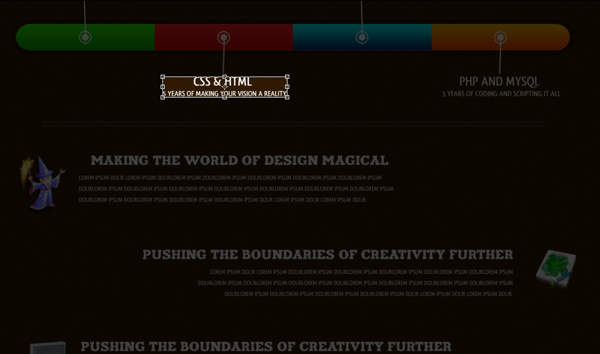
-css_html.PNG-
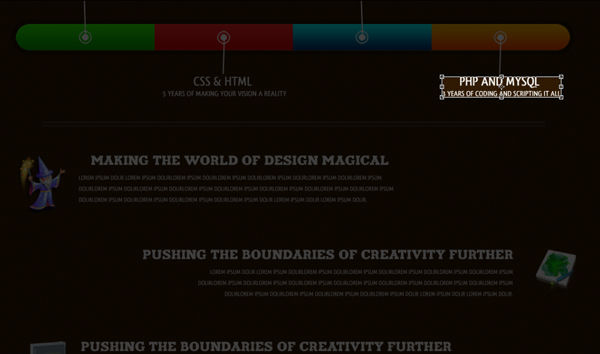
-php_mysql.PNG
-magical_design.PNG-
-creative_boundaries.PNG-
-design_life.PNG-
Now hide all your layers but your bg. Finally hit CTRL+S and save as FreelanceCVbg.jpg. Open your Freelance CV and crop like below:
save as bg.png
Setting Up Your CSS
@charset "utf-8"; /* CSS Document */ body { } .container { } .header { } #sub_header { } #graphic_design { } #javascript { } .four_colored_square { } #css_html { } #php_mysql { } .spacer_lines { } .wizard_overall { } #wizard_icon { } #wizard_header { } #wizard_header_text { } .artwork_overall { } #artwork_icon { } #artwork_header { } #artwork_header_text { } .playbtn_overall { } #playbtn_icon { } #playbtn_header { } #playbtn_header_text { } .socialnetwork_overall{ } #twitter_icon { } #deviantart_icon { }
Now, all our CSS is pretty self explanatory. I have set up the CSS in the normal way rather than to focus on page load speed.
Designing The Document
Now we will begin setting up our CSS, such as our container, header, and sub header. Please add the following CSS properties:
body { background-image: url(images/bg.PNG); background-repeat: repeat; } .container { height: 1210px; width: 1100px; margin-right: auto; margin-left: auto; color: #FFF; } .header { float: left; height: 62px; width: 1058px; margin-left: 21px; background-image: url(images/header.PNG); background-repeat: no-repeat; text-indent: -999px; } #sub_header { float: left; height: 40px; width: 854px; margin-left: 123px; background-image: url(images/sub_header.PNG); background-repeat: no-repeat; margin-top: 35px; text-indent: -999px; }
Now to set up our document’s html:
<!DOCTYPE html PUBLIC "-//W3C//DTD XHTML 1.0 Transitional//EN" "http://www.w3.org/TR/xhtml1/DTD/xhtml1-transitional.dtd"> <html xmlns="http://www.w3.org/1999/xhtml"> <head> <meta http-equiv="Content-Type" content="text/html; charset=utf-8" /> <title>[Insert Name]'s Online Resume / CV</title> <link href="style.css" rel="stylesheet" type="text/css" /> </head> <body> <div class="container"> <div class="header">Freelance Is My Life!</div> <div id="sub_header">My Name Is [Insert Name] and I Love Design</div>
Time to set up our “What I Know” rectangles and box. The CSS:
#graphic_design { float: left; height: 43px; width: 185px; margin-left: 80px; background-image: url(images/graphic_design.PNG); background-repeat: no-repeat; margin-top: 70px; text-indent: -999px; } #javascript { float: right; height: 43px; width: 185px; margin-right: 335px; background-image: url(images/javascript.PNG); background-repeat: no-repeat; margin-top: 70px; text-indent: -999px; } .four_colored_square { float: left; height: 135px; width: 1025px; margin-top: 5px; margin-left: 37px; background-image: url(images/four_colored_squares.PNG); background-repeat: no-repeat; margin-bottom: 5px; text-indent: -999px; } #css_html { float: left; height: 43px; width: 226px; margin-left: 315px; background-image: url(images/css_html.PNG); background-repeat: no-repeat; text-indent: -999px; } #php_mysql { float: right; height: 43px; width: 217px; margin-right: 65px; background-image: url(images/php_mysql.PNG); background-repeat: no-repeat; text-indent: -999in; }
And our HTML:
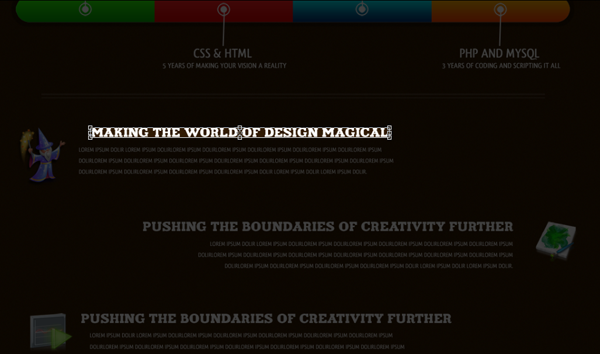
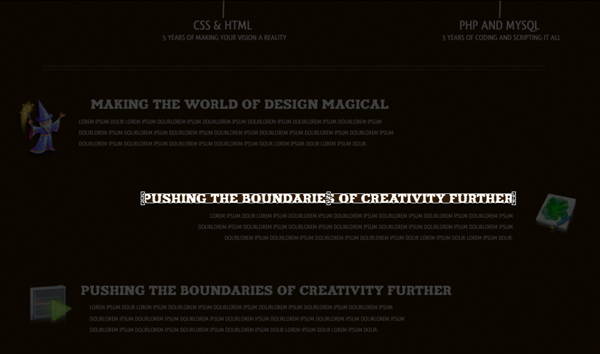
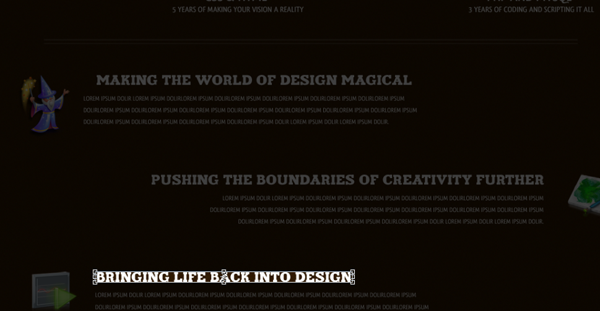
<div id="graphic_design">Graphic Design -- 6 Years of Making Things Pretty</div> <div id="javascript">Javascript -- 5 Years of Making Things POP</div> <div class="four_colored_square"></div> <div id="css_html">CSS / HTML -- 5 Years of Making Your Vision A Reality</div> <div id="php_mysql">PHP and MySQL -- 3 Years of Coding and Scripting It All</div>
Now so far you are probably wondering why I have decided to add text to the divs, won’t that make it look different? No, by adding a text indent of -999px or -999in it means that the text won’t show on the website itself but the Search Engines will see the text, meaning that you are going to get better rankings because they will all be able to tell what the background image of the div actually says. I use this method when I am creating a coming soon page or something simple like this so that the Search Engines can start viewing the website right away.
Anyway, time to set up our icons and actual information. Here is the CSS:
.spacer_lines { float: left; margin-top: 45px; clear: both; background-image: url(images/spacer_lines.PNG); height: 20px; width: 915px; margin-left: 90px; margin-bottom: 45px; } .wizard_overall { float: left; height: auto; width: 680px; margin-left: 21px; } #wizard_icon { background-image: url(images/wizard.PNG); background-repeat: no-repeat; float: left; height: 109px; width: 95px; text-indent: -999px; } #wizard_header { background-image: url(images/magical_design.PNG); background-repeat: no-repeat; float: left; height: 18px; width: 543px; margin-left: 25px; text-indent: -999px; } #wizard_header_text { float: left; width: 570px; font-family: Arial, Helvetica, sans-serif; height: auto; padding-top: 10px; padding-left: 5px; margin-left: 10px; } .artwork_overall { float: right; height: auto; width: 770px; margin-right: 21px; clear: left; margin-top: 70px; } #artwork_icon { background-image: url(images/artwork.PNG); background-repeat: no-repeat; float: left; height: 77px; width: 79px; text-indent: -999px; } #artwork_header { background-image: url(images/creative_boundaries.png); background-repeat: no-repeat; float: right; height: 18px; width: 674px; text-indent: -999px; } #artwork_header_text { float: right; width: 640px; font-family: Arial, Helvetica, sans-serif; height: auto; padding-top: 10px; padding-right: 31px; } .playbtn_overall { float: left; height: auto; width: 680px; margin-left: 21px; clear: both; margin-top: 70px; } #playbtn_icon { background-image: url(images/play_button.PNG); background-repeat: no-repeat; float: left; height: 71px; width: 80px; text-indent: -999px; } #playbtn_header { background-image: url(images/design_life.png); background-repeat: no-repeat; float: left; height: 18px; width: 440px; margin-left: 25px; text-indent: -999px; } #playbtn_header_text { float: left; width: 580px; font-family: Arial, Helvetica, sans-serif; height: auto; padding-top: 10px; padding-left: 5px; margin-left: 10px; }
Many people will disagree with putting underscores in the CSS, but I haven’t been able to see any downside in regards to the underscores. Now for the HTML:
<div class="spacer_lines"></div> <div class="wizard_overall"> <div id="wizard_icon"></div> <div id="wizard_header">Making the World of Design Magical</div> <div id="wizard_header_text">lorem ipsum dolir lorem ipsum dolirlorem ipsum dolirlorem ipsum dolirlorem ipsum dolirlorem ipsum dolirlorem ipsum dolirlorem ipsum dolirlorem ipsum dolirlorem ipsum dolirlorem ipsum dolirlorem ipsum dolirlorem ipsum dolirlorem ipsum dolirlorem ipsum dolirlorem ipsum dolirlorem ipsum dolir.</div> </div> <div class="artwork_overall"> <div id="artwork_icon"></div> <div id="artwork_header">Pushing the Boundaries of Creativity Further</div> <div id="artwork_header_text">lorem ipsum dolir lorem ipsum dolirlorem ipsum dolirlorem ipsum dolirlorem ipsum dolirlorem ipsum dolirlorem ipsum dolirlorem ipsum dolirlorem ipsum dolirlorem ipsum dolirlorem ipsum dolirlorem ipsum dolirlorem ipsum dolirlorem ipsum dolirlorem ipsum dolirlorem ipsum dolirlorem ipsum dolir.</div> </div> <div class="playbtn_overall"> <div id="playbtn_icon"></div> <div id="playbtn_header">Bringing Life Back Into Design</div> <div id="playbtn_header_text">lorem ipsum dolir lorem ipsum dolirlorem ipsum dolirlorem ipsum dolirlorem ipsum dolirlorem ipsum dolirlorem ipsum dolirlorem ipsum dolirlorem ipsum dolirlorem ipsum dolirlorem ipsum dolirlorem ipsum dolirlorem ipsum dolirlorem ipsum dolirlorem ipsum dolirlorem ipsum dolirlorem ipsum dolir.</div> </div> <div class="spacer_lines"></div>
Adding Social Network: Now it is time to set up the CSS for the social networking aspects of the website.
.socialnetwork_overall{ clear: both; float: left; height: auto; width: 840px; margin-left: 120px; } #twitter_icon { background-image: url(images/twitter_icon.PNG); background-repeat: no-repeat; float: left; height: 87px; width: 129px; text-indent: -999px; } #deviantart_icon { background-image: url(images/deviantart_icon.PNG); background-repeat: no-repeat; float: right; height: 87px; width: 150px; text-indent: -999in; }
And now for our HTML; of course you will want to change the twitter and deviantART links to your own. The following HTML will also close our index.html document.
<div class="socialnetwork_overall"> <a href="http://www.twitter.com/cpdpueblo" id="twitter_icon">Follow Me On Twitter</a> <a href="http://custompowerdesigns.deviantart.com/" id="deviantart_icon">Find My Art at DeviantART</a> </div> </div> </body> </html>
Click To View Freelance CV Live
Your ads will be inserted here by
AdSense Now!.
Please go to the plugin admin page to paste your ad code.