Today’s tutorial is brought to you by the motion picture (fancy name for movie) Desipicable Me. This tutorial was inspired by my 6 month old son who can, believe it or not, sit through the entire movie at least twice a day without any form of unhappy faces or noises. He laughs at the movie (yes laughs), and is just awestruck by it. Since it is such a vital tool to getting through the work day (wonders of a freelancer) I wanted to dedicate a quick tutorial to the cute little guys. Enjoy!
As always this is what we will be creating:

Getting Started
Create a new document 900×900 and leave it as a transparent bg. Put your foreground color as yellow
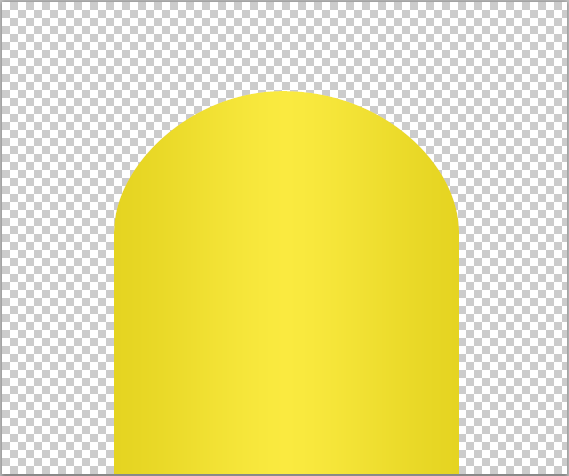
The Body
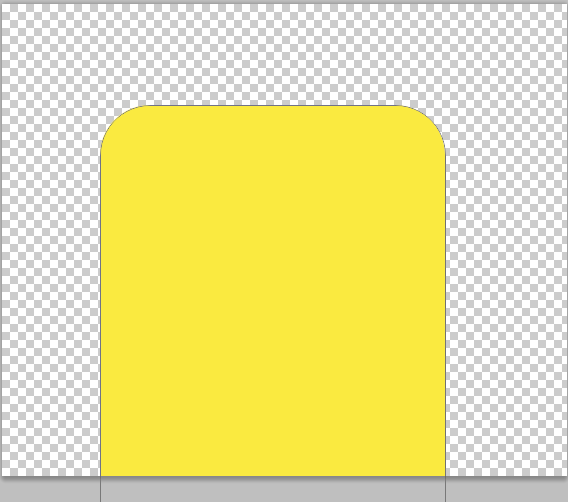
Now draw out our rounded rectangle 345px wide and make it go below the document.
Now grab your Add Anchor Point Tool and put it in the center of our rounded rectangle.
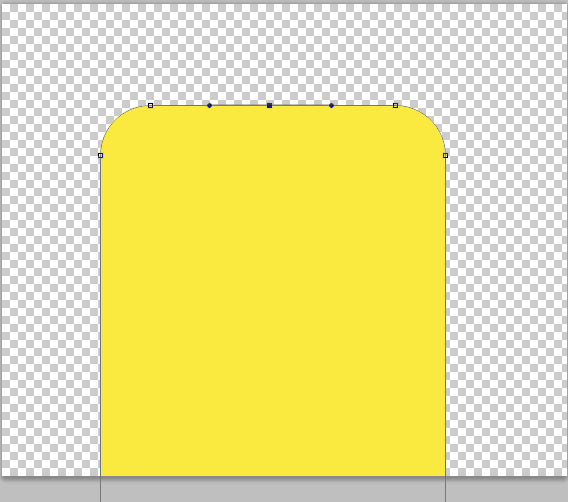
Now grab your Delete Anchor Point tool and remove the anchor points to the left and right of the point we just added.
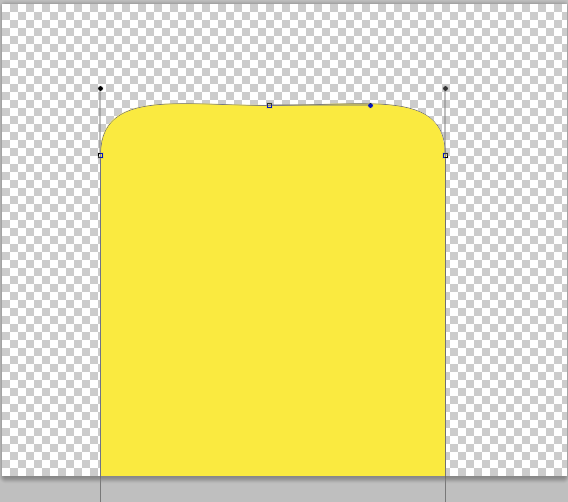
Grab your Add Anchor Point tool again and drag the anchor point you added upward to give us a nice, round top.
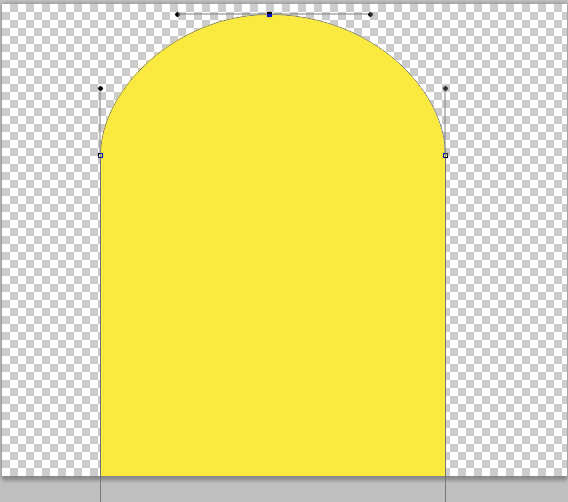
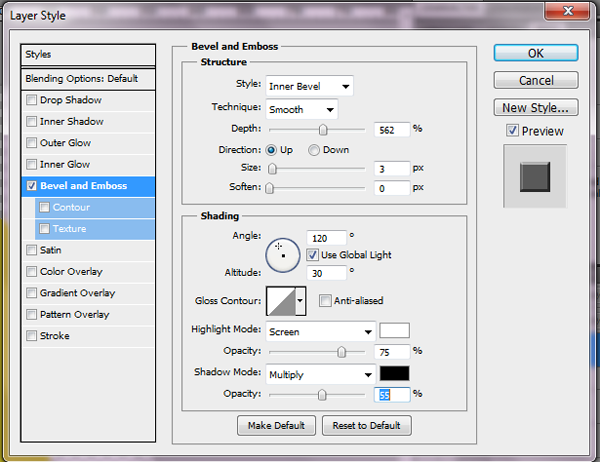
Now drag your guy down a little bit so he is not so close to the top. Apply the following styles to our guy:

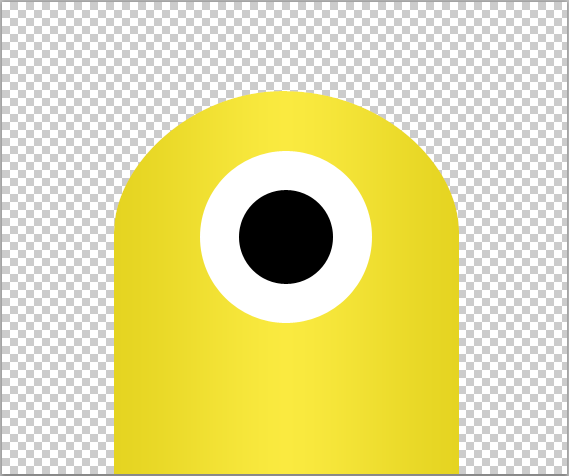
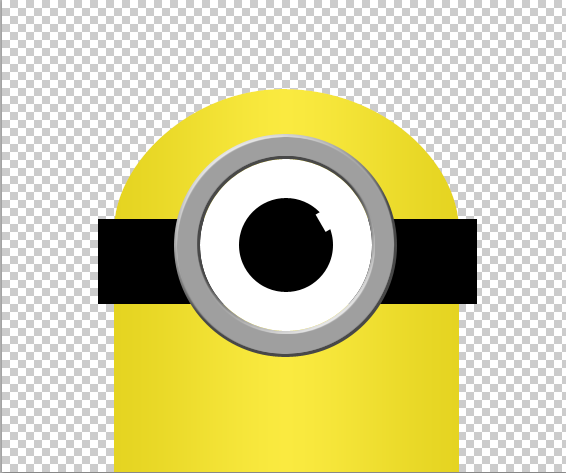
The Eye and Goggle
Alright, let’s get started on the eye. Grab your ellipse tool. Draw out a new circle, filled with white, 175×175. Center it horizantally on our minion and 70px from the top of his head.

TIP: You can rasterize your layers because we are not trying to keep this layer vectorized.
Grab your ellipse tool again, this time with black selected, and draw out a circle that is 95×95. Center it, horizantally and vertically, with our white circle since this is the our pupil.
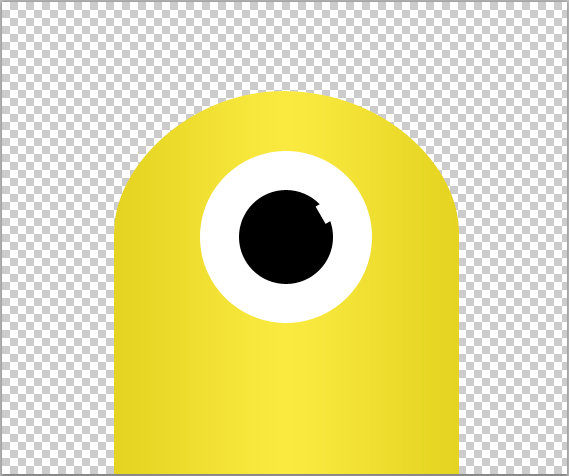
Now grab your rectangle tool, with white as your foreground, and draw out a small rectangle 20×23 tall. Hit CTRL+T to rotate the document. Hold down shift and rotate 3 times, moving your mouse to the right. Place the rectangle at the edge of our pupil.
Alright, our eye is finished but now we need to work on the goggle. Create a new layer.Grab your ellipse toll again and use #9f9f9f as your fill color. Draw out a circle that is 222×222. Center the circle horizantally and space it 45px from the top.

Now use our CTRL+thumbail of our white circle to make a selection and hit delete to make our grey selection the proper size we need it to be.

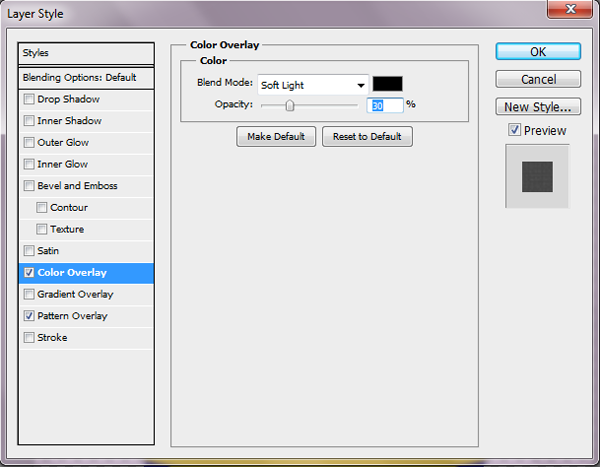
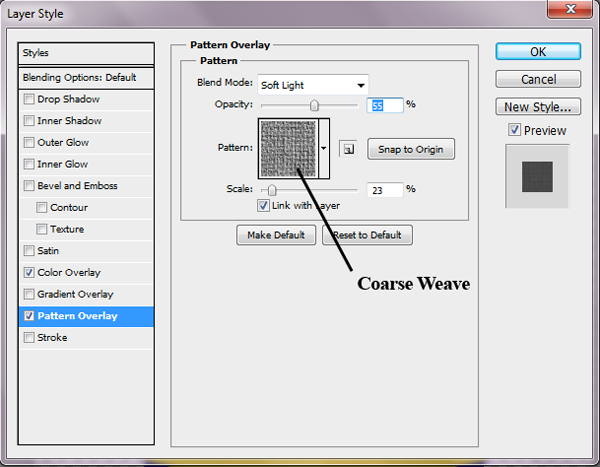
Apply the following layer styles:
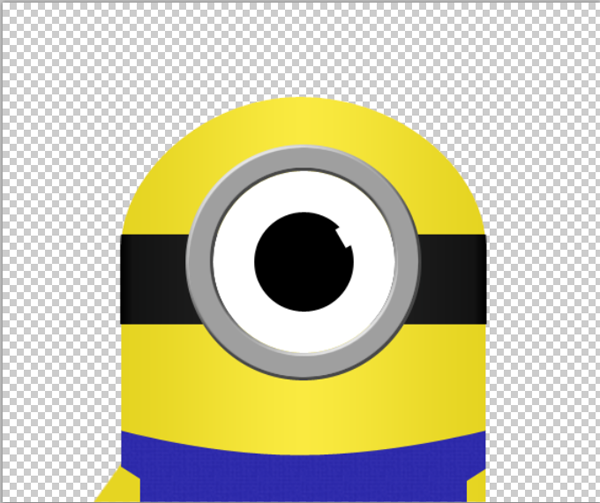
Now to set up our goggle straps. Create a new layer, just above your main character layer.Grab your rectangle marquee tool and drag out a selection that is 380×85 and fill it with black. Center it horizantally on our eye piece, making it just a bit lower than exactly center.
Now we will give it the illusion of wrapping around in a minute but first we have to delete the excess. So hold your CTRL key again and this time click the thumbnail of your character layer. Don’t hit delete yet, go to select—modify—expand and choose 1px for the space. Now you can right click and choose select inverse and hit delete.
Now apply the following layer styles to give it the wrap around appearance.
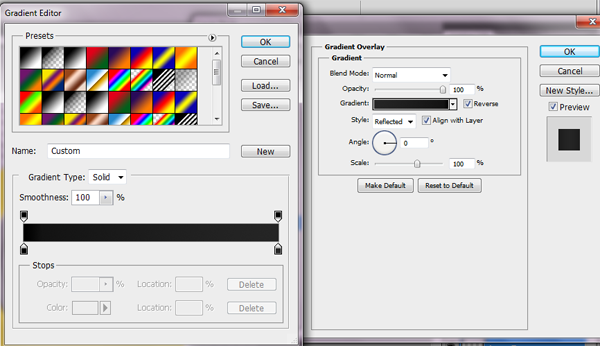
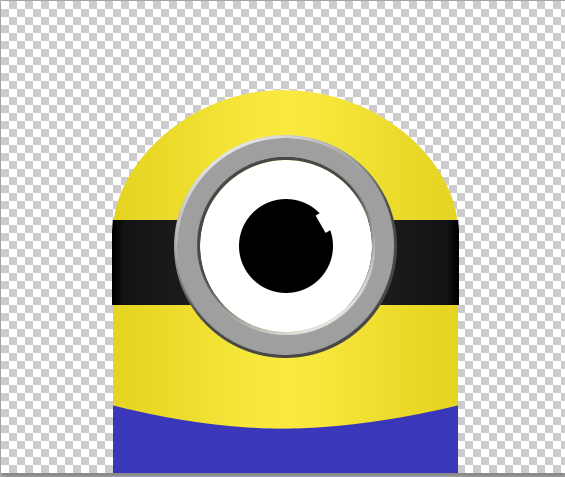
The Pants / Coveralls
Alright, we will be doing his pants now. Grab your rectangle tool again and draw out a rectangle that is 385px(w) by 75px(h). Place it directly at the bottom of our document. Do Not Rasterize Yet
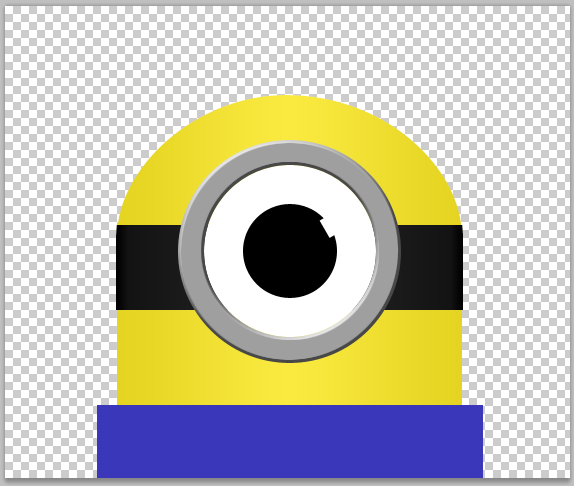
Grab your Add Anchor Point tool and place an anchor in the center of your rectangle. Drag it down to give it a nice curve.
Now go ahead and rasterize your layer. Hit CTRL+the thumbnail of our main character, select inverse, and hit delete.
Now make a selection like this:
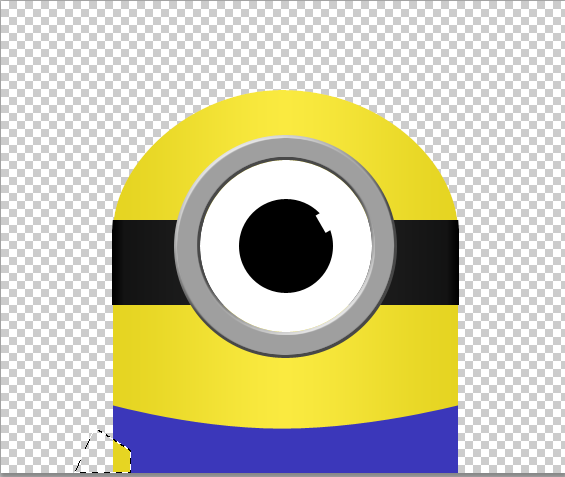
And hit the delete key to remove the selection.
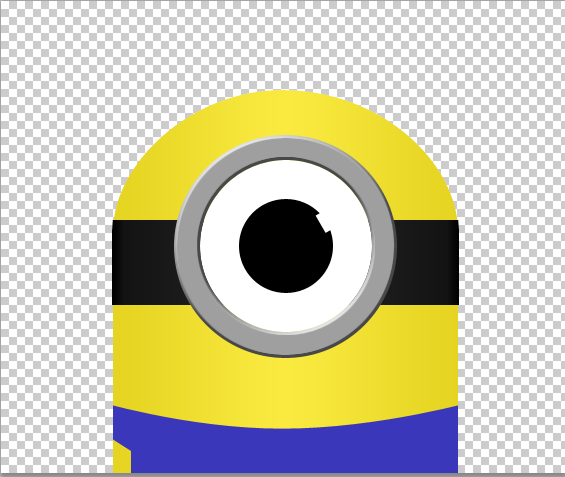
Repeat for the other side:
TIP: I created a new layer and filled it with white for the other side. That way the selections were the same.
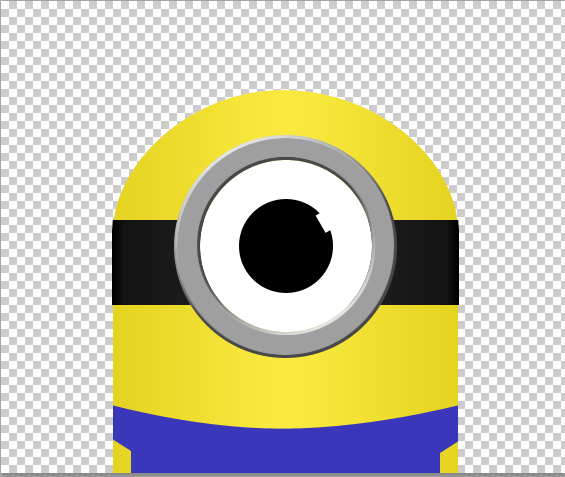
Now add the following layer styles:
Simple Arms
Now grab your rectangle marquee tool and draw out a rectangle that is 60px(w) by 130px(h). Create a new layer and fill your selection with #e6d522.

Drag your layer to be just above our main character layer. Now hit CTRL+T to free transform. Move your rectangle to the bottom of your document and rotate it until it looks like a good arm.
Now duplicate that layer, flip horizantal, and place it on the other side.

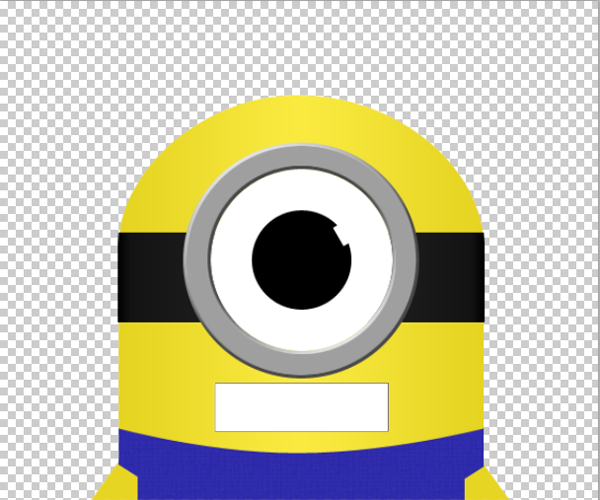
The Mouth / Smile
Now, for his mouth. You can use anything you want for the mouth, but we will be walking you through the process of creating a simle smiling mouth.
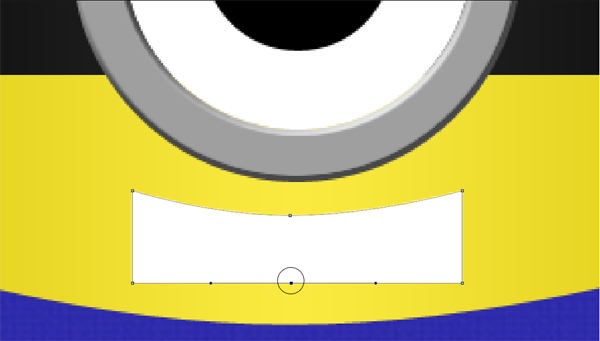
Alright, grab your rectangle tool again and draw out a rectangle that is 165px(w) by 45px(h). Center it horizantally with your goggle.
Now zoom in on your document and grab your Add Anchor Point tool. Place an anchor point in the middle of your top line and drag it down to make a smile shape.

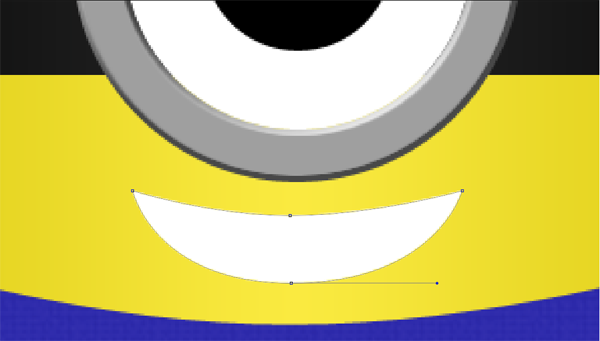
Hold down the shift key and add another anchor point below our first one. Get it pretty close to the exact same area and holding the shift key will make it exact for you.
Before you move that one down we need to delete our left and right bottom anchor points. To do this grab your delete anchor point tool and take out both of those anchor points. This will automatically make the angle of the smile the same.
Now you just need to drag the anchor point down to give our guy a wider smile.
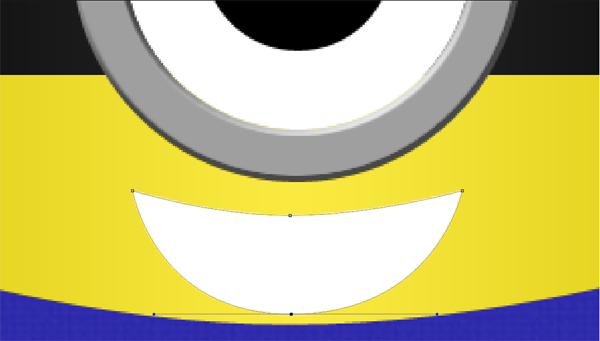
Now change your fill color of the shape to black and then rasterize your layer.
Alright, we are going to be creating the tongue again. Grab your eclipse tool and draw out a shape like this. The fill color is #f6abab.
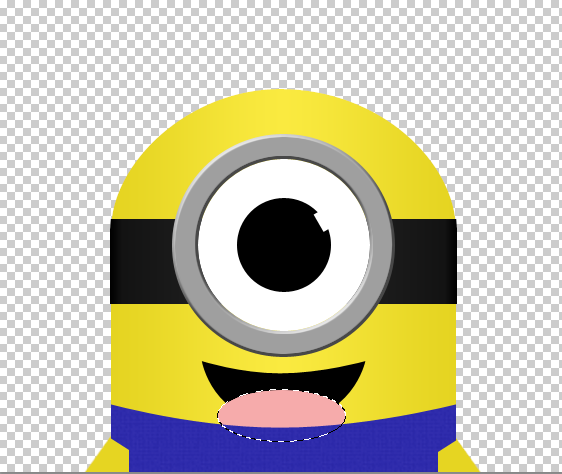
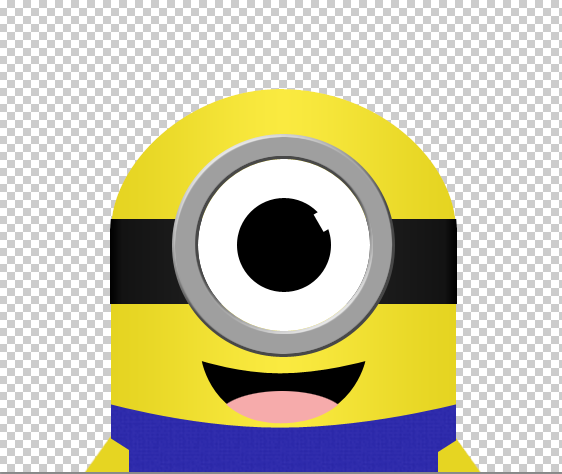
Hit CTRL+click the thumbnail of our mouth layer. Choose select inverse and hit delete.
Now grab your rectangle marquee tool and create a selection like this:

Create a new layer above our tongue layer, and fill it with white.
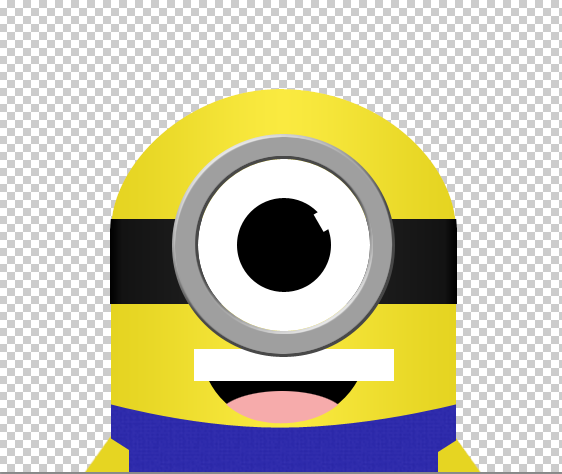
Now, do the same CTRL+thumbnail trick that we did for our tongue to make the teeth.
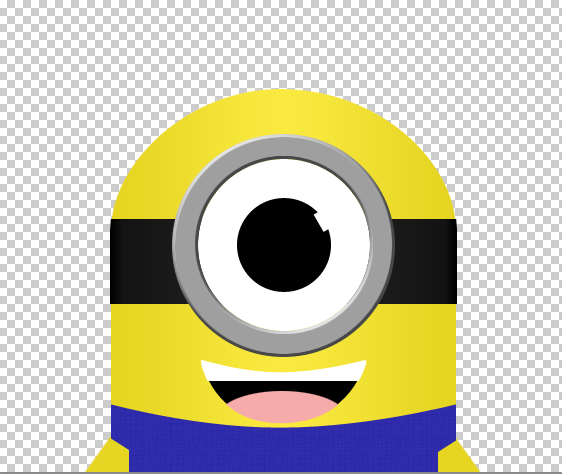
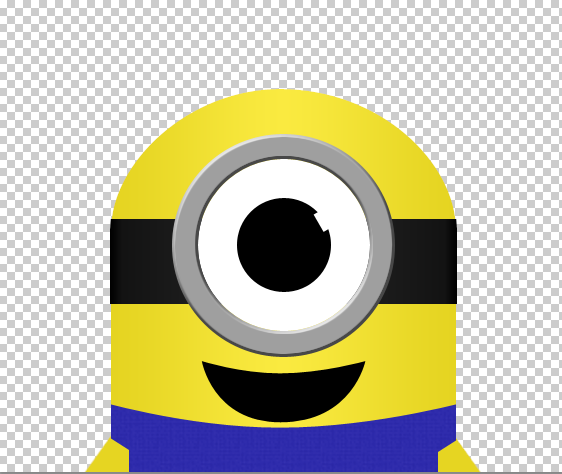
Conclusion
There, you are done now! You can add some hair to him if you want, and you may want to use the burn tool to give him a little more of a rounded look, but this is our base character.
Added Styling
You can do quite a few more things with this simple guy to just by using the burn and dodge tools and a brush. This is my final character:

I do hope you have enjoyed the tutorial and as always would love any comments you guys have and to see your work.