Your ads will be inserted here by
AdSense Now!.
Please go to the plugin admin page to paste your ad code.
Today we are continuing our new series of User Interface Design. With the vastly rising popularity of mobile apps and mobile web design User Interface Design is now a huge area for Designers to become proficient in. In this quick tutorial I will be walking you through the process of creating a few simple form elements in Photoshop.
As always this is what we will be creating:

Resources
Pixel Patterns V2 by Rich Hemsley
50 Free Menu Android Icons by AndroidIcons
Gettings Started
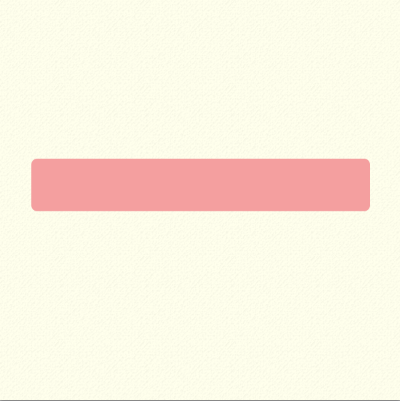
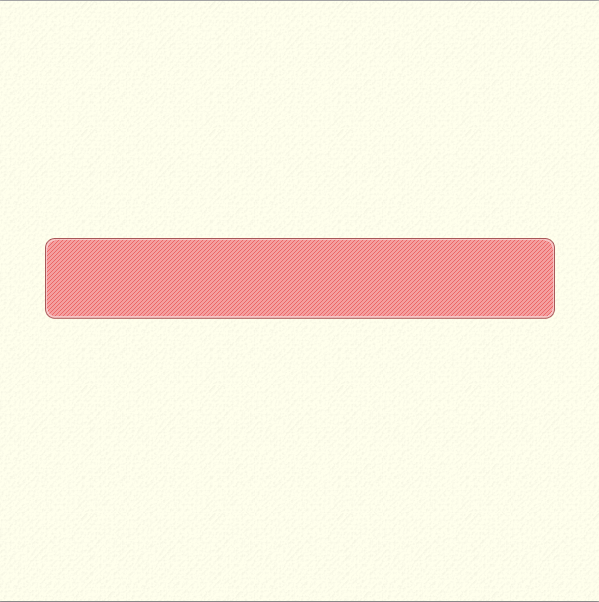
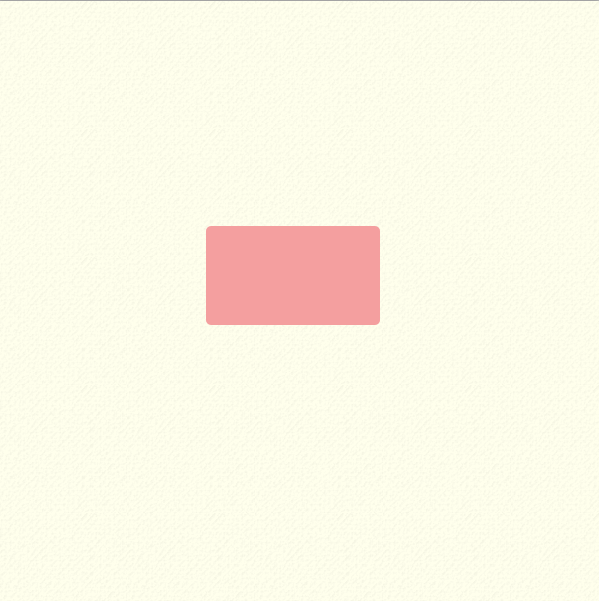
Start out by creating a new document 600px by 600px, and fill it with #ffffed.
Now grab your rounded rectangle tool and choose 10px for your radius. Change your foreground color to #f5a0a0. Now drag out a rectangle that is 510px by 80px. For now go ahead and center the rectangle on the document.
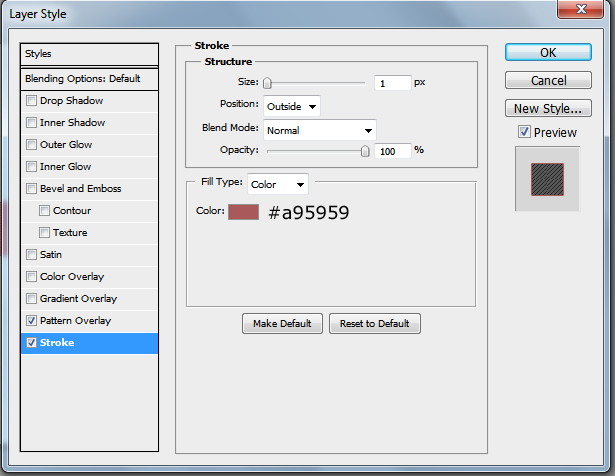
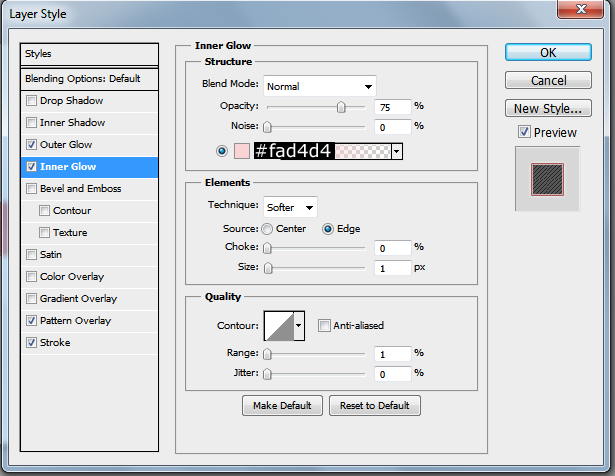
Now, make sure you load the Pixel Patterns V2 that we downloaded in our resources earlier. Open your layer styles for your rounded rectangle and apply the following three layer styles.
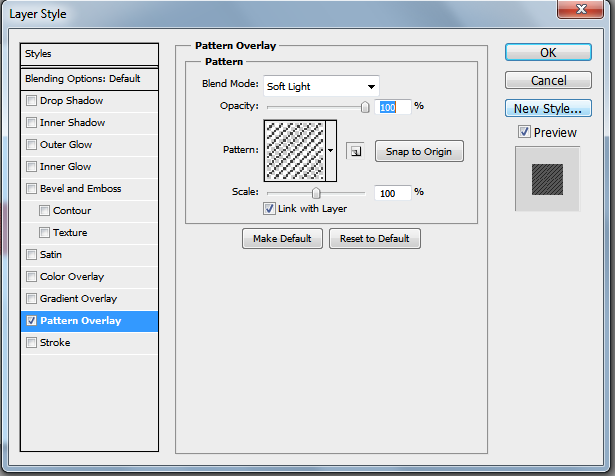
The pattern I am using is Pixel 15
You should have a nice looking rounded rectangle that will be the background for your message box. As you can tell by color the first alert box we will be making is an error box.
The Icon
Alright, now open up the Android Icons freebie that we downloaded earlier. You can choose whichever icon that you want, but make sure to resize it to 42px tall. Drag it over to your document and space it 20px from the left and center it vertically on your alert box.
Go ahead now and set your layer style to Luminosity. This will give your default style an letterpress style look.
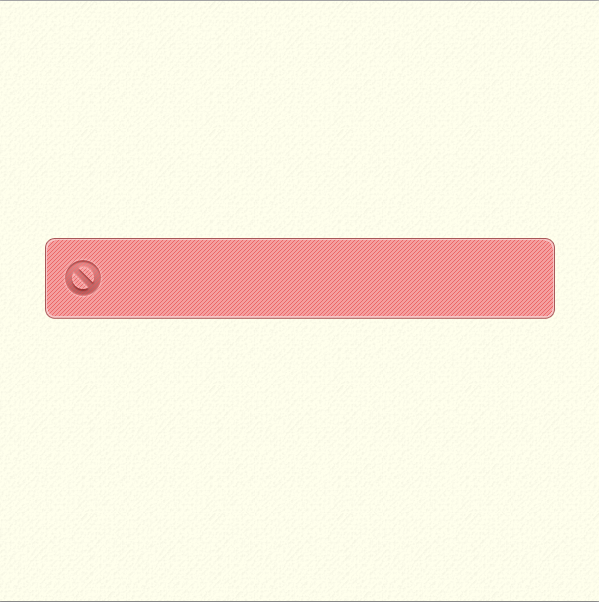
The icon I used was the stop icon resized to 42px.
The Typography
Alright, now choose your favorite font, <sarcasm>or a font that would look good if your favorite font is something incredibly weird that only works in one document </sarcasm>
Change your foreground color to #b56060. Type out your information into the text box. Depending on the size of information you want in there will depend on the font size. Since I am using dummy text, and I don’t put a lot in my alert boxes, my font size is going to be 30pt. Center your text vertically on your icon and space it 20px from the right of your icon.
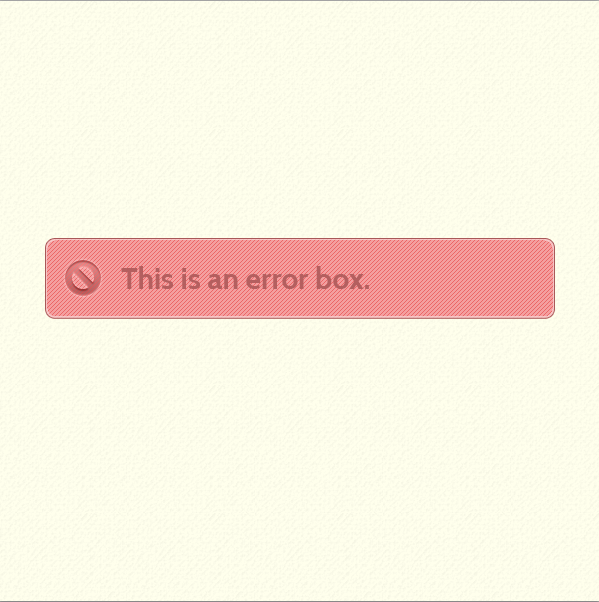
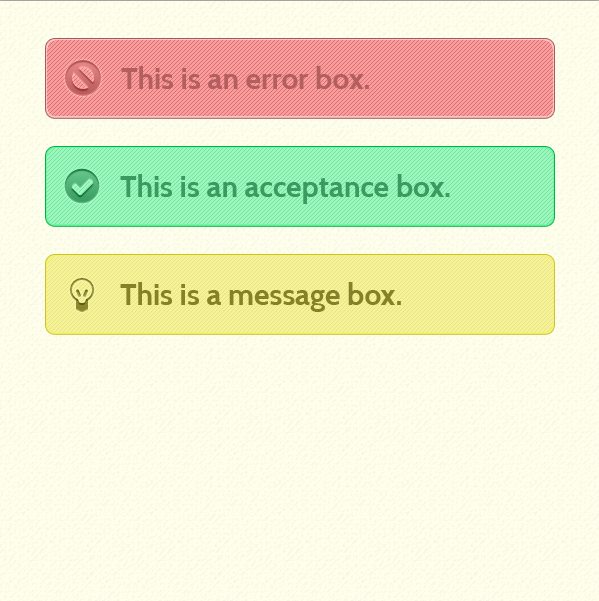
And there you have it. Our first box is finished. To create the other two boxes you will just duplicate your layers, change the background color of the box, your inner glow, and your stroke, and then your icon. You can find the colors and icons we used below.
Yellow
Your ads will be inserted here by
AdSense Now!.
Please go to the plugin admin page to paste your ad code.
Background: #f5f2a0
Inner GLow: #faf560
Stroke: #c9c431
Icons: light (resized to 42px tall)
Green
Background: #a0f5c0
Inner Glow: #69f999
Stroke: #08b248
Icons: tick (resized to 42px tall)
The Tooltip
Now let’s go ahead and create our tooltip style alert box. We will be using the same color scheme, same colors, and same layer styles as our larger alert boxes, but we will be changing the shape and icon size.
To get started grab your rounded rectangle tool again and keep the radius at 10px. Set your foreground color to #f5a0a0, just as before, and draw out a rectangle that is 175px by 100px.
Alright, time to add our bottom piece. To do this grab your Custom Shapes tool and make sure you have them set to symbols. Choose the rounded triangle tool (Sign 3). Keep your foreground color the same and draw out a triangle that is 30px by 15px. Set up your rectangle to come just at the bottom of your rounded rectangle, and horizantally centered.
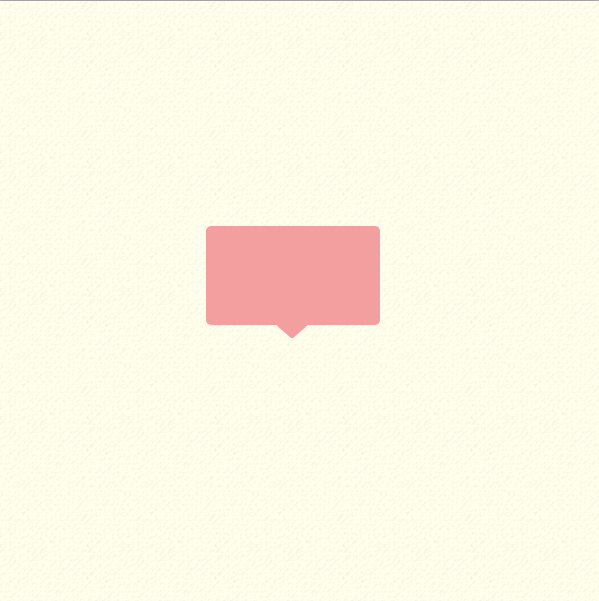
Alright, now rasterize both layers. We are doing this because we need just one shape for our Layer Styles. To make one shape you can right click your triangle shape and choose Merge Down, or you can select both shapes and choose Merge Layers.
Now, go back to your first alert box and copy the layer styles. To do this right click your box background layer and choose copy layer styles. Now go to the rectangle we just designed and choose Paste Layer Styles.
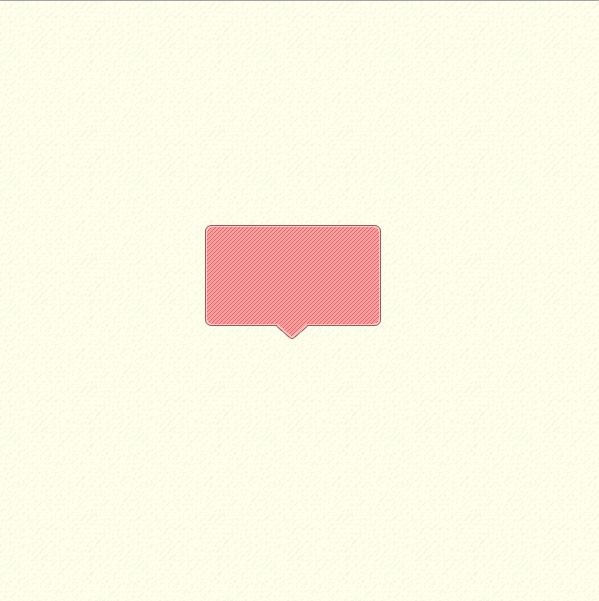
Please note that this may not work with your version of Photoshop. If it does not you will have to manually apply the layer styles.
Alright, now grab your type tool again and make a text selection that is 155px by 55px. Use the same font, change the size to 23pt, and type out whatever text you want to use. center it horizantally and vertically on your rounded rectangle.
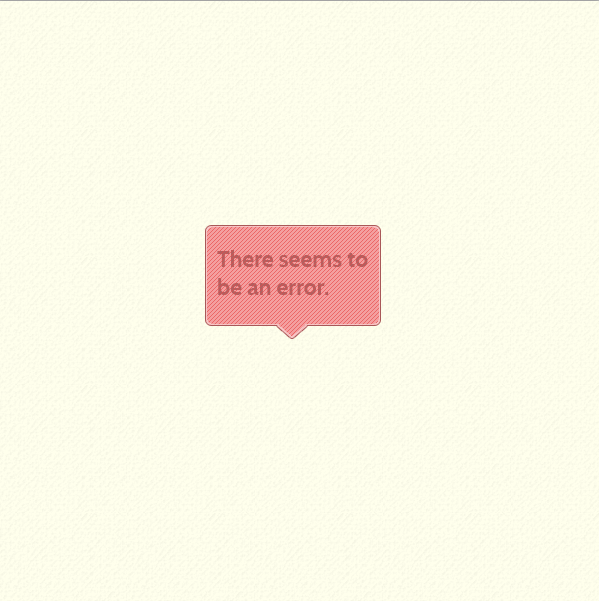
Now, grab the same icon you used for the first alert box, or a different one if you want to, and re-size it to 30px tall. Drag over the icon and place is on the bottom right corner 10px from the bottom and 10px from the right side.

Alright, now we are done with that box as well. You can create the other two boxes using the same layer styles from the other two boxes. Just copy and paste the layer styles.
Conclusion
Our document is finished! You can add a nice input box to see how it will look as well if you wanted to. These input boxes are pretty simple to design, good looking, and easy to turn into CSS3 and HTML5 forms *hint hint*.
Be sure to check it out on Dribbble!
Your ads will be inserted here by
AdSense Now!.
Please go to the plugin admin page to paste your ad code.