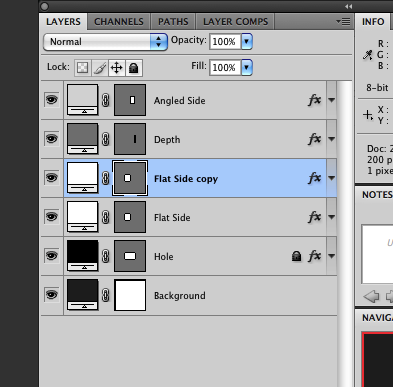
Toggle Switch Photoshop Tutorial
Your ads will be inserted here by
AdSense Now!.
Please go to the plugin admin page to paste your ad code.
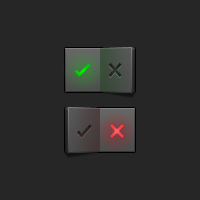
Hey, guys. Today, we’re going to learn how to create a toggle (on/off) switch, and we’re gonna do it using vector shapes and layer styles. That’s right. For now, say goodbye to working in raster and open your eyes to the bright future of resolution independence. Kinda warm and glowy, isn’t it? Good stuff.
In order to create those switches in the image above, you’re gonna need to familiarize yourself with the Pen (P) and the Rectangle and Rounded Rectangle (U) tools. Plus, get ready to wield the Path Selection and Direct Selection (A) tools. Those will be your weapons in the steps ahead. Alright, to the Photoshops!
Step 1: Create the Background
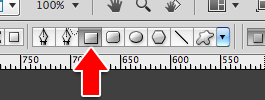
We’ll start with a new canvas of, say, 200 x 200px. Right away, let’s create a new shape layer for the background by using the Rectangle tool. Press the keyboard shortcut U or select this icon from the toolbar:
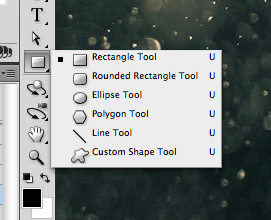
In the Options bar, make sure the Rectangle is selected. Unfortunately, most of those tools (Rectangle, Rounded Rectangle, Ellipse, Polygon, Line, and Custom Shape) share that same keyboard shortcut: U.
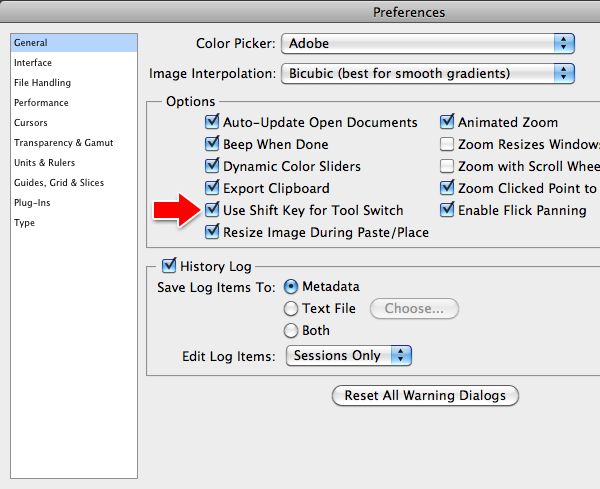
If you enable Preferences > General > Options > Use Shift Key for Tool Switch, you can cycle through all those tools by holding Shift and pressing U. Nifty!
So make sure you’re using Rectangle, and drag a shape from the upper left corner of the canvas to the bottom right, covering the entire canvas. This is our background.
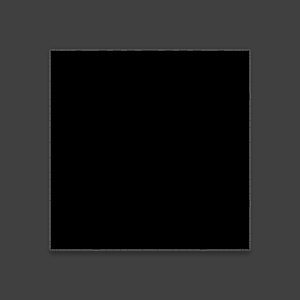
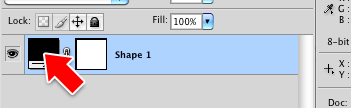
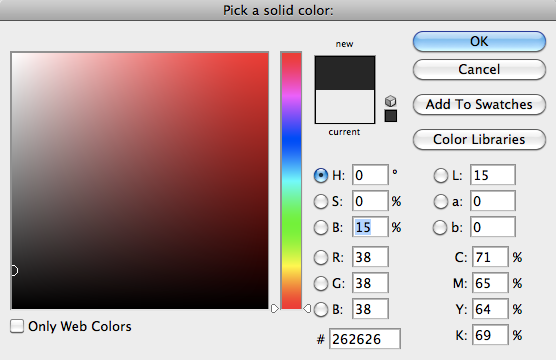
On that new layer in the Layers panel, double-click the colored square on the far left. Use the picker to choose a color for the background; I chose a dark grey (HSB: 0, 0, 15).
Let’s make a hole for the button to rest in. First, add a vertical and horizontal guide at the center of each axis. Since our switch is going to end up being 70 x 44px, set a vertical guide 35 pixels to the right and left of center, and two more guides 22 pixels above and below the horizontal center guide. Go to View > Rulers (Cmd+R) for help with lining everything up exactly.
Tip: Click and drag from the Ruler on either side to pull out a Guide. Hold Shift to force it to snap to the tickmarks along the ruler. If the increments between tickmarks are too big, zoom in for finer detail.
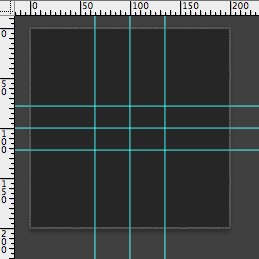
Draw a rounded rectangle with 1px radius inside these new guides. If you have View > Snap enabled as well as View > Snap To > Guides, the shape you draw should snap nicely into the corners of the guides you just set up. Handy!
Change this shape layer’s color (like you did above) to black and double-click an empty area on that layer in the Layers panel to open the Layer Styles dialog box. Click on Stroke at the bottom, and set it to 1px of black on the Outside. This will be the hole in which our switch toggles, and since we’ll building a lot of layers above it and the Backgound, let’s lock those layers so we don’t accidentally mess anything up.

Step 2: Make the Basic Switch Shapes
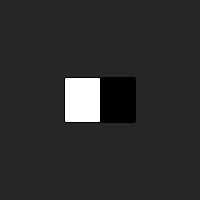
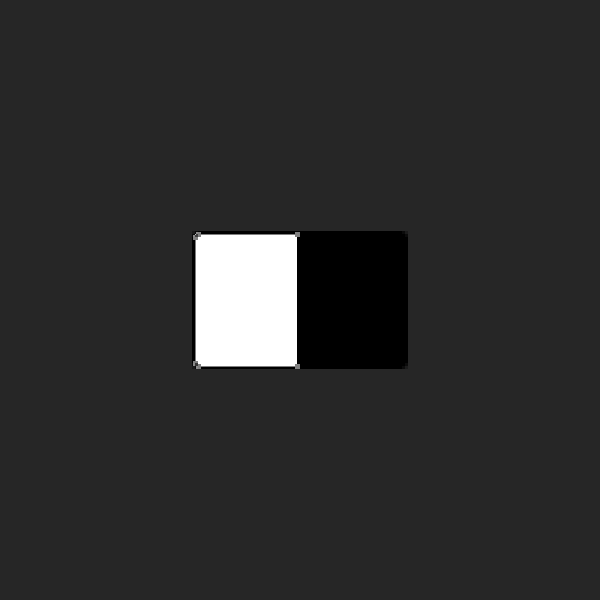
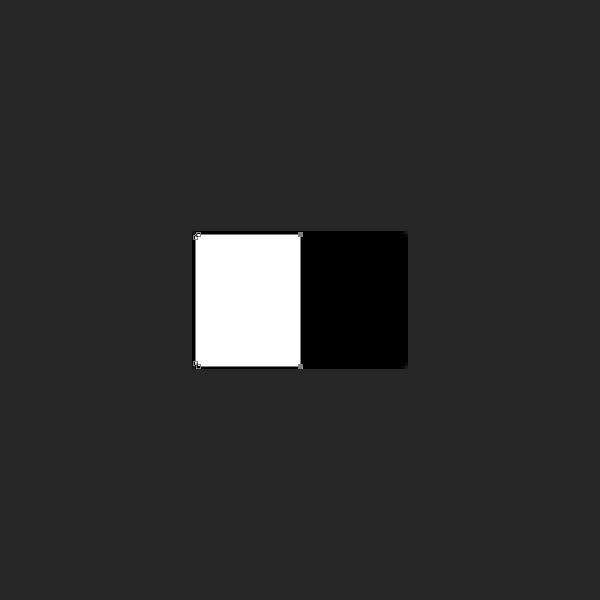
Using the guides, draw another 1px-radius rounded rectangle in the left half of the hole, but this time, let’s make it white, so it’s easier to see.
Now let’s zoom in for a bit, say, 300%. Switch to the Direct Selection tool (the white arrow cursor), and select the two rightmost points in the shape layer.

Delete those two points, then use the Pen tool to close the shape between the remaining two points. Hold down the Option key while you click on the two endpoints so they stay sharp corners without bezier handles.
Once the shape is closed again, move those points 1px right back to the center.
Tip: If you’re zoomed in, pressing the right arrow key to nudge the points won’t snap them to the next pixel. It will only move them a fraction of a pixel, depending on how far you’re zoomed in. For example, if you’re at 200%, each nudge will be one-half of a pixel. If you’re at 500%, one nudge equals one-fifth of a pixel. So check your zoom level and make sure to nudge the correct number of times. Otherwise, you’ll end up with shape perimeters lying between pixels, and that makes for fuzzy, anything-but-sharp lines. Bad bad bad.
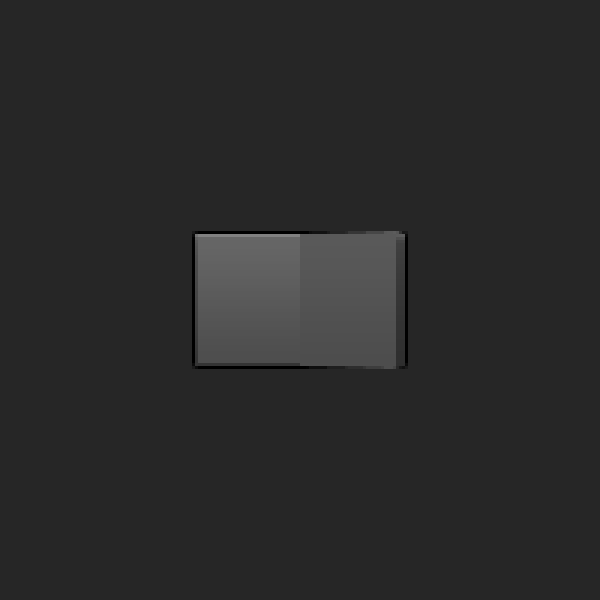
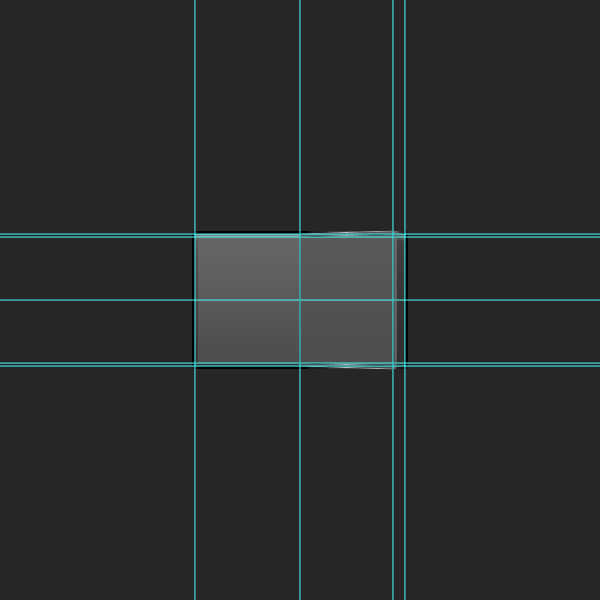
So essentially, what we just did was create a rounded rectangle on the left half with sharp corners on the right. This is the flat, pushed down side of our toggle switch.
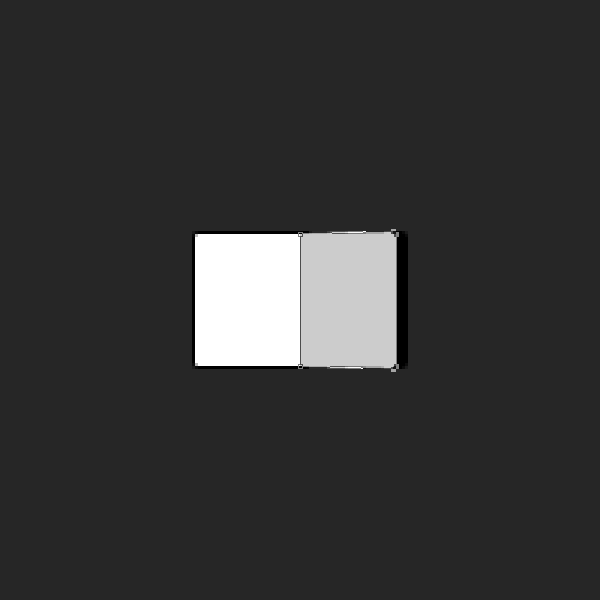
Copy that layer, flip it horizontally, then move it over to the right to mirror the first half. Try giving it a slightly darker grey color so you can tell it apart from the left side. This will be the angled, raised side of our toggle switch.

Select the two points in the top right of our angled side, and move them up 1 pixel. Same thing with the bottom two, but move them down.

Now move all four of those points left 3 pixels. This will give the illusion that the right side is flipped up in perspective. Also, let’s change the shape color to a light grey so we can tell it apart from the left side.
Next, we’ll use the pen tool (and some extra guides) to add a rhombus shape, which will imply depth on the side of our switch. Make sure this new shape layer is below the angled side and overlaps it. Also, let’s make its color darker than the right side to be more depth-y.
Alright, we’ve got our basic switch shape! Time to apply some layer styles.
Step 3: Light the Switch
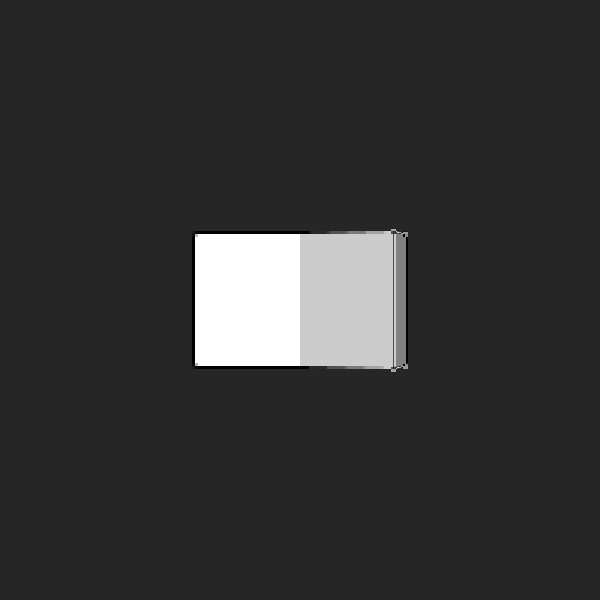
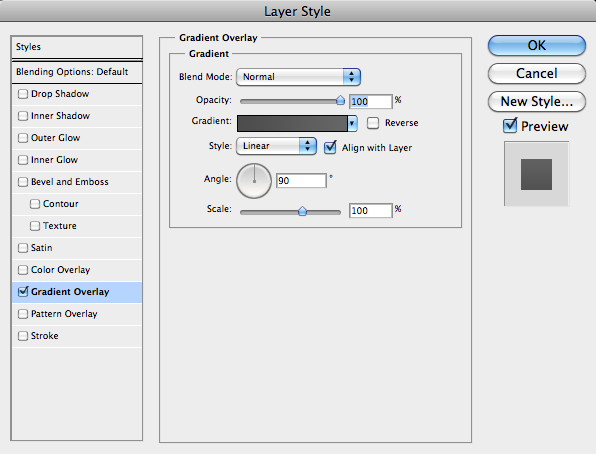
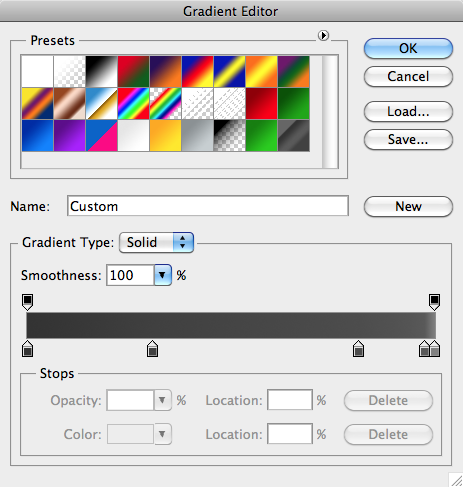
We’ll start with the left side of the switch. Double-click its layer to bring up the Layer Styles dialog. Set the Gradient Overlay to a subtle dark grey ramp. I used (HSB: 0, 0, 40) to (HSB: 0, 0, 30).
Then set a similar style on the right side, but start slightly darker on top. I went from (HSB: 0, 0, 35) to (HSB: 0, 0, 30) for this.

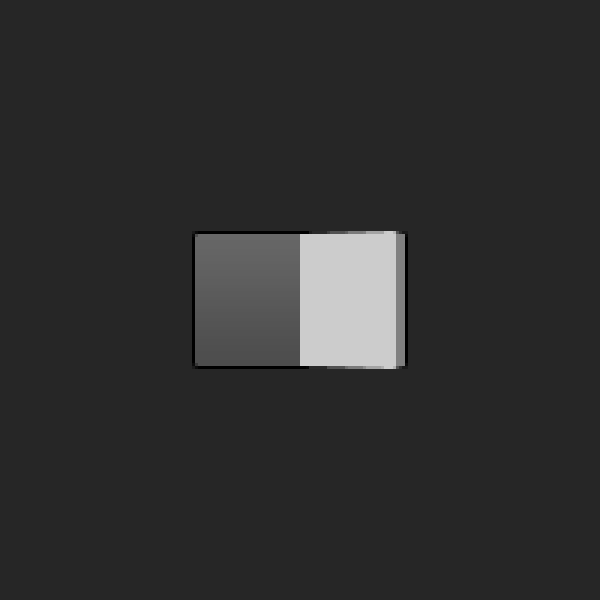
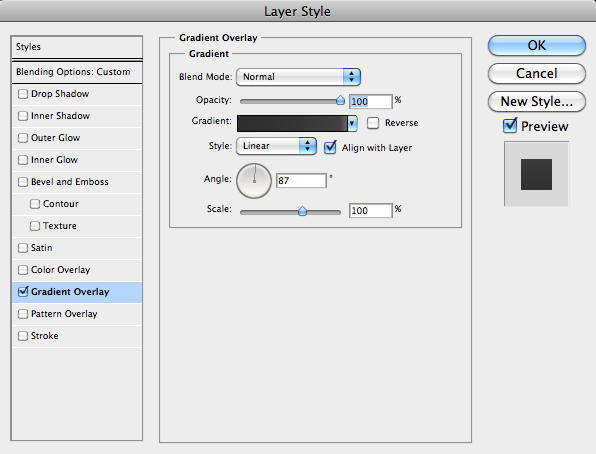
In order to imply a rounded corner, we’ll try to create the illusion of a highlight on the top edge of the Depth shape. Set a Gradient Overlay with a light grey at the top (HSB: 0, 0, 40) that quickly fades to a darker grey (HSB: 0, 0, 25) and ends at an even darker grey (HSB: 0, 0, 18) at the bottom.

Use the Angle setting to tilt the gradient to 87 degrees so that it lines up with the angle at the top of the depth shape.

Step 4: Bevel the Edges
We want this switch to look three-dimensional, so let’s spice it up a bit and add a bevel around the edge. Start by duplicating the Flat Side layer.
Next, use the Rectangle tool in Subtraction mode to cut a hole out of the middle, leaving just a pixel width around the edge.
Change the existing Gradient Overlay to something more like this:
The HSB values for each of those points in the gradient from right to left (top to bottom) are: (0, 0, 50), (0, 0, 35), (0, 0, 30), (0, 0, 25), (0, 0, 20).
Next let’s do a similar thing to the right side, but this time, let’s cut out the hole from the middle using the Pen tool. Set up some guides for help snapping to the pixels.
Again, let’s change the gradient to some more like this:

Those HSB values are: (0, 0, 50), (0, 0, 44), (0, 0, 30), (0, 0, 20). Note the difference in their positions along the gradient compared to the bevel on the other side.

Alright, now we’ve got some beveled edges. Starting to look a little more like a physical object, eh? Let’s continue along this road and add a little more depth.
Step 5: Imply Depth
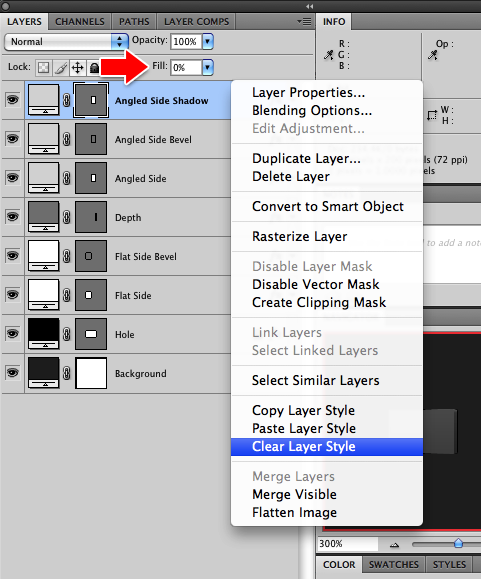
First, we’ll add another layer to the angled, right side of the switch to give it more dimension. Duplicate your Angled Side layer and drag it in the Layers panel to be above the Angled Side Bevel. I’m gonna rename this new layer “Angled Side Shadow”, clear its Layer Style, and lower its Fill to 0%.
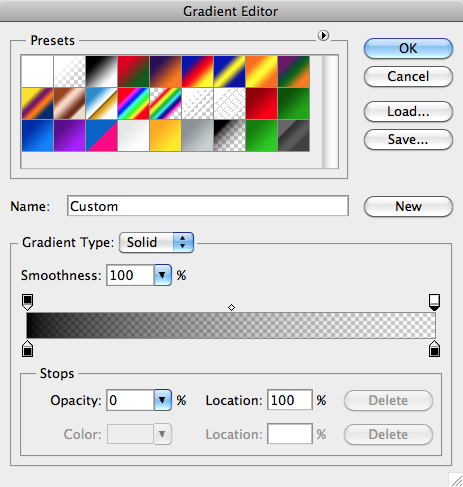
Now double-click the layer and give it a new Gradient Overlay. This time, we’ll make both ends black and make our adjustment on the Opacity points above. Keep the left one at 100% and change the right one to 0%. Also, make sure to rotate the gradient’s Angle setting to 0 degrees. This will set the gradient to run horizontally instead of vertically (the default).
Back in the Layers panel, step down the Opacity of the layer until it looks more angle-y and dimension-y. 25% seemed to be the magic number for me.
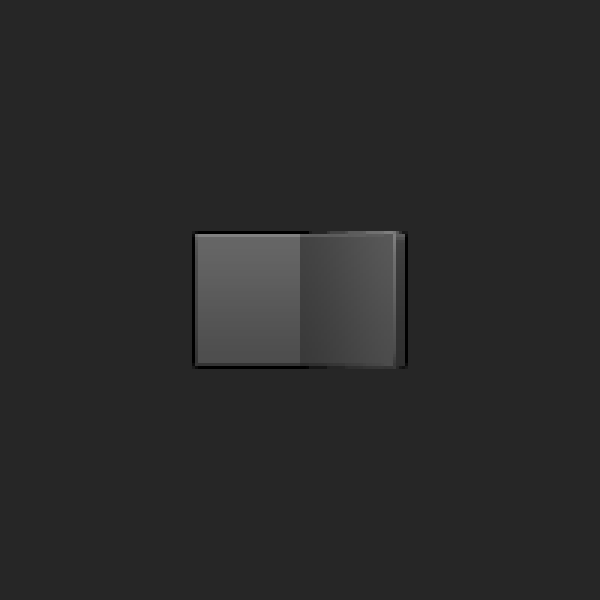
Looking good! Let’s repeat this method to give the Depth shape some more dimension as well. Duplicate the Depth layer, clear the Layer Style, set Fill to 0%, and start a new Gradient Overlay from scratch. This time, we’ll want the darkness to run from right to left, so change the Angle setting to 180 degrees. You’ll also want to pull the transparent side of the gradient toward the middle, since the Depth shape is partially hidden under the Angled side shape.

Alright, almost there!
Step 6: Create the Glyphs
We’ve got a switch now, but it’s totally unlabeled. What are we switching back and forth? Let’s add a checkmark glyph to the left side and an X glyph to the right side.
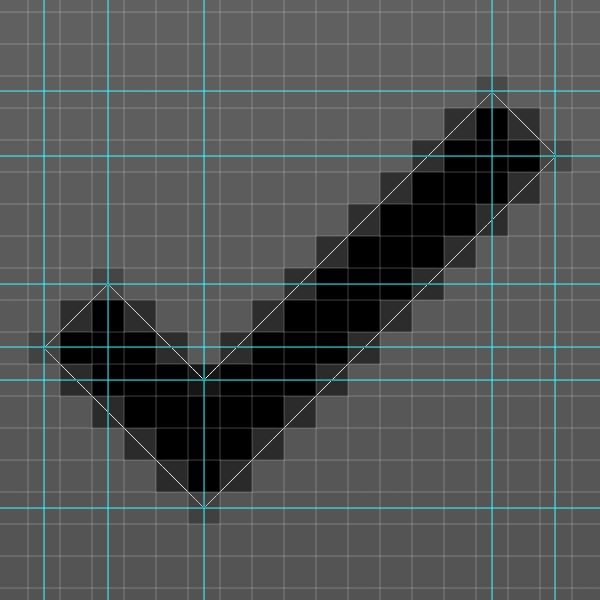
I laid out some guides to help me draw this shape. Unlike before, however, I’ve intentionally positioned my guides on half-pixels. Usually, this would be bad, but if you want pointy corners on an angled shape like a checkmark, the best way to achieve it is by making sure the corners are dead center on a pixel. Sounds counter-intuitive, but you can see that it works.
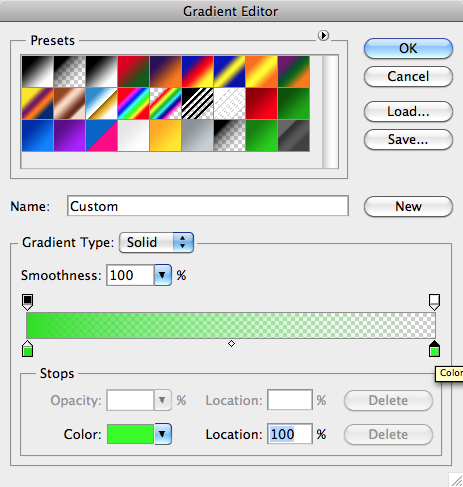
Checkmark created! Let’s give this guy some glowiness. Add a Gradient Overlay, but make it a Radial one this time.
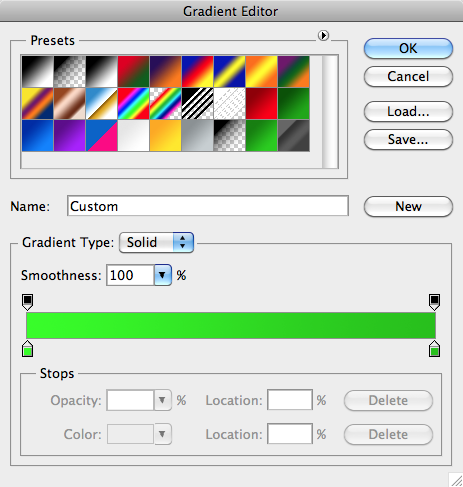
The green gradient I’m using is light in the center and slightly darker on the outside. I used the HSB values (120, 100, 100) and (120, 100, 75). That gives us this:

I used a similar method to create an X shape on the right side of the switch like so:

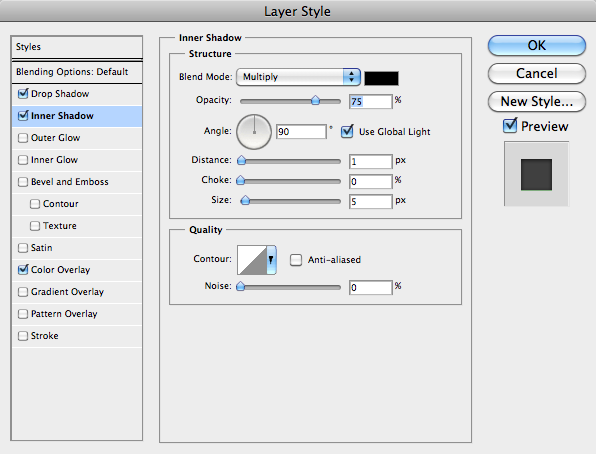
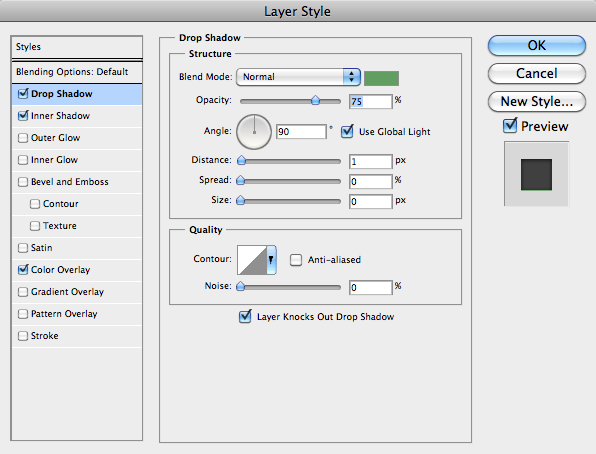
Okay, time to mess with its Layer Style. Since the X is recessed into the face of the switch, let’s give it a dark grey Color Overlay of (HSB: 0, 0, 25). And to sell that recessed look, add an Inner Shadow with the following parameters:
To further imply dimensionality, we’ll add a green Drop Shadow. This gives the impression that the edges of the X shape are beveled and reflecting some of the light cast by the glowing green checkmark. (If this looks kinda weird, don’t worry; we’ll do other things to sell this effect in a moment).

Step 7: Glows and Bounce Light
Our green checkmark is glowy-ish, but I’m not convinced. Let’s really sell the idea that there’s a light behind the button by adding a circle glow over the checkmark.
Use the Ellipse tool to create a circle shape centered over the checkmark, like this:

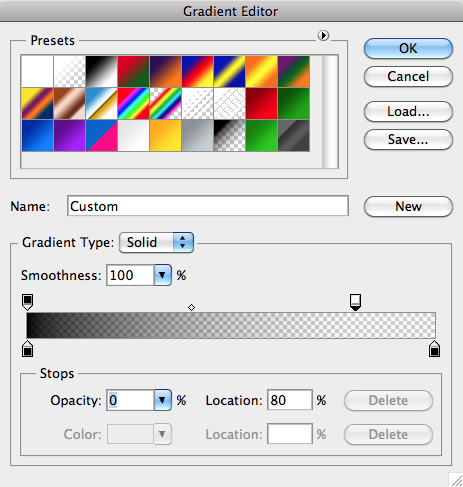
Lower the layer’s Fill percent to zero and add a Gradient Overlay that looks like this:
Reduce the layer’s Master Opacity to 25%, and you should end up with a nice glow over your checkmark.

Finally, let’s add a layer of bounce light to the right side of the switch. Bounce light is when a light source reflects (or bounces) off a nearby surface, changing the look of the surfaces around it. For example, on a bright, sunny day, someone standing on grass will have a slight green bounce light under their chin, which happens because the sunlight reflects off the green grass, picks up some of that color, and illuminates the person’s face from below.
Duplicate the Angled Side Shadow layer, move the duplicate above the original layer, and change the Gradient Overlay to green instead of black. I had to reduce the layer’s Master Opacity to 7% to keep it from being too strong.
Step 8: Add a Cast Shadow
This whole time, we’ve been rendering the switch under the assumption that there’s a global light directly above. In that case, the raise side of the would cast a shadow below it, so let’s create that shape now.
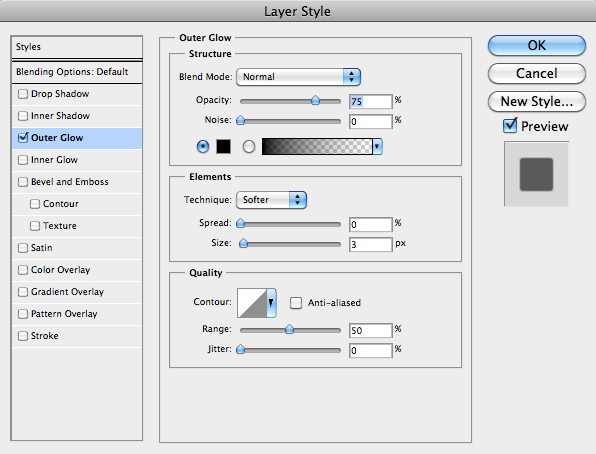
Use the Pen tool to draw a black triangular shape under the right side like this:

That shape is too sharp to be properly shadowy, so let’s fuzz out the edges by giving it a 3px black Outer Glow with a Normal blend mode.
Reduce the layer’s Master Opacity to 50% so it’s not so harsh. Let’s see what we’ve got now.

Tada!
That’s it! You’ve got a nice, dimensional toggle switch. Congrats ![]()
If you’ve been learning along the way, you should be able to create the opposite “Off” version of the switch. (Try duplicating all your layers and flip everything horizontally to get started.)
Download PSD FILE
Thanks for reading this tutorial. I hope you’ve learned a little bit about shape layers and layer styles in the process of following along. Feel free to give the switch your own personal flair and send me your results. You can find me on twitter @marshallbock. Enjoy : )
Your ads will be inserted here by
AdSense Now!.
Please go to the plugin admin page to paste your ad code.