UI Quick Tip Series :: General Settings Interface
Your ads will be inserted here by
AdSense Now!.
Please go to the plugin admin page to paste your ad code.
Today we are continuing our new series of User Interface Design. With the vastly rising popularity of mobile apps and mobile web design User Interface Design is now a huge area for Designers to become proficient in. In this quick tutorial I will be walking you through creating a Simple General Settings Interface, an aspect of User Interface in many administrator backend designs today. Let’s get started!
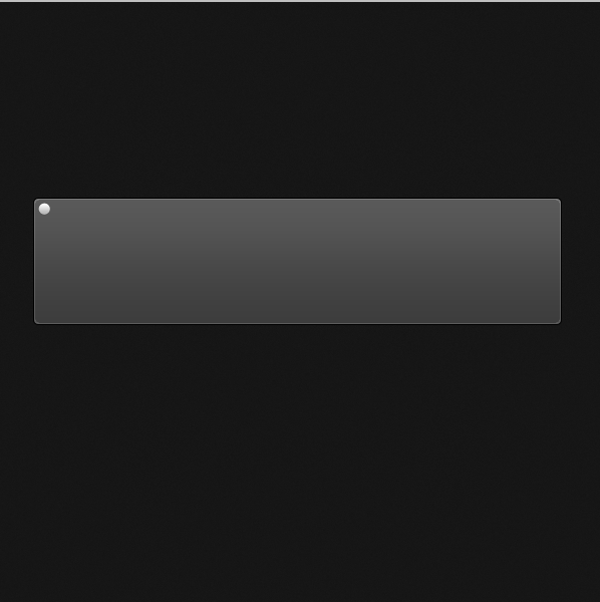
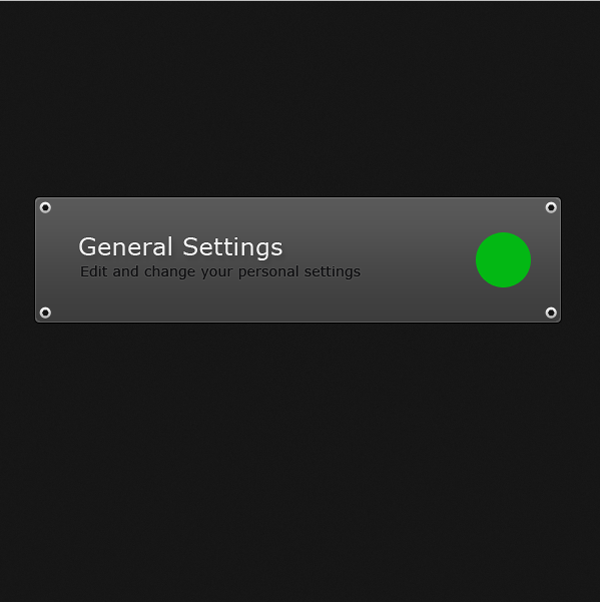
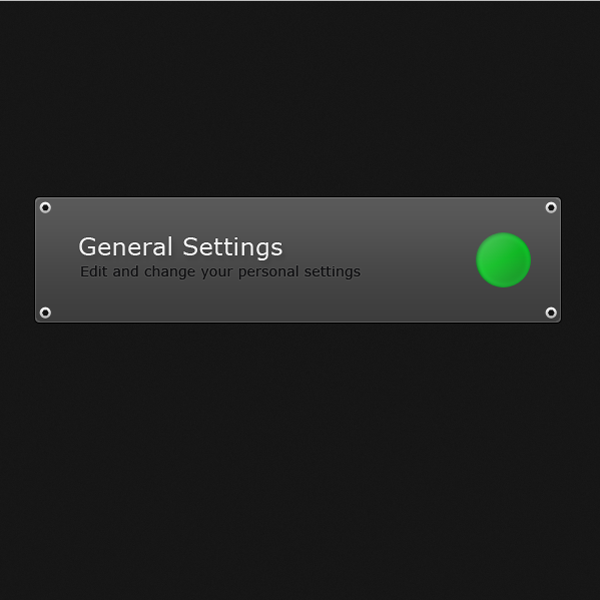
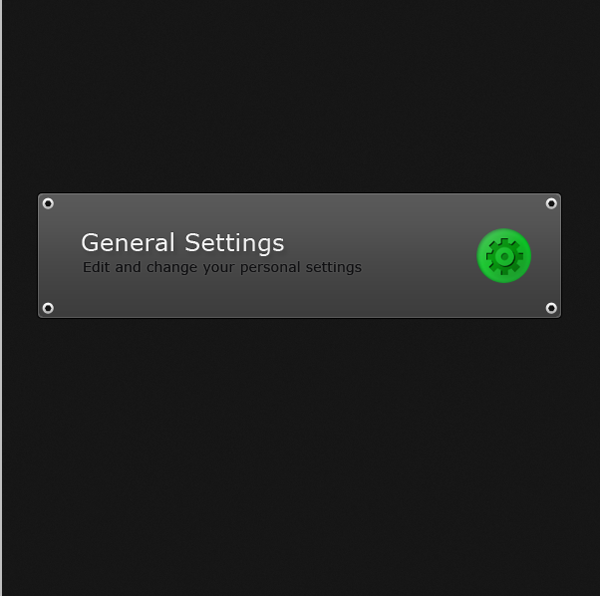
As always this is what we will be creating:

Let’s Get Started
Start out by creating a new document that is 600px by 600px and fill it with #161616.
Main Body
Alright, now grab your rounded rectangle tool and set the radius to 4px. Set your foreground to #4a4a4a and drag out a rectangle that is 525px by 125px. You can space it anywhere on your document for now as you can choose to move it later.

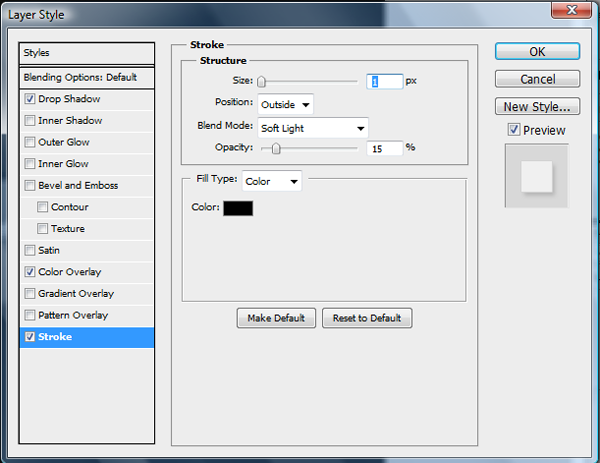
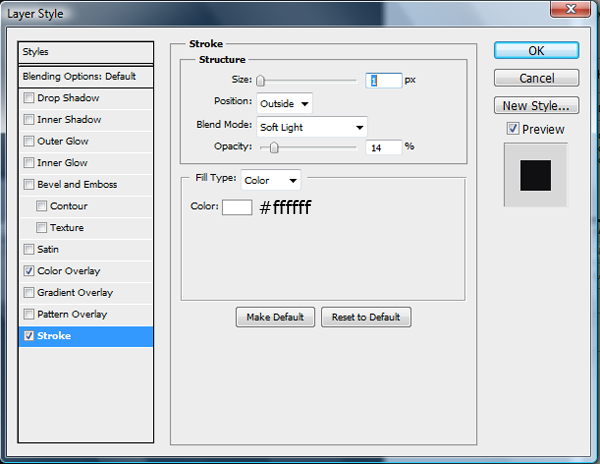
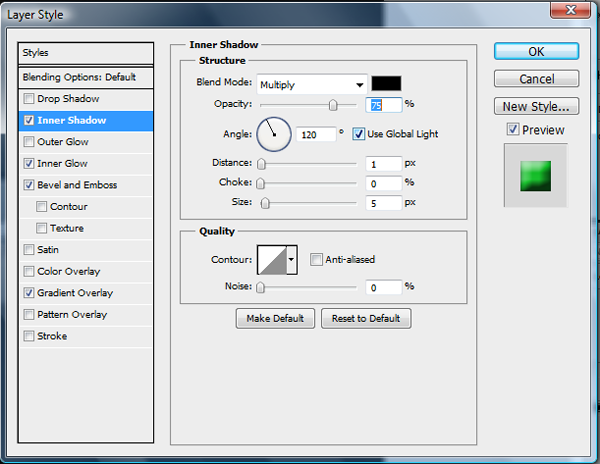
Now we will be applying the following layer styles to our simple rectangle to give it more of a 3-D feel.


The Screws
Now to create our screws. The screws are a very simple process of two shapes with some little layer styling. Start out by grabbing your Ellipse tool and drawing out a circle that is 12px by 12px. You can use any color because we will be adding the following layer styles.

Alright, now space your circle 5px from the top and left of your rounded rectangle.
Now you will want to go to your Custom Shapes Tool. Choose shapes from your drop down menu and grab your hexagon shape.
![]()
Now draw out a hexagon that reads 7by7 in your info screen. Center your hexagon on your circle to give it that screw look.

Now take those last two layers and put them into a group. Name that group Screws and duplicate the group three times. Space each group the same spacing, relevant to positioning, in each of the four corners.

The Text
Now grab your text tool and change your foreground color to #f0f0f0. You can use whatever font that you want, but for this project I recommend a nice web safe font. For that purpose I am using Verdana as my font, set at 24pt size. Type out General Settings and space it 40px from the top and 45px from the left.

Now add the following layer styles

Alright, keeping your text tool change the font size to 14pt and the foreground color to #0b0b0c. Type out “Edit and change your personal settings”. Line it up with the “G” in General Settings and space it 5px from the bottom of your header (going from the g in settings).

Now apply the following layer styles.
Lighting and Icons
Its time to start on our icons and lighting.
Change your foreground color to #03b814. Grab your ellipse tool and drag out a circle that is 55px by 55px. You will want to space it 35px from the top and 30px from the right.
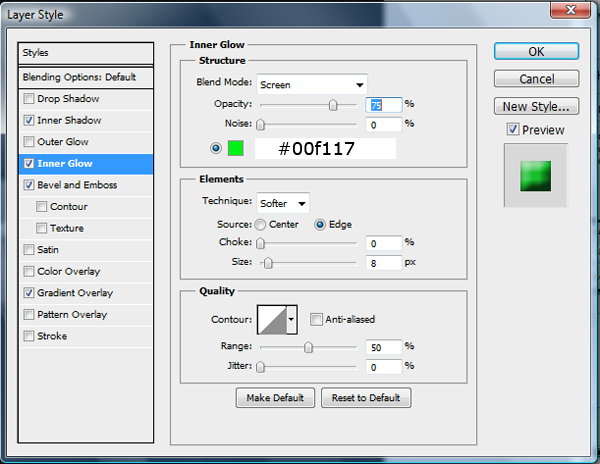
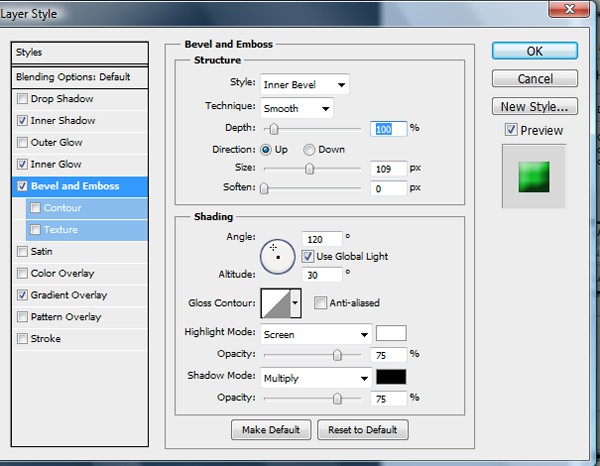
Now apply the following layer styles to your circle.

You should now have this:
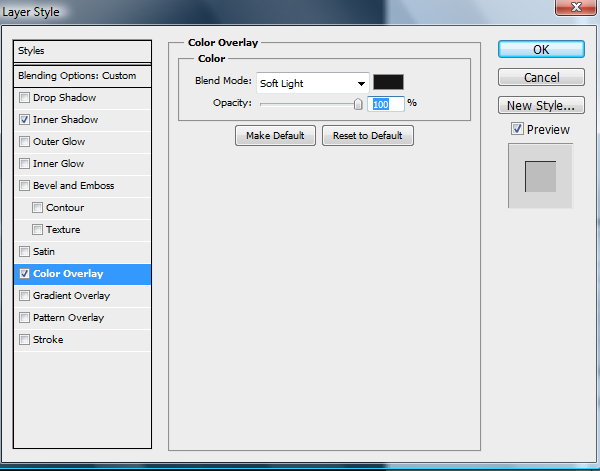
Now grab your favorite set of Web Icons and choose one that best fits your idea for General Settings. For me I chose to use a gear icon. Drag your icon over to your document and center it nicely in your lighting. Now lower the fill to 0% and apply the following layer styles:

Now you have one completed section.
That is, technically, the end of this tutorial. However, I just want to point out that it is easy to create more settings areas. You can just place all layers into a group and duplicate the group. Then you just change out the Gradient and Inner Glow of the lighting for a different color. You can change the icon and text simply as well so that you can have many different colors and areas
Conclusion
You can use these General Settings Areas for almost any administrator design project just by changing a few things around. I hope that you have enjoyed the tutorial and learned a few simple techniques for your future designs. As always I would love to see your designs or hear your comments. Just post anything in your comment and I will take a look at it and I promise to always reply.
Looking for More About the UI Series?
You can find more about our UI Series on our Facebook Discussion board. On the board you can request UI tutorials, articles, and even figure out how to submit your own site’s UI for review.
Your ads will be inserted here by
AdSense Now!.
Please go to the plugin admin page to paste your ad code.