Your ads will be inserted here by
AdSense Now!.
Please go to the plugin admin page to paste your ad code.
Hello everybody, welcome to a new tutorial from HV-Designs. In this intermediate tutorial from one of our new Authors, Naomi Nakashima will be walking you through the steps to create an e-commerce web layout. This tutorial is very easy to follow and not too complicated for those of you just getting into web design.
Please give Naomi a warm welcome when you have a chance.
What We’ll Be Creating
Click image for full view.
Resources Used In This Tutorial
Lets Get Started
To begin, start Photoshop and set your background color to #525252. Then create a new file (File >> New). Set the dimensions to Width 1200 and Height 1200.

Now, because our workspace is larger than our actual layout, set new vertical guides (View >> New Guide). You’ll need to do this for each guide.

Right now you should be seeing something like this:

Using the Type Tool with Arial Font and color #BB9EB, I typed in my logo. Then apply the following styles to the word “Template”:


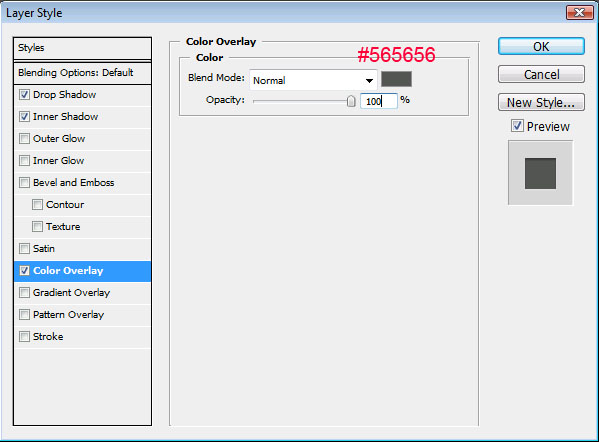
Using the same layer style for the slogan, here is my logo so far:

Next, we need to create the top navigation. Use the Type tool (I used Arial Font) to insert your links. For each link apply this layer style:

For the hover styles over the top navigation links, use the rounded rectangle tool and add the shape around the “Welcome, Doreen” link. I used color #403840. Then apply this layer style to that shape:

Here is what I have so far for my page header:

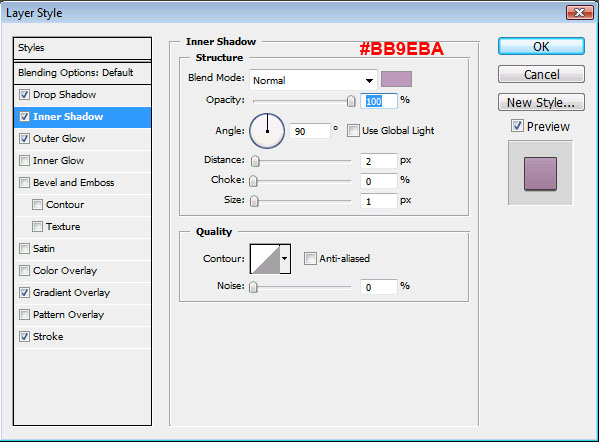
Now for the primary links. Use the Rectangle tool to create this shape with white:

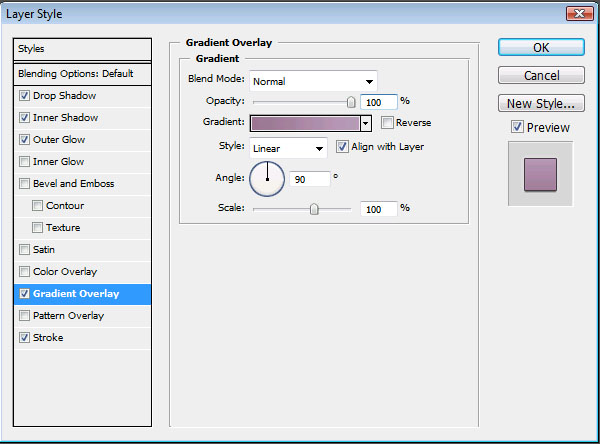
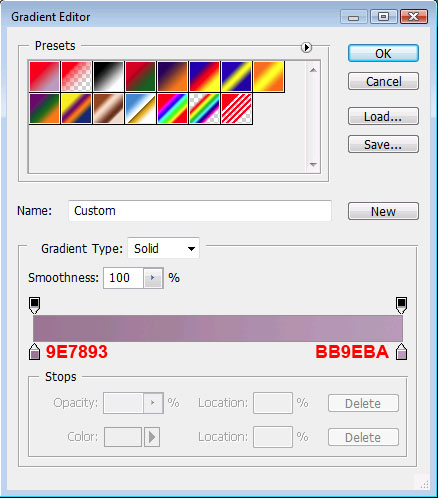
Now apply these layer styles to your navigation bar:


Your ads will be inserted here by
AdSense Now!.
Please go to the plugin admin page to paste your ad code.
Now use the Type Tool to add links to the primary navigation bar. Apply a Drop Shadow to each link:
Creating The Seperators
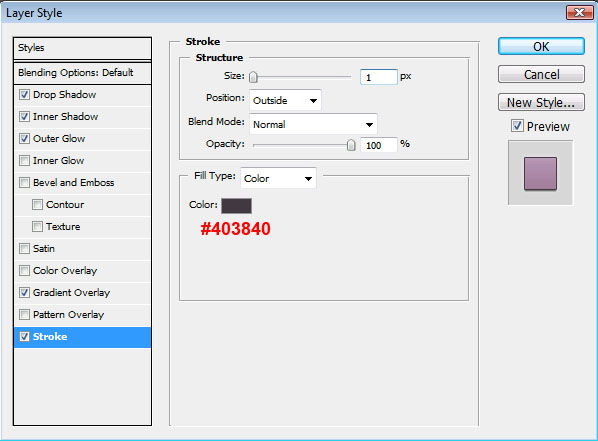
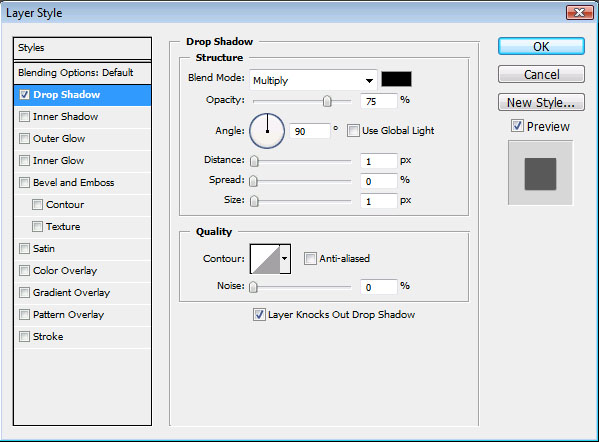
Now for the separators between each link. Using the Line tool with #403840, draw a short line 1 pixel wide between the first two links and apply these layer styles:
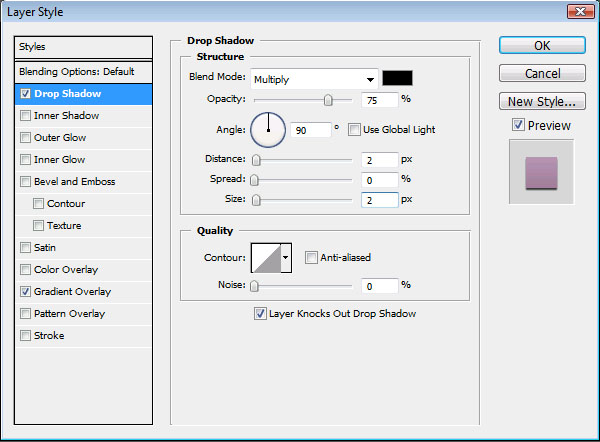
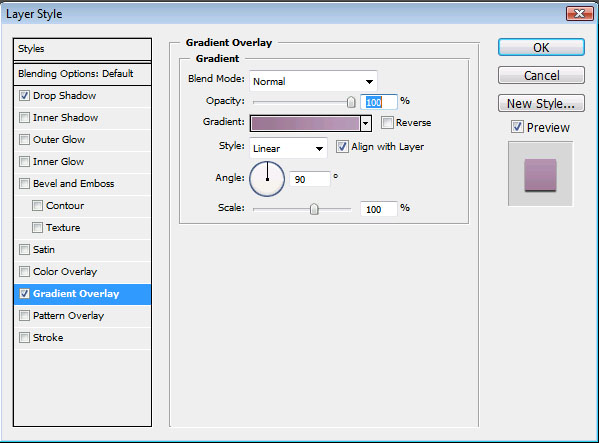
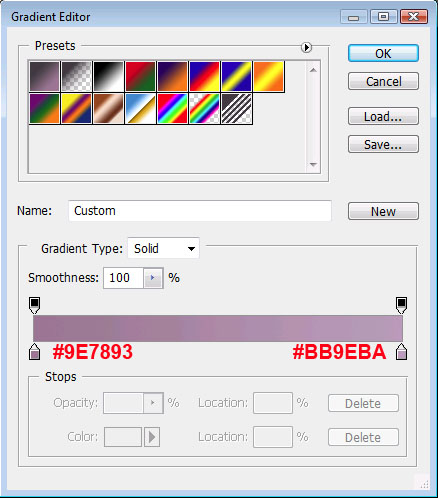
Repeat the process of drawing lines and applying these styles between each link on your primary menu bar. Here is what I have after finishing this:

Creating The Content Area
Next, we need to create the content area. Use the rectangle tool to create a rectangle and apply these layer styles:
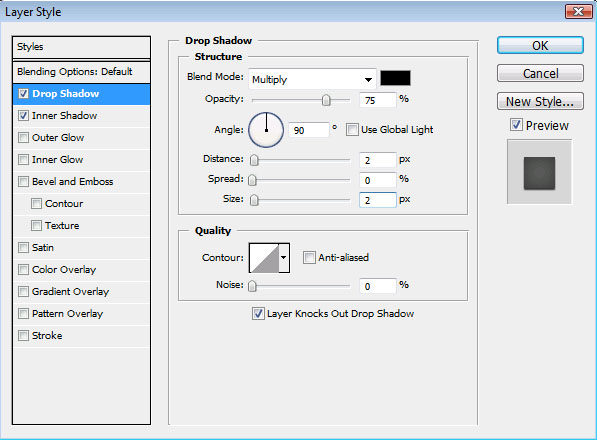
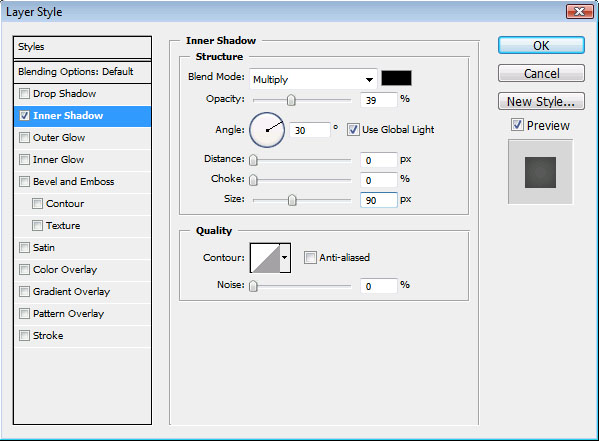
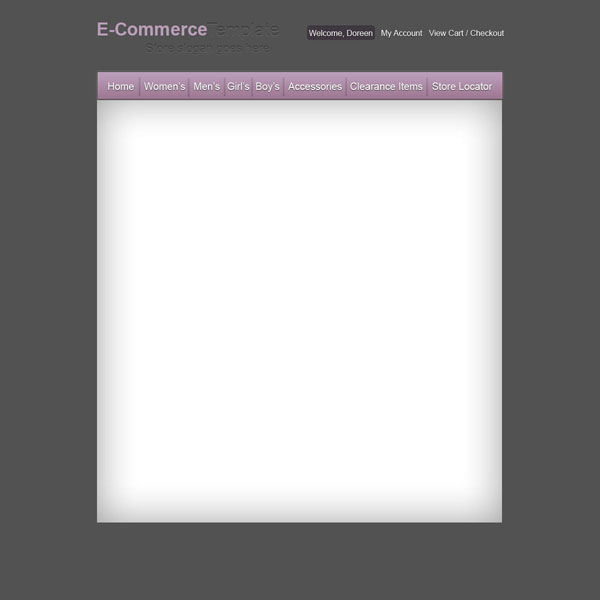
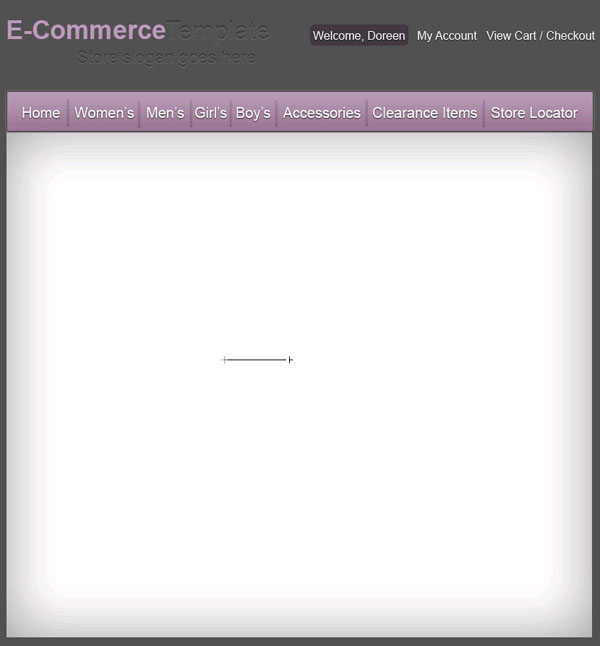
You should now have something that looks like this:
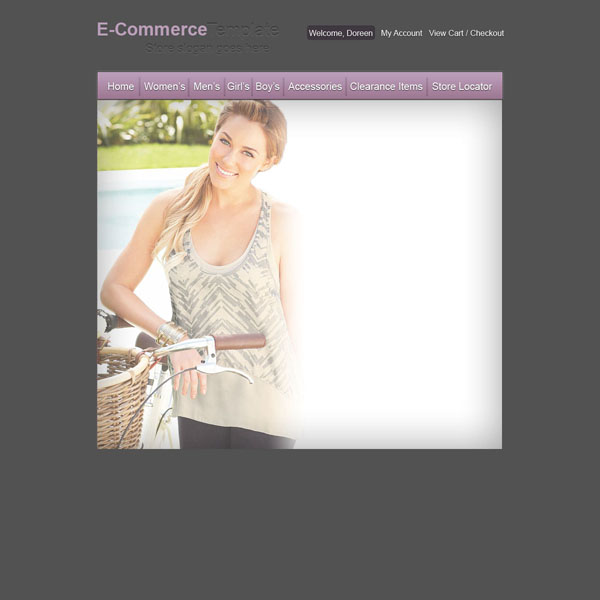
Now to add content. Choose a stock image to serve as the featured product. After placing your stock photo into the content area, create a clipping mask to ensure that it’s framed well. Then hide the layer mask (Layer >> Layer Mask >> Hide All). Click on the Layer mask thumbnail in your layer palate and choose the gradient tool, selecting the Black and White gradient. Place the gradient:
Now your featured photo has a nice faded effect on the side:
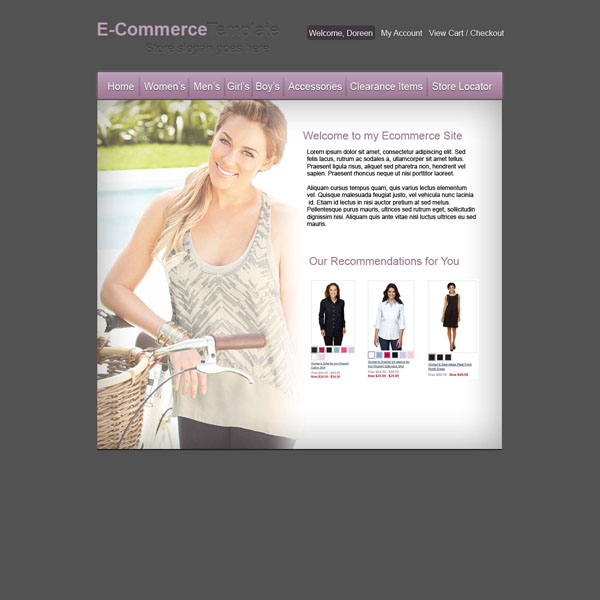
Use the type tool and add some smaller pictures to create the content. Here is how my content looks:
Creating The Footer
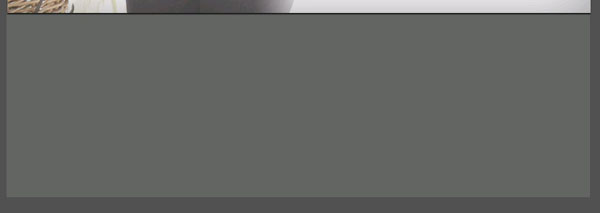
Use the rectangle tool with color #646464 to create the background for the footer area:
Next, use the rectangle tool to create a title area for your footer information. I used color #525252. Set the Blending mode to Overlay and the opacity to 15%:
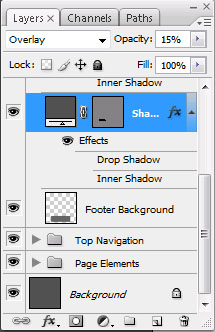
Use the type tool to fill in titles and text links within the footer area. Use this drop shadow on the titles:

Use the rectangle tool to place the shapes for the newsletter sign up. Then apply this layer style to each rectangle:
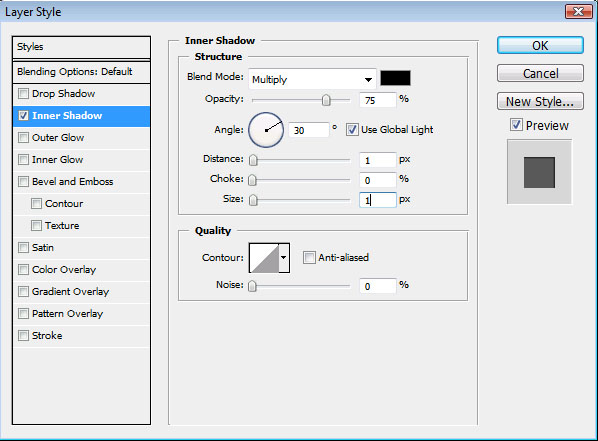
Finish everything off by placing your social media icons.
Here is how the finished template looks:
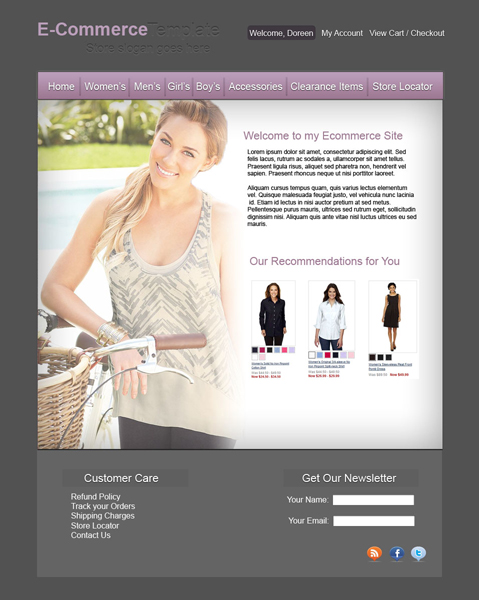
That’s it all done, hope you enjoyed this tutorial, look out for more tutorials coming soon. Thanks.
Your ads will be inserted here by
AdSense Now!.
Please go to the plugin admin page to paste your ad code.

