


October 24th, 2009 in Photoshop Tutorials by Richard Carpenter
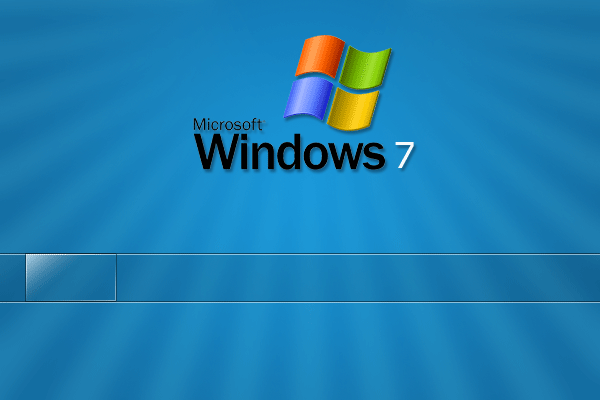
Windows 7 Inspired Navigation

 11 Votes, Rating: 4.36
Hello, welcome to another tutorial by hv-designs. In todays tutorial il be showing you how to replicate the windows 7 taskbar, only this taskbar will be a navigation bar for a website. In another tutorial il be showing you how to code it.
Lets get started!
Creating The Background
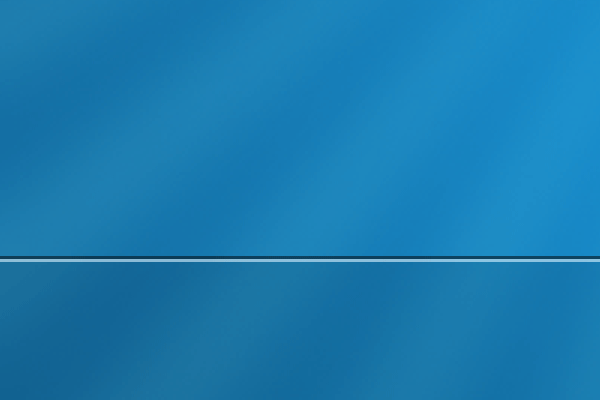
Create a new document 600×400 pixels, you dont need a massive sized document for this tutorial, feel free to do so if you want to. Set your foreground color to #1592d7 and background color to #136da2. Select the gradient tool with a radial gradient.

Once you’ve selected the gradient tool start from the middle of the canvas and drag in any direction. You should have something like this.

Adding The Background Light Streaks
Create a new layer above your background layer then select the custom shape tool from the menu on the left.

Once you’ve selected the tool, at the top you’ll see the word shape, click the little arrow to open the shapes panel. Find the “registration target” shape.

If you dont see then registration target shape click the little black arrow in the top right hand corner, you and load more preset shapes there.
Once you’ve selected the shape drag it out over your canvas, make the shape as big as you can. Place the shape so that the streaks are flowing nicely over the canvas.

Select the pen tool and right-click on your shape, when the menu opens go to “fill path”. Make sure you have the color white selected as your forground (#ffffff).

Right-click once more and go to “delete path”.

Now go to “filter > blur > guassian blur”, blur the shape by about 5 pixels then click ok. Set your shapes blending mode to “soft light” and opacity to “30%”. Finish off by labelling the layer “background streaks”.

Creating The Navigation Background
Create a new layer called “navigation” then select the rectangular marquee tool with the color black (#000000). Drag out a rectangle spanning the width of the canvas and about 45-50 pixels in height depending on how high you want the navigation. Fill the rectangle with the color black.
Change the fill percentage of the navigation layer to around 10%.

Create a new layer called “top line”, select the rectangular marquee tool and create two 1 pixel lines on top of each other, color the line nearest the bottom white and the top one black. Finally set the opacity to 50%.
Duplicate the layer “top line” then rename the duplicated layer “bottom line”. Move the bottom line down to the bottom of the navigation.

Creating The Navigation Buttons
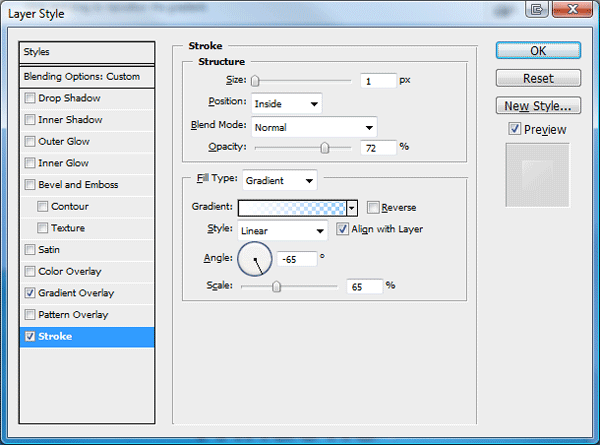
Create a new layer called “button stroke”, select the rectangular marquee tool and make a rectangle the size of the button you need. The top bit of the rectangle should cover the top white line and the bottom of the rectangle should be above the two lines.

Fill the rectangle in the color black then add these layer styles.


Duplicate the layer “button stroke” then rename the duplicated layer “button shine”. Right click the layer and go to “clear layer styles” then add these layer styles.

You should have something like this.

Create a new layer called “white corner stroke”. Select the rectangular marquee tool and make two 1 pixel selections around the right edge and the bottom edge. Fill the selections with the color white (ffffff).
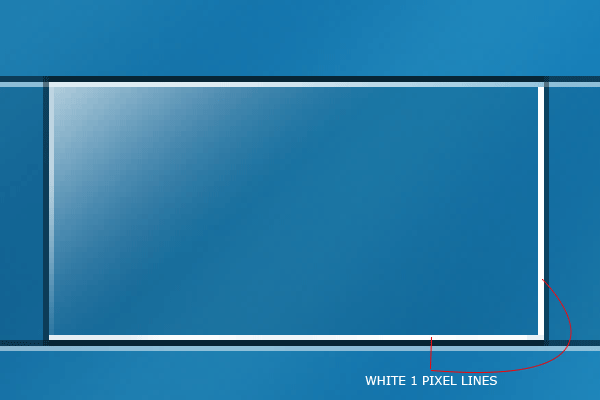
Add a layer mask to the “white corner stroke” layer, set the foreground the black and background to white. With a linear gradient start from the top of one right 1 pixel line and drag down about half way. Right click the mask in the layers window and go to “apply mask”, repeat the process for the bottom line only this time drag from left to right. You should have something like this.
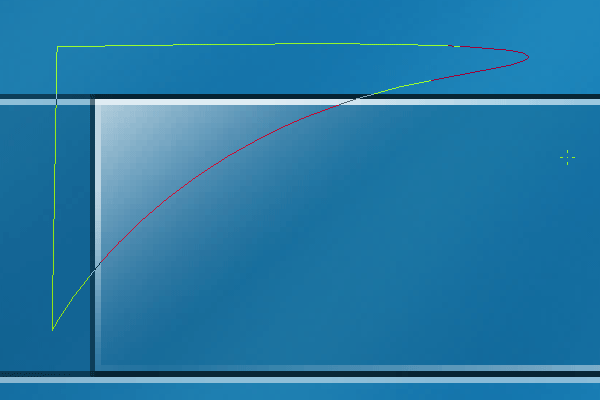
Finally, select the pen tool and make a rounded path around the top left corner of the button.
Once you’ve made the path create a new layer called “button shine 2″. Select the pen tool and right-click inside the path, when the menu pops open select “fill path”, fill the path in the color white. While “button shine 2″ layer is selected, click on the “button shine” layer whilst holding down the CTRL key on the keyboard, this should load a selection. Now go to “select > inverse”, when the inverse has been done hit the delete key to remove the excess. Finish off by setting the layers opacity to 10%.

More Buttons
Duplicate all the button elements to create more buttons as needed, finally label each button as you would with any other navigation.

Thank You
Thanks for reading this tutorial hope you all enjoyed it and found it helpfull, now help me and promote this post, DIGG and RE-TWEET, you help is appreciated. I suggest you subscribe via twitter or RSS as the second part of this tutorial will be coding it. See you all soon.
Learn to code This Navigation
You can learn to code this navigation by following a follow-up tutorial written here.

Be Part Of The Community!
Become part of the hv-designs community.
Subscribe Via RSS or Follow Us On Twitter.


20 Responses to “Windows 7 Inspired Navigation”