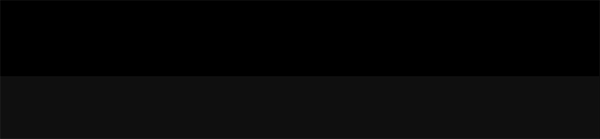
Create a new document 850×850 pixels, fill your background with the color #1b1b1b. Select the rectangular marquee tool and create a box the width of the canvas, fill with the color black for now.
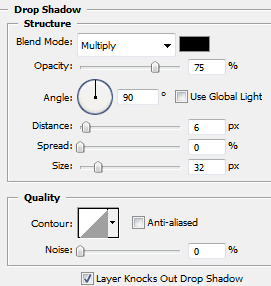
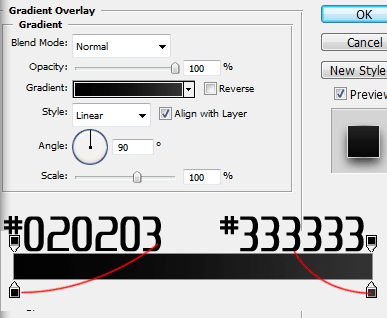
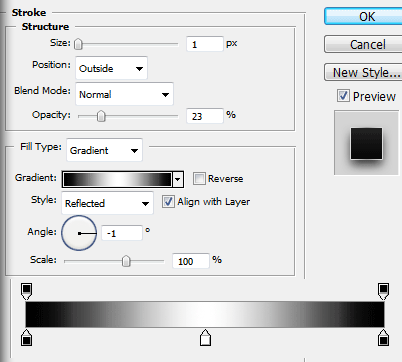
Add these layer styles to your rectangle.
Your rectangle should now look like this.

Add your header title using the colors #adc203 and #424242.
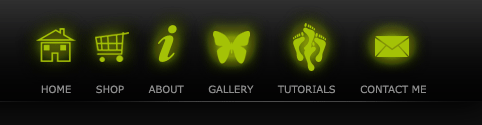
Now add your navigation text to the right of your text using a smallish font size.

Above your text add a small icon to represent that section, all the icons i used are from the custom shapes libary.
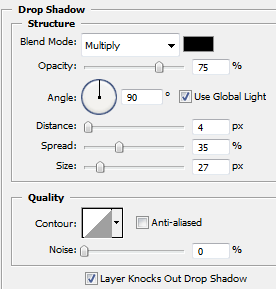
Add these layer styles to each of the icons.
Now draw a square over each of the icons and text. (i have done each square seperatly, the image below is just to show the widths of each square)
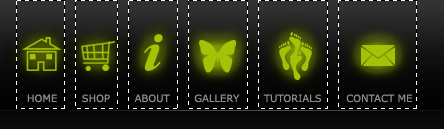
Once you have drawn all the squares fill them white then merge them all together, set the layer opacity to 5%. Then add a layer mask and drag a reflected gradient over the top to blend in the top and bottom edges. Your end result should look like this.

The next steps are optional, duplicate your header title text and flip vertically drag the duplicated text under it to act like a mirror then add a layer mask to produce a reflection. Also if you make a diagnol line pattern (included in PSD) then add some diagnol lines to your header.

Now select the rounded rectangle tool with a radius of 10pixels draw out a small rectangle.
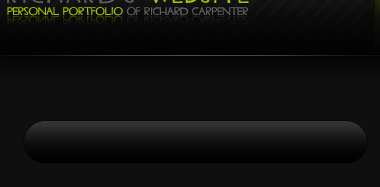
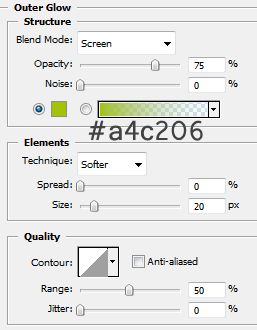
Add these layer styles.
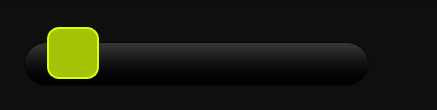
Now using the same tool add a small square (hold shift while dragging with the mouse to produce a perfect square.)
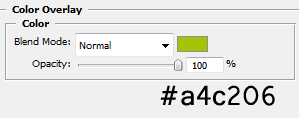
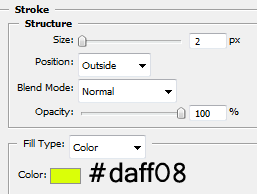
Add these layer styles to your square.
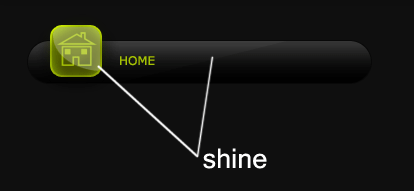
Now duplicate your home icon and drag it into the center of your square, also add your content title. Select the elliptical marquee tool and create a white circle that overlaps your icon, ctrl + click your icon while the white circle layer is selected, goto “select > inverse” and hit the delete key set opacity to 25% and you’l be left with a simple shine over your icon. (do the same with your content title box using the polygonal lasso tool).
Now select the rectangular marquee tool and draw a rectangle underneath your icon.
Add these layer styles to your rectangle.


Finally set layer opacity to 24%. Follow the above steps for your other content boxes and footer.
Now add your content to each section.
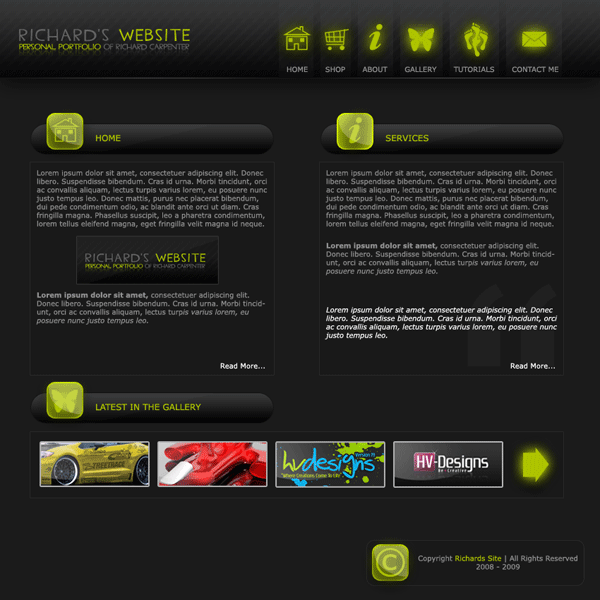
FINISHED
Layout inspired by “carl”