


June 9th, 2009 in Photoshop Tutorials by Richard Carpenter
Design Showcase Layout

 14 Votes, Rating: 4.79
Good evening everybody, in todays tutorial we’ll be creating a design showcase style layout. The design would/could be used to showcase inspirational websites, gallerys, etc…
To get started you first need to create a new document 900×1210.

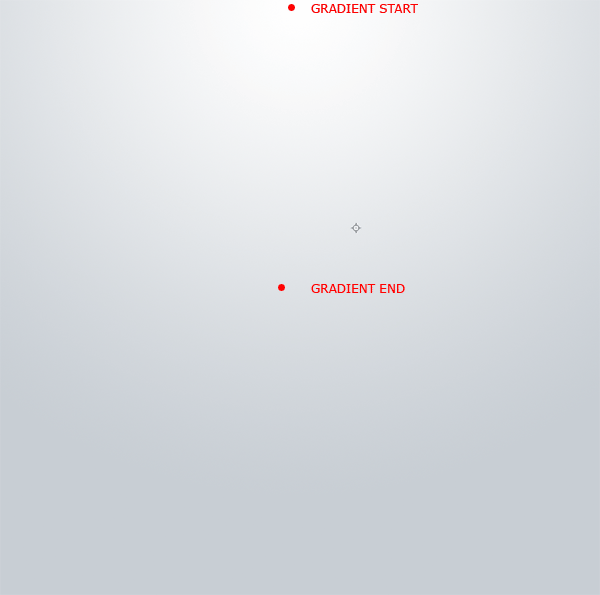
Set the color white as your forground and the color #cdd3d8 as your background. Select the gradient tool with a radial gradient, start from the top middle of the canvas and drag down towards the middle of the canvas.
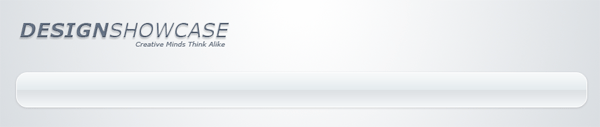
Using the type tool add your website title in the top left hand corner.

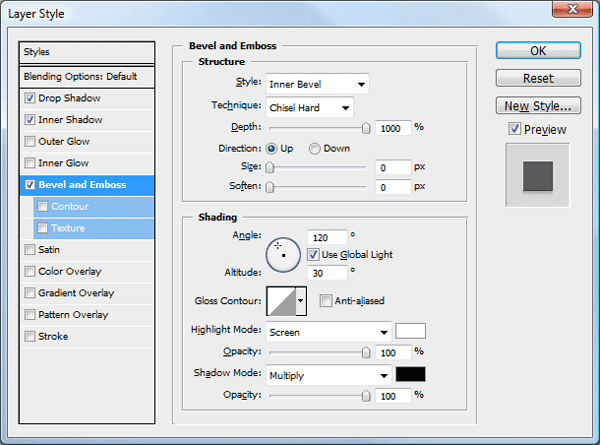
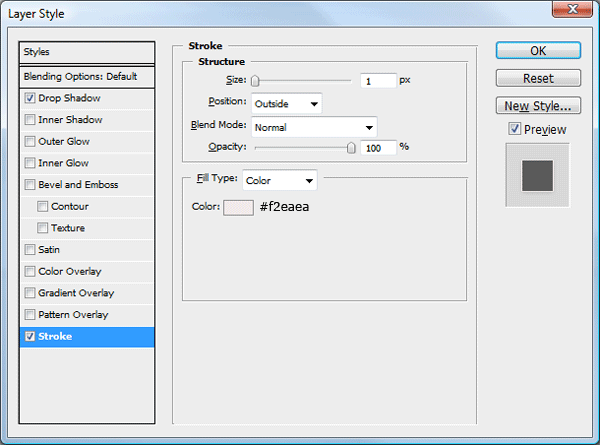
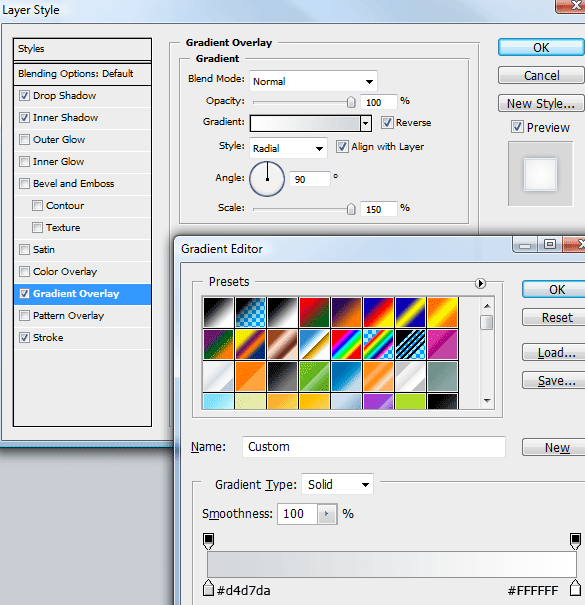
Add these layer styles to your website title text.


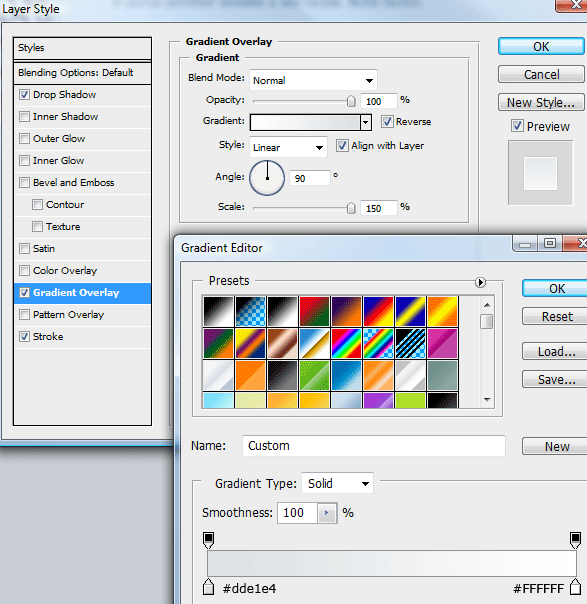
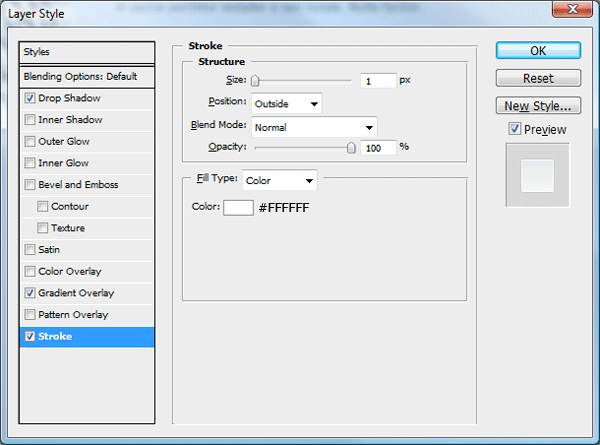
Select the rounded rectangle tool with a radius of 15 pixels.

Draw out a rectangle 845 pixels wide and 50 pixels in height, fill the rectangle with any color.

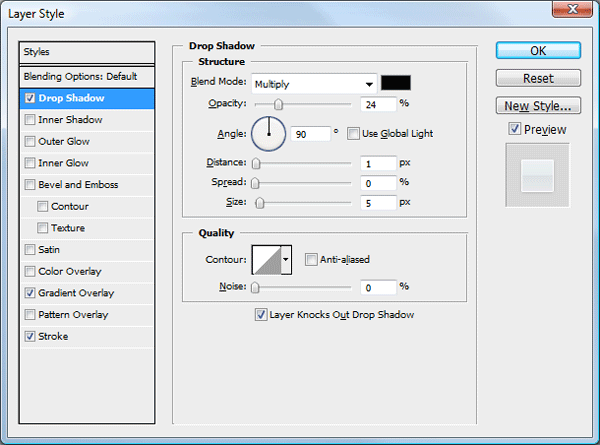
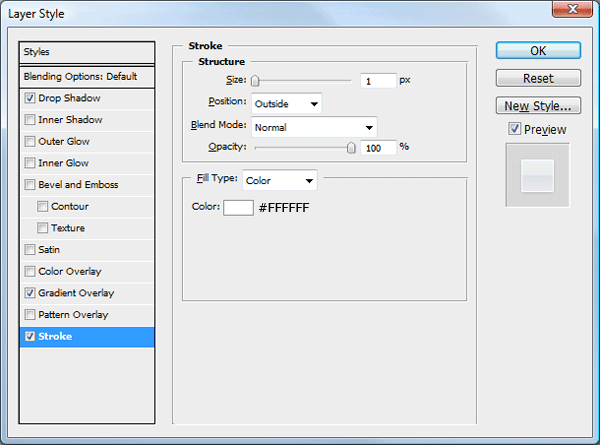
Add these layer styles to your rounded rectangle.

You should have something like this.
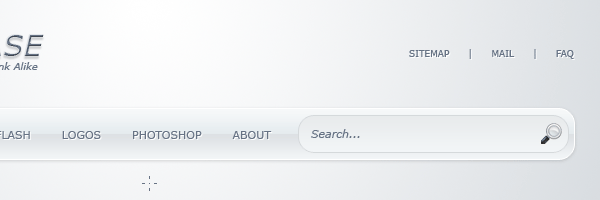
Add your navigation links to your navigation bar, also add a short navigation at the top of your navigation bar.

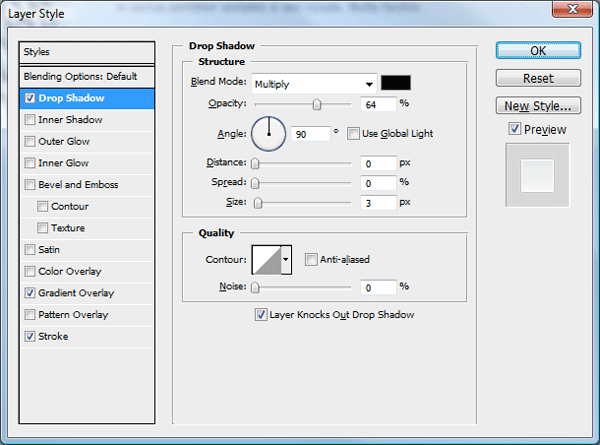
Add this drop shadow to all your navigation links.

If theres any space left on on your navigation bar, add a search field using the rounded rectangle tool with a radius of 15 pixels, you could also add a search icon to complete the look. Ive used the search icon from the wefunction free icon pack.
Still with the rounded rectangle tool create a bigger rectangle but keep the width the same as the navigation bar. Dont fill the rectangle with a solid color instead fill it with a radial gradient in the same way you did your background.
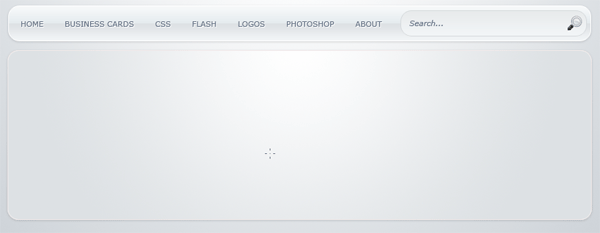
Add these layer styles to your big rectangle to complete the effect.

The big rectangle will be our featured area, inside the featured area create a smaller rectangle on the left-hand side. Fill the rectangle with any color.

Once you’ve created your rectangle add these layer styles.


Inside your smaller rectangle in your featured area add an example featured image with some dummy text on the right.
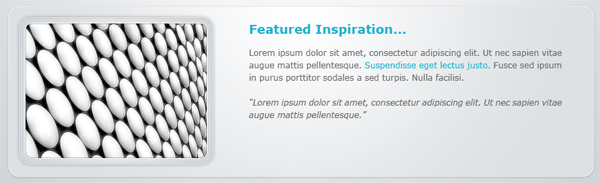
Underneath your dummy text add two small buttons, create the buttons using the rounded rectangle tool. Fill the rectangles with any color.
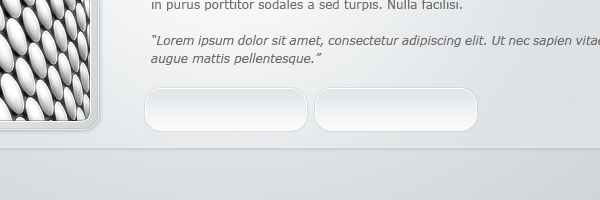
Add these layer styles to each button to complete the effect.
Your featured area should look something like this.

Underneath your featured area create a smaller version of your featured image.

Add a title of inspiration above your image, underneath your image add some icons sort of like a rating system, ive chosen to use some hearts.

Repeat the process many times as needed.

Inbetween each peice of inspiration add a seperator, using the rectangular marquee tool create two 1 pixel lines ontop of each other. Fill the line at the bottom with the color #dee4eb and the one ontop #b1b7bc.

Underneath the very last item of inspiration add i sort of pagination then duplicate your navigation bar and drag to the bottom of the canvas.

Add your footer information to your footer.

When you’ve finished you should have something like this.


Be Part Of The Community!
Become part of the hv-designs community.
Subscribe Via RSS or Follow Us On Twitter.


17 Responses to “Design Showcase Layout”