


August 12th, 2012 in Photoshop Tutorials by Peter Kinney
Short-Run Booklet Design Pt. 2
 Not Rated!
Today we will be working on an inside page to our Short Print Booklet. If you haven’t had a chance to check out Part I be sure to do that now as you will need the basics of that to bring over to this design. We started Part I designing a simplistic and modern design for our Graphic Design booklet and today we will be featuring two different designs. Let’s get started!
Here is what we will be creating as our final piece:

Project Setup
Alright, so go ahead and open up the Part I PSD. Now go through and delete or hide every layer except our two background layers. Quick note if you are deleting the layers to save this as a seperate PSD file be sure to hit Save As and change the name. Too many times even the best of us designers will hit Save on a document and have to back track.
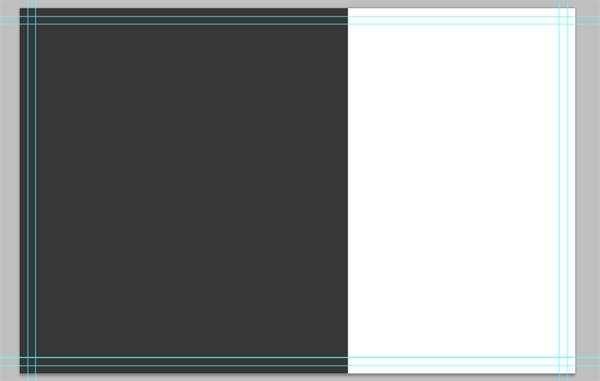
Now we are going to reverse our layers. What was white now becomes dark grey and vice versa. You can do this either with the paint bucket tool or a simple Color Overlay layer option. It’s your choice on which way you want to handle it and whatever you choose will not effect the remainder of this tutorial. This is what you should have so far:
Now, depending on how you are going about your design you may want to remove the rulers. We are saving ours as a seperate document so I removed any rulers that were not part of the original template as you can see. It doesn’t matter which way you go about it though as we will be adding our own rulers, you just have to be able to keep up with them.
Speaking of rulers we are going to be adding our first one now. Our work area is 1650 pixels so we will split it into two parts. We will be displaying two projects per page as they are one or two simple designs per project. If you have, for instance, a full marketing design project though you can keep just that one project on the page and use the full work area. This design is very flexible on how you want it to work. Anyway, we will be setting our ruler at 825 pixels in our work area like such:

Adding the Project
Time to begin adding the project. Because we are not giving you a specific project to work with we will not have specific sizes for our projects. Just go ahead and grab whatever files you are adding for your project and arrange them in the top left corner. We will re-align them later depending on how big your project is and what looks good with our margins.
This is what we have right now:

Now to add our information. Again this part will be pretty simple because we aren’t giving specifics here. For the header, being the name of the project, we are using Bebas, 45px, Sharp, #FFF for our font. You will want to center it using the edge of the grey and the “Bleed Zone” as that should be the end of our booklet.
Now add your description, centering it the same, using Delicious SmallCaps, 36px, Sharp, #FFF. This is what you should have so far for your text, or something like it as there are not specifics:

Now that you have your first project repeat the same process for the next project, lining it up with our ruler and the “Safe Zone”. Once you have done that you will have both projects added, like this:

Amazing right? Now go ahead and center your projects in the two work zones so they have some decent spacing and look a little better. We will also be centering our text with our project to make it look a little better as well. This is what we have as our final inside piece:

You can see that I went ahead and added a 1px white and dark grey spacer line. You don’t have to, but I thought it looked good for our specific projects. That’s the end of our inside page. Pretty simple right? Now finish desiging whatever projects you want to showcase and head on over to our partners at UPrinting and get your short run booklets printed up!

Be Part Of The Community!
Become part of the hv-designs community.
Subscribe Via RSS or Follow Us On Twitter.

