


August 6th, 2012 in Photoshop Tutorials by Peter Kinney
Short-Run Booklet Design Pt. 1
 1 Votes, Rating: 5.00
Today we are working on creating a short run booklet. When talking about graphic design you can use a booklet to showcase some of your favorite pieces of work, along with a description of them. When talking about clients and what a booklet can do for them the sky is the limit. So, let’s get started.
Needed Files
Bebas Font – found on Google WebFonts
Delicious Small Caps – found on Google WebFonts
Getting Started
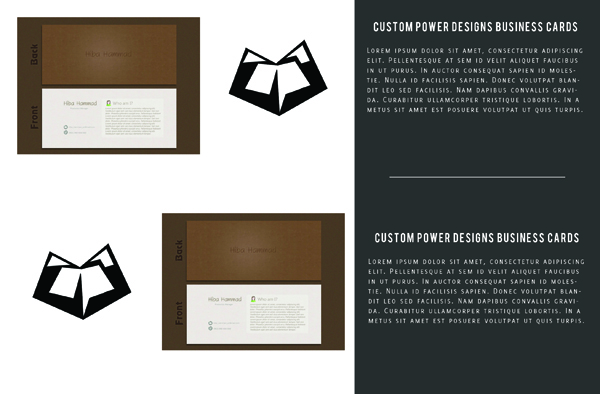
Below you will see the front of our booklet as well as what we will be doing in Pt. 2 of this tutorial.

Okay, now that you have the template downloaded go ahead and open it. we will be working within the template and it’s guides.
Now we get to work on setting up our background. We are going to be working with a very modern but simple design, as we are going to be working on a booklet setup for a graphic/web designer.
Let’s go ahead and change our foreground color to #383838. Fill your background with our #383838 color. Now make a selection that is 1075px wide and as tall as our entire document. Fill the selection with white so you have this:
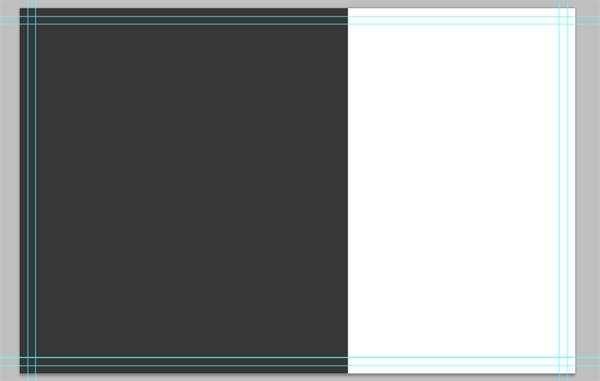
Pretty simple start right? Don’t worry, it’s going to be a design that is very easy but looks absolutely amazing and versatile. Now, let’s work on the right side of our document to get it all set up nice and pretty. First grab your logo and center it on the document both vertically and horizantally. We can’t give exact measurements because everyone’s logo is different, but just make sure it’s centered.

Now, to add our contact information. We will be using #3b9ed8 for our color to match our logo and our font will be Bebas 34px Sharp. Go ahead and type out your phone number, and then in a new type layer type out your email address. You can put as much contact information as you want, but I have found that with a design like this you want to stick to the essentials. When you are done center all your information and then place it 50px from the bottom of our safe zone line.

So now grab your text tool again and change your foreground color to white (#FFF). We will still be using Bebas font again. This time we are using 60px and Crisp for our font options. Type out whatever slogan you want. For ours we used Design Inspiration and Creativity. Again make sure that your text is centered on the document.

As you can see we set up ruler guides on the top and bottom of our logo and centered the text in those. Now we are going to move on to setting up our last four pieces. Again we are working on a very modern simplistic design so we only need one set of instructions for all four remaining pieces.
To set them up you will need to grab your type tool and change your font to Delicious SmallCaps 41px Sharp. Type out anything you want. We are going to be typing out Business Card Design. Once you have typed it up move it over to the upper left corner and space it out 45 px from our safe point zone and 50px from the top.
My suggestion here is to use ruler lines for these because then you can easily line up the remaining pieces. Following the same principles as the first piece of information set up your other three pieces. Our four pieces of text are Business Card Design, Full Marketing Design, Full Branding Design, and booklet Design.
This is the very last step in the front of our booklet design. Once you have finalized those the front of your booklet is done and we are finished with this part of the tutorial. You will notice that it looks a little bit funny right now without the rulers but a lot of the extra on the sides will be cut off during printing. You can crop it at the bleed zone to see what it really looks like if you want. Without/before cropping it, however, you should have this as your final result.

We have partnered with UPrinting Booklet Printing on this 2-step booklet design so please stay tuned for Pt. II of this tutorial and be sure to show us your work because you never know what UPrinting and I can come up with for our favorites.

Be Part Of The Community!
Become part of the hv-designs community.
Subscribe Via RSS or Follow Us On Twitter.


4 Responses to “Short-Run Booklet Design Pt. 1”