UI Quick Tip Series :: Music Player Interface
Your ads will be inserted here by
AdSense Now!.
Please go to the plugin admin page to paste your ad code.
Today we are continuing our new series of User Interface Design. With the vastly rising popularity of mobile apps and mobile web design User Interface Design is now a huge area for Designers to become proficient in. In this quick tutorial I will be walking you through creating a Music Player Interface today. Let’s get started!
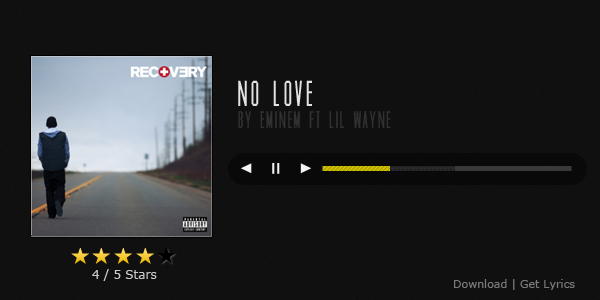
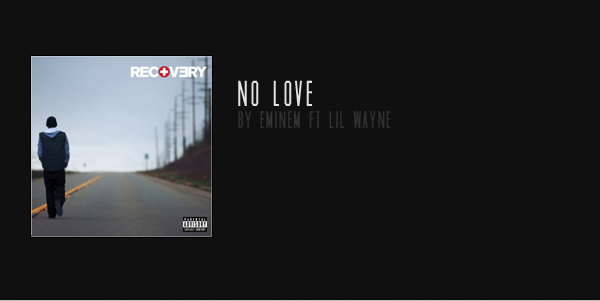
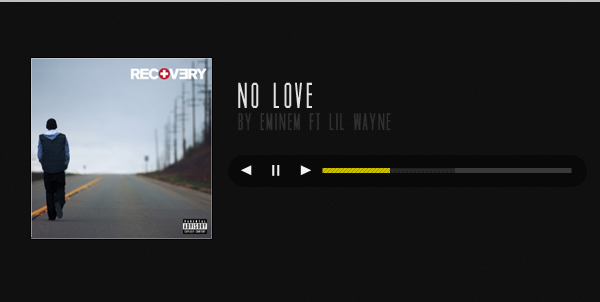
As always this is what we will be creating:
Resources
Getting Started
Start out by creating a new document that is 600px by 300px and fill it with #101010. Now go to Filter, Noise, Add Noise and choose .75 for your Noise amount. This should leave you with a pretty nice background image for our music player.

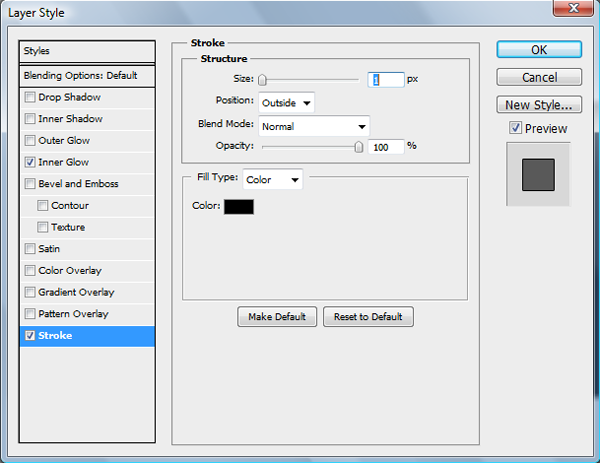
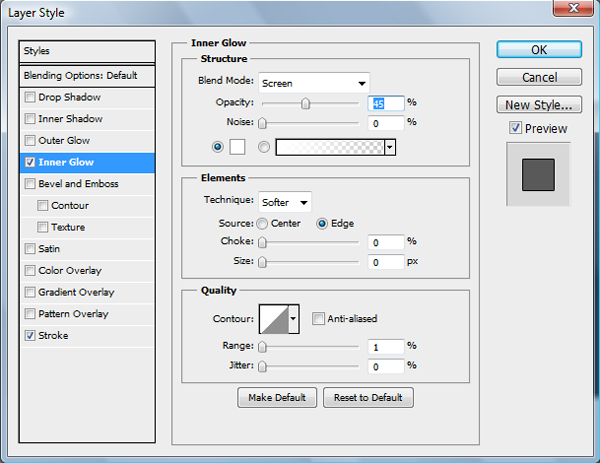
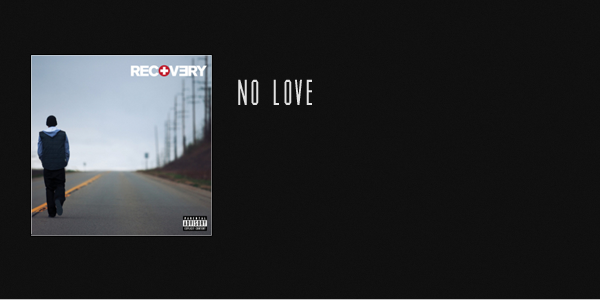
Now grab whatever album cover that you want to use for your music player. I am using the album cover for Eminem’s Recovery. Shrink your album cover down to 180px by 180px and apply the following layer styles.
Now space it 55px from the top of your document and 30px from the left hand side of your document.

Now grab your type tool and choose the new font you just downloaded Muncie. Set your size to 36pt and use #e2e2e2 for the color. Type out whatever name you want for your song. For our document I am using the song No Love, which is my text. You will want to space your text 25px from the album cover and 80px from the top of your document.
Grab your type tool again. Keep your font the same but change the size to 24pt and the color to #313131. Now you will want to type out the artist information. For my song I am using “By Eminem FT Lil Wayne” for my text. Line up your text with your song title text and space it 5px from the bottom of your song title text.
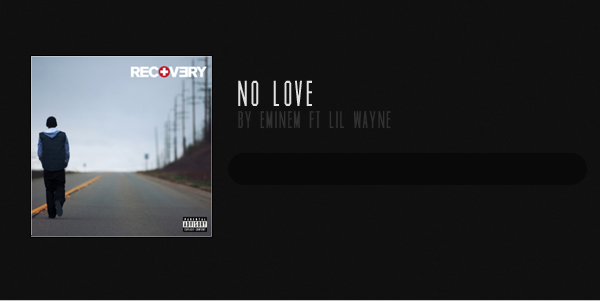
Progress Bar
Now time to set up our button and progress bar area. Grab your rounded rectangle tool and change the radius to 25px. Change your foreground color to #464646 and draw out a rectangle that is 360px by 30px. Set your Blend Mode to Soft Light and space your rectangle 15px from the Album Cover and 25px from the bottom of your artist text.
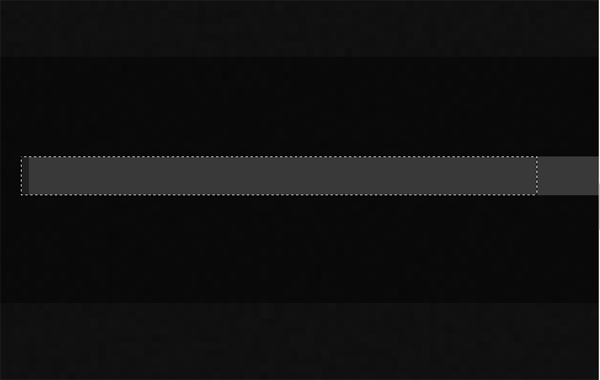
Now grab your regular rectangle tool this time and change your foreground color to #393939. Drag out a rectangle that is 250px by 5px. Center it vertically on your rounded rectangle and 15px from the right of your rectangle.112110
Now grab your rectangle marquee tool. Zoom in on your document and make a selection that is 70px wide and that fits within our lighter gray rectangle.
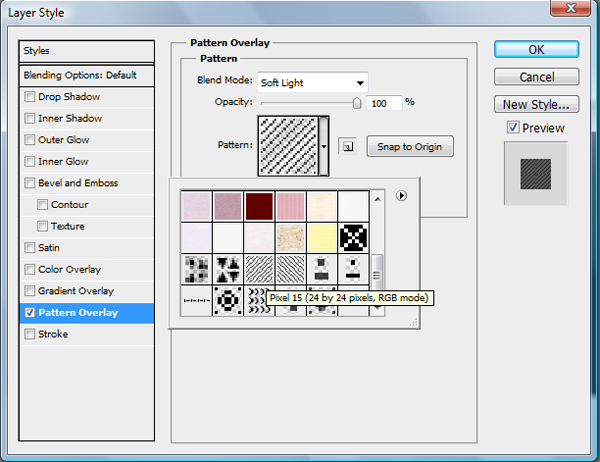
Create a new layer and fill your selection with #cbbf00. Apply the following layer styles:

Now grab your rectangle marquee tool again. Create a new layer that is underneath the layer that we just created. We are going to be creating our buffer layer now. Change your foreground color to #282828. Now make a selection with your rectangle marquee tool that is 65px from the right of our progress bar.
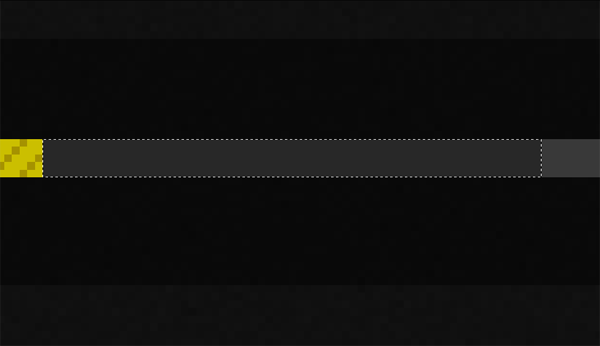
Now apply the following layer styles:

Now our progress bar is complete. You should have something like this:

Time to start working on our pause, rewind, and fast forward buttons. The buttons are pretty simple to create. Grab your custom shape tool and choose a triangle as your shape. Change your foreground tool to #f3f3f3 and draw out a triangle that is 12px(w) by 11px(h).Hit CTRL+T and grab the corner of your box for rotation. Hold down the SHIFT key and rotate it to be horizantal. Space your triangle 10px from the top of your rounded rectangle and 10px from the beginning of your progress bar.

Now grab your rectangle tool and draw out two rectangle that are 2px by 11px and space them 2px apart. Space it 20px from your fast forward button.

Duplicate your fast forward icon and hit CTRL+T. Right click and choose to Flip Horizantally. Move it to the left side of our document. Space it 20px from your pause button.
Finalization
Now that is a very very simple Music Player interface, but let’s take it up another notch just to make things look a little bit better. Go ahead and open up the PSD file of our rating stars that we downloaded earlier. Grab the 4 Star folder and drag it over to our document. In your document on the 5 Star open up the Layer Styles and turn off the Color Overlay. Now centerhe stars on your album cover, below it, and 10px from the bottom.

Now grab your type tool and change the font face to Verdana, Size 12pt, Color #cbcbcb. Type out “4/5 Stars” and space it 5px from the bottom of your stars and center it on the stars.

Now grab your type tool again and choose 11pt for the size and #7a7a7a for the color. On the right of your document type out “Download | Get Lyrics” space it 25px from the right and 10px from the bottom.

Now our Music Player is complete. To add a little more of a touch you can add Previous and Next Tracks to the top and it will still look good, but my preference is to not have it so I have not included steps. This is what it would look like though:

Conclusion
You can use this Music Player Look to create a simple JQuery Based Music Player with embedded music, or even make a flash music player. Either way you go the process is simple with some possible font changeI hope that you have enjoyed the tutorial and learned a few simple techniques for your future designs. As always I would love to see your designs or hear your comments. Just post anything in your comment and I will take a look at it and I promise to always reply.
Looking for More About the UI Series?
You can find more about our UI Series on our Facebook Discussion board. On the board you can request UI tutorials, articles, and even figure out how to submit your own site’s UI for review.
Your ads will be inserted here by
AdSense Now!.
Please go to the plugin admin page to paste your ad code.